Putting it all together
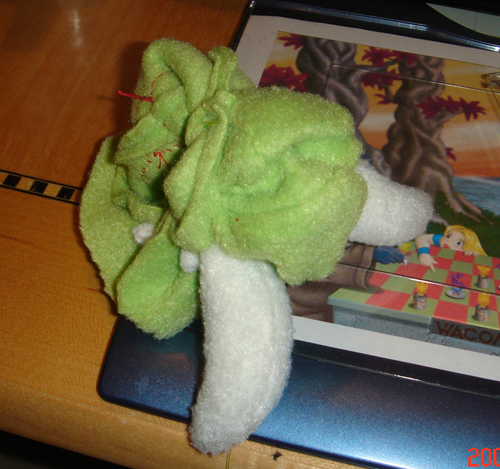
It's time to attach the fangs to the metroid! First, for each fang, open it up and match up the seams so it looks more 3D, more like a claw. Now attach the fangs to the outside of the metroid's body using pins. They're pretty easy to place; just match the two seams of each fang to a seam on the side of the metroid's body. Make sure the fangs curve down. Obviously, you do not want to put any fangs right under the nuclei or directly across from that unless you are going for the retarded look. The unsewn edge of each fang can be matched against the unsewn edge of the body. Place your pin about 1 cm above the unsewn edges.
The smaller fangs should be closest to the nuclei while the two larger ones become hind fangs.

Turn the body inside out.
Now's the time to cut the final green piece. Place the plushie skin on top of your green fabric and cut a rough circle that is large enough to cover the hole in the plushie skin while leaving a generous amount extra around the diameter. It doesn't really matter how roughly you cut this so long as you don't cut it too small.
Place the 'good' side of the bottom circle down against hole in the plushie skin. Now pin them together. This part is tricky and important. The bottom edge of the plushie skin should be pinned flaring outwards. To the best of your ability, pin in a straight line about 1 cm above the unsewn edge of the plushie skin...

...while maintaining the best circle-shape you can make with pins on the bottom piece.
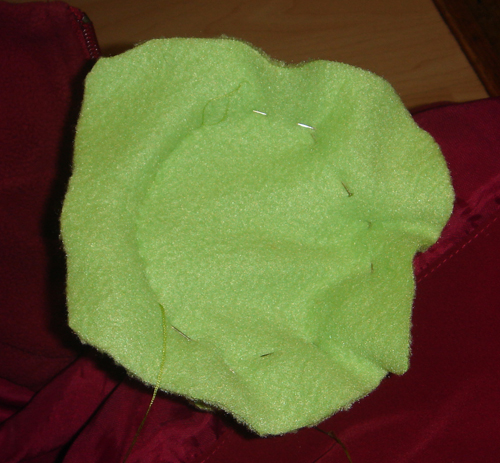
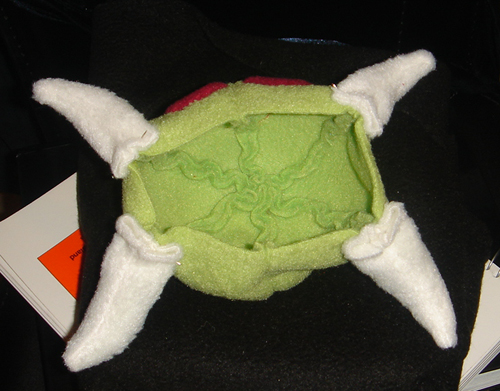
Sew the bottom piece to the plushie skin, following your circle of pins. Use green thread. Use the same basic stitch you used for sewing the body pieces and fangs. You may want to sew over the fangs more than once in order to make it more secure and less likely to fall apart. You might have to struggle with the needle a bit because you might be poking it through 4 or more layers of fabric. IMPORTANT! Begin sewing at the far edge of one of the rear fangs. See, you will want to sew all the way around the metroid except between the rear fangs. The hole that is left between the fangs will be used to turn the plushie inside out and to stuff it.
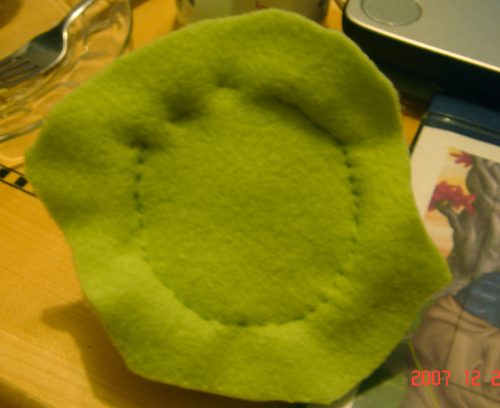
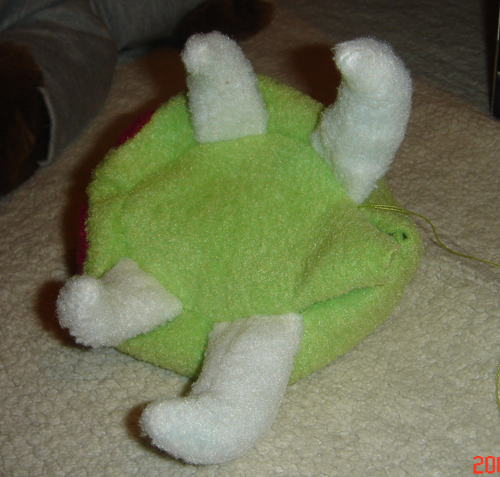
Once you sew around to the far edge of the other rear fang, stop sewing. Tie a secure knot. This is what the completed sewing job looks like. Note the very circular stitching job, the roughness of the bottom piece, and how a portion of it is still pinned together. That part is the hole between the two rear fangs.
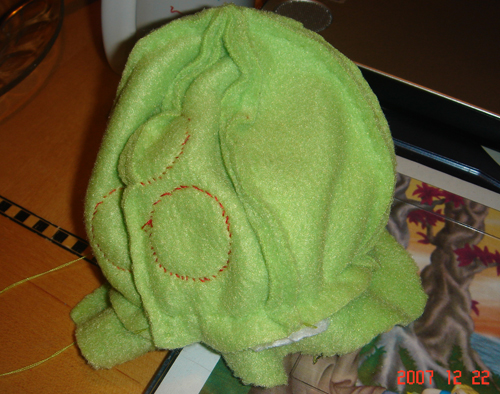
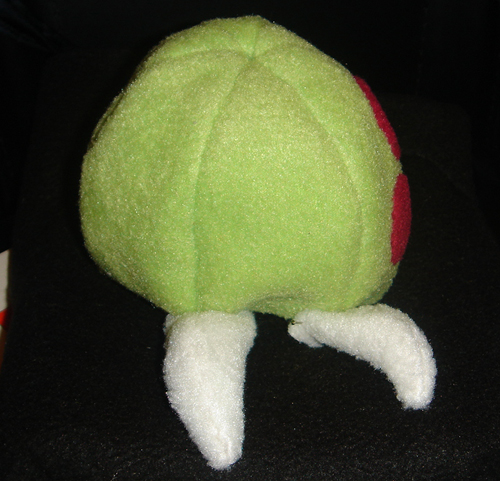
Here you can see how the sewing job looks from another angle. Note how I kept the stitches straight along the bottom edge of the plushie skin.
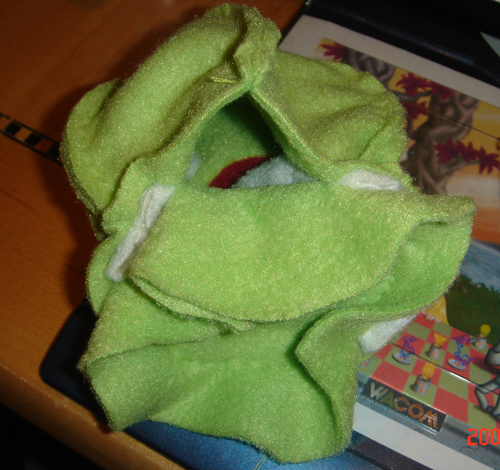
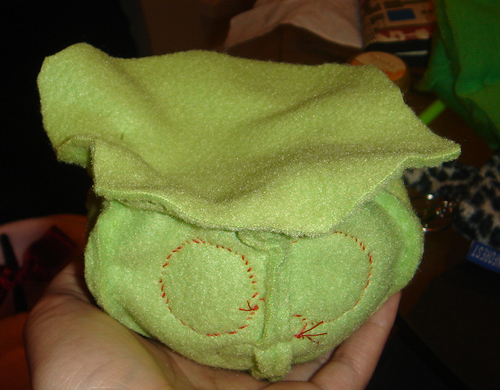
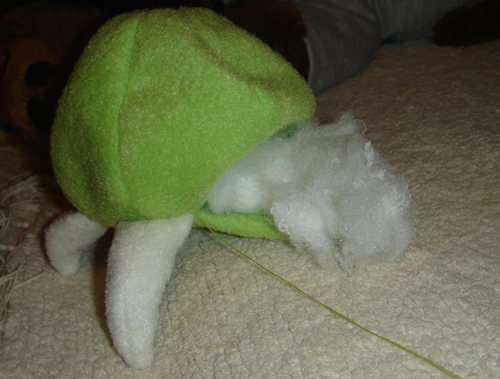
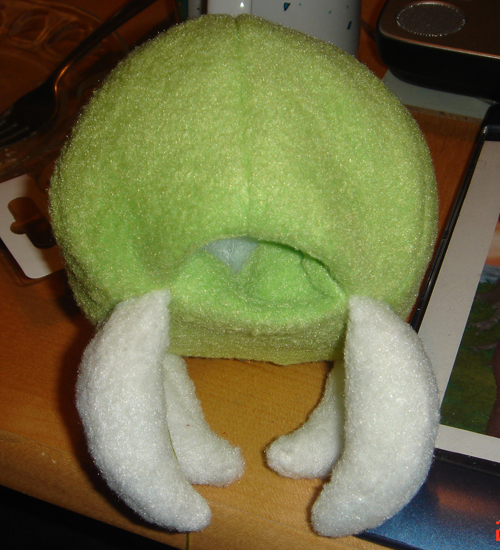
This shows the hole between the two rear fangs.
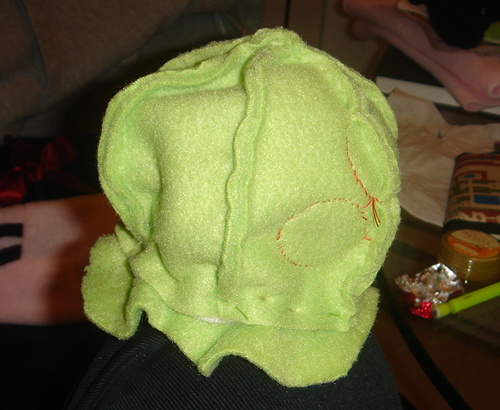
And from that hole, the metroid will be turned inside out. Be gentle, be careful not to tear the hole. Stuff the fangs through first to make things easier.
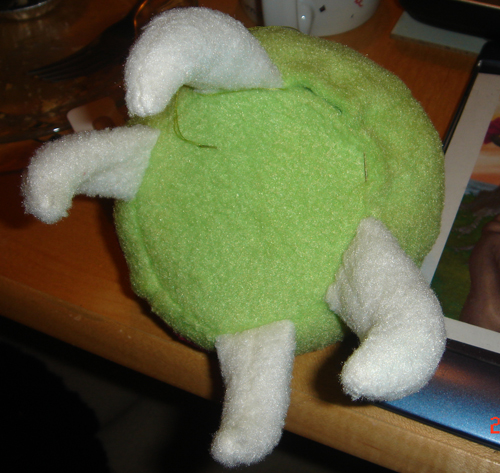
Waah! This looks great! A bit skinny, but that can be fixed. At this point, every visible side of cloth should be the 'good' side of the fabric. If not, uh, you can go back and fix it somehow. Or just learn to live with it.
Start stuffing your metroid from its bumhole. I use a sort of fluffy stuffing but you can use scraps of the leftover fabric. Cut them up into strips like you did for stuffing the fangs. Stuff your metroid until it's as puffy as you want it to be. Squish it around to get rid of any lumps.
Now to sew up your metroid's bumhole. Hide the excess unsewn edges of cloth inside, folding them away neatly, and pin the hole closed.
When you're pinning, try to go for a curved edge to make it consistent with the 'circle' you've been trying to maintain on the bottom of the metroid. It's very easy to accidentally give your metroid a flat bum.
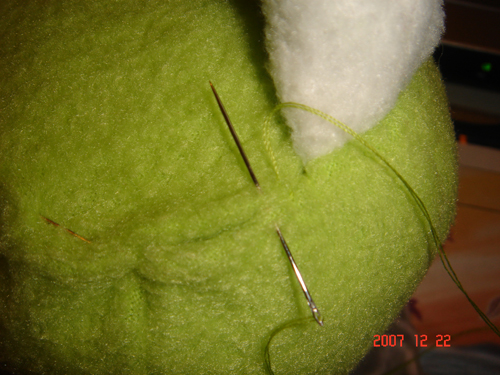
To sew up the hole, use the 'ladder stitch' shown in the Materials and Techniques section. The image above does not show this method being used.
Instead, another method is shown above. It's a technique which has similarities to the basic stitch and the whipstitch. First, make the knot on the inside of plushie where it will eventually be invisible. Start against the edge of a rear fang, where your previous sewing stopped. Pass the needle to the outside of one side of cloth, which I will call Side A. Then pass it through Side B and A together. Then pass it through Side B and A together. Repeat repeat. Do not pass it through Side A before Side B otherwise there will be an obvious 'lip' along the seam and it'll look bad.
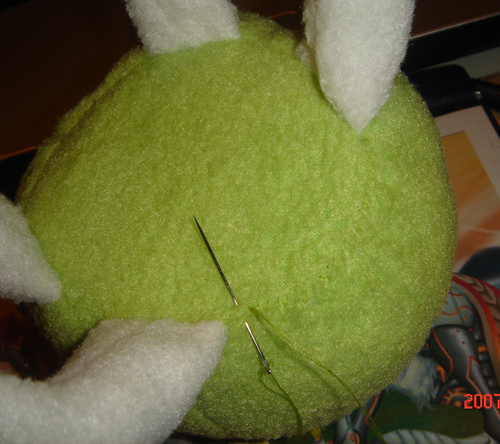
If you make your stitches very fine, you can hardly see any evidence of sewing. Once you reach the edge of the other rear fang and there is no more to sew, make a knot and hide the tail of the thread in the plushie's body.
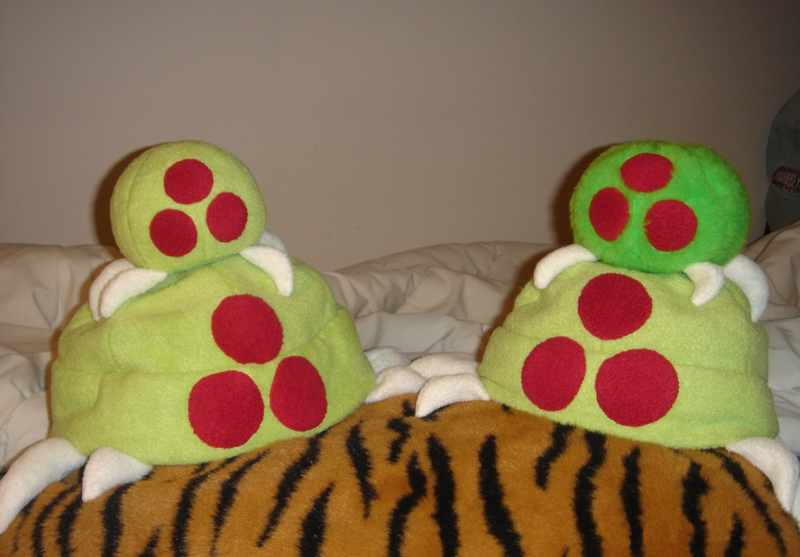
HUZZAH YOU ARE DONE. Now make an army of metroids to fend off any nosey bounty hunters. If you're up for a challenge, try to use what you learned to make a metroid hat.