The Body
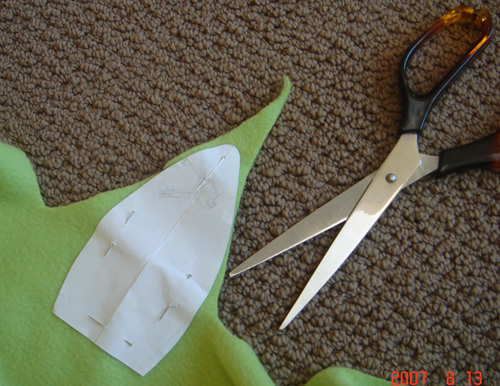
First cut out the paper pattern called 'body'. Put the pattern on your green cloth and pin them together. Then cut around the edge of the pattern. The cutting job doesn't have to be perfect since all the edges will be hidden anyways. Save your scraps for now, even the tiny ones.
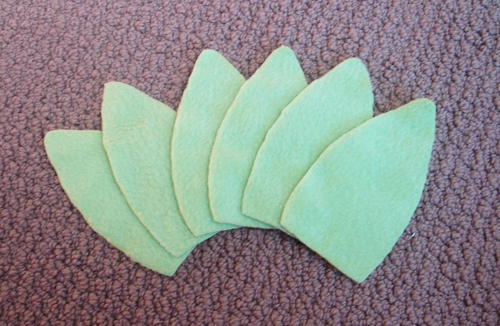
Ta da! Now do that 5 more times.
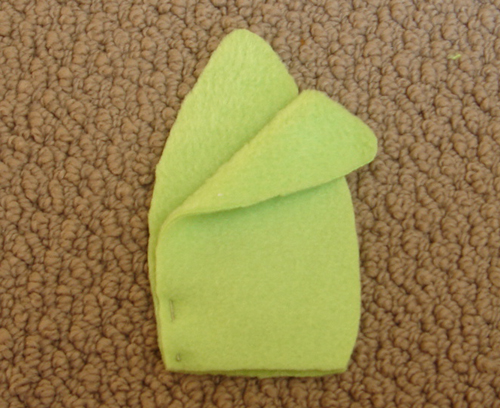
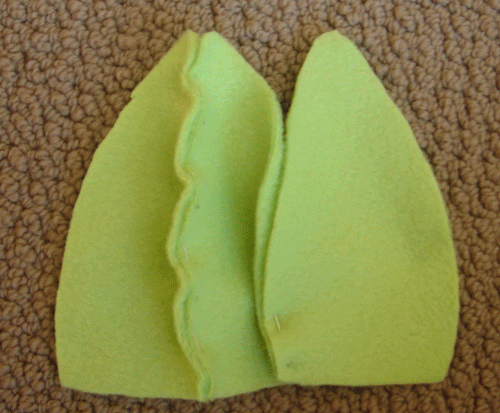
You might have noticed that your cloth can have a different texture on each side. In most fabrics, there is a 'good' side of the cloth and a 'bad' side. Therefore, you have to keep in mind which side you want to show on the outside of the final product. For this step, take two body pieces together, with their good sides facing each other. In this picture, the bad side has the flatter texture and the good side looks shaggy in comparison. Now, take your pins and pin up one side of the two cloth pieces.
Like this.

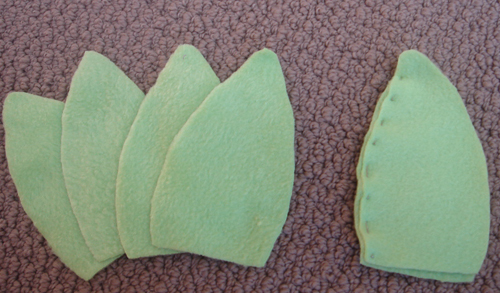
Now take another body piece and match it against an available edge of your pinned pieces. Again, make sure that it's their good sides that are touching. Pin up the meeting edges.
Repeat until all six pieces are joined together.
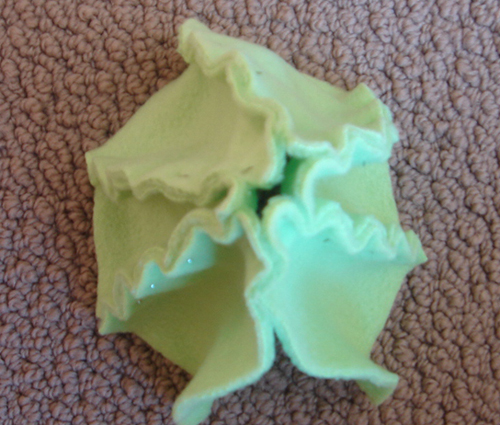
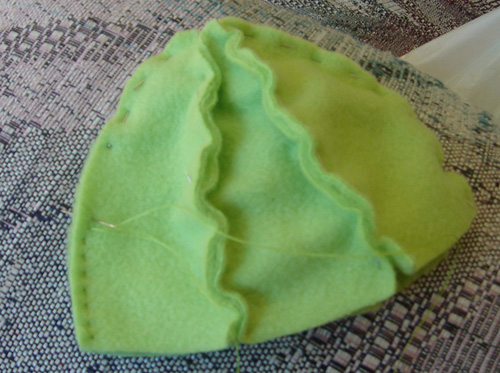
You probably saw this coming. Now join the final un-pinned pieces together, which will make a rough dome body. In this example, the final edges are still unpinned.
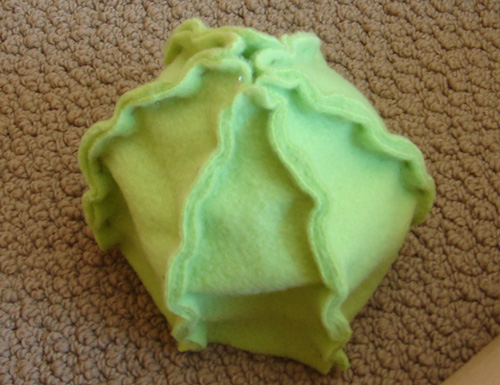
That's better.
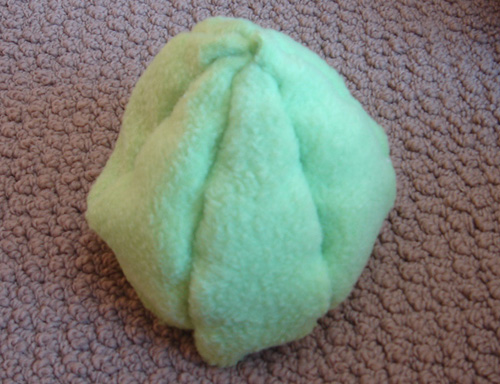
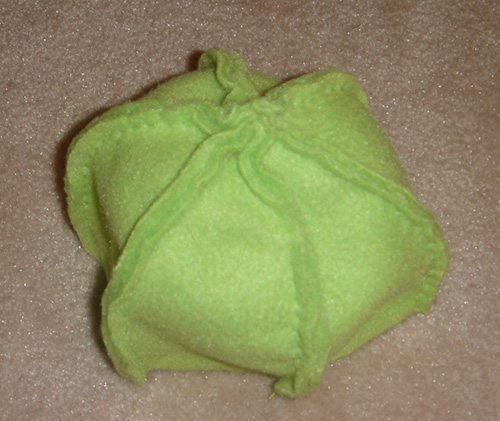
If you are to flip the body inside out, this is what it should look like. Ta da! Now this is beginning to resemble a metroid. There should be no pins visible on the outside and all the 'good' sides of the cloth should be showing.
Go back to the inside. Now that you have the structure of the metroid pieced together, it's time to replace the pins with green thread. Select one edge and use the basic stitch to sew where the pins are, removing the pins as you go. Remember, the smaller the stitch, the nicer the plushie will be because curves will appear rounder and seams won't show as much. Think of it like polygons, the more of them there are, and the smaller they are, the more curved your object can become. :D Also, if you cut the cloth nicely, you can use the hem of the cloth as a guide, keeping your stitching at an equal distance from the edge. Half a centimeter is the recommended distance. Also make sure your stitching forms a nice even line. Crooked stitching will show as lumps and bumps on an otherwise round surface.
Stitch all the way to the center of the body where all the cloth pieces join. Then choose a pinned side and stitch down. Once you hit the bottom of the edge, end your string with a finishing knot and re-thread your needle, starting the process again with a side that's still pinned. Once you sew up all the edges, your plushie should look like this.
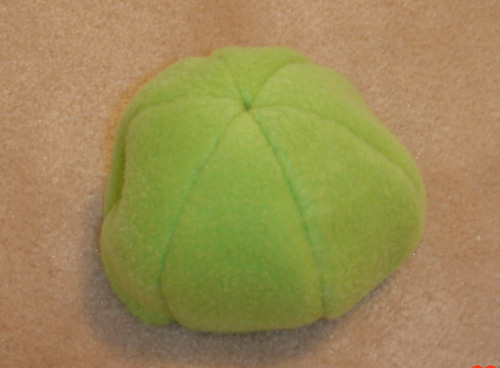
Turn the plushie inside out again. Look at how dome-like it is! Pat yourself on the back and brace yourself for the next section.
Previous: Materials and Techniques
Next: Nuclei and Teeth