Teeth and Nuclei
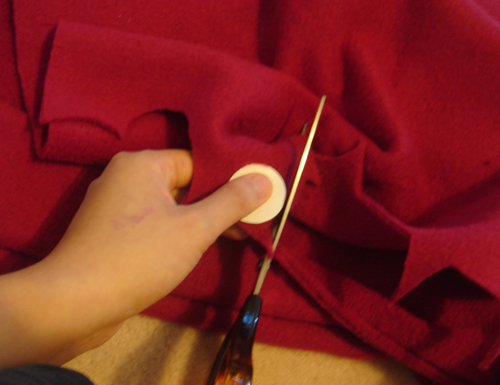
Cut out red circles for nuclei. Unlike the rest of the pieces you cut, it is very important that you try to keep the edges round and smooth. The circle you cut is representative of what the final nuclei will look like. Save any scraps.
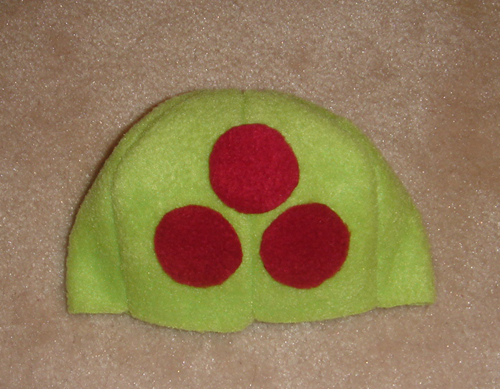
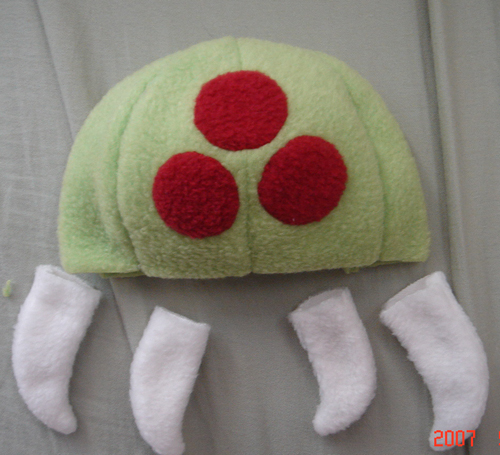
Cut three circles. Place them on the outside of the body. Sort of like this, with a seam from the body dividing the nuclei symmetrically. Do not place them right against the bottom of the body, but leave 1-1.5 cm of space between the bottom nuclei and the unsewn edge of the body. Pin the nuclei down because it's easy for positions to shift while you are sewing. But take the pins out once you have sewed a bit because they also distort the cloth.
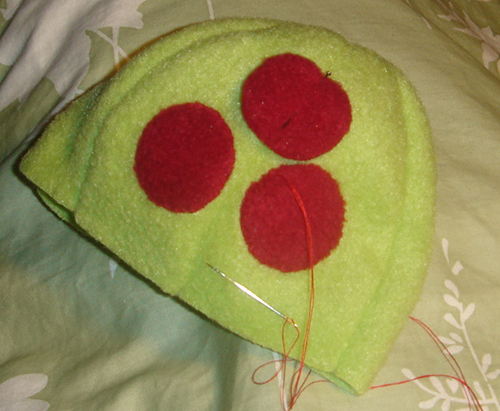
Using the whipstitch technique as explained in the Materials and Methods section, sew the nuclei on. Remeber to keep your knots hidden on the inside of the plushie. And try to keep your stitches very small because they can be easily seen on the outside of the plushie. Use red thread.
Now it's time to cut the four fangs. Remember to save the scraps. According to the pattern, you want to cut 4 of each size of fang. When you sew two of the same size of fang piece together, you end up with one fang. But there is a small detail to cutting the pieces!
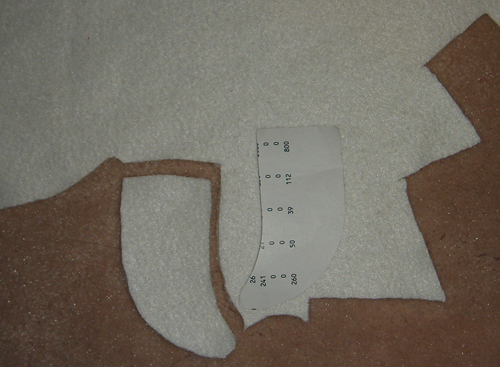
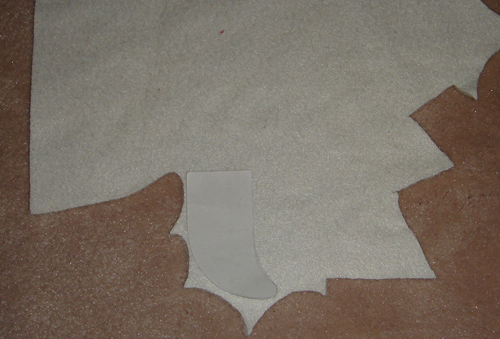
For every piece you cut, you have to cut an inverse piece. That is, flip the pattern around and place it on the same side cloth as you cut your previous piece on.
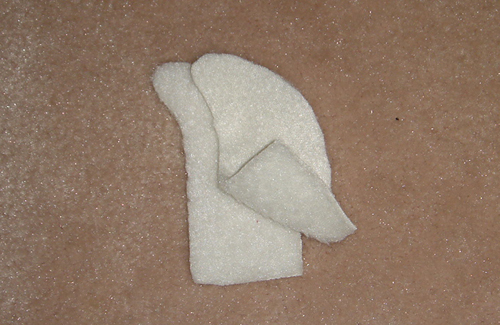
You see, when you place two fang pieces together before sewing, you want to make sure that the 'good' side of the cloth is facing each other. In this picture, the fuzzy, dimmer sides are the 'good' sides of the cloth, while the 'bad' side is the brighter flatter side. If you didn't pay attention to how you cut the fabric, you might end up with a fang that has half a 'bad' fang exposed.
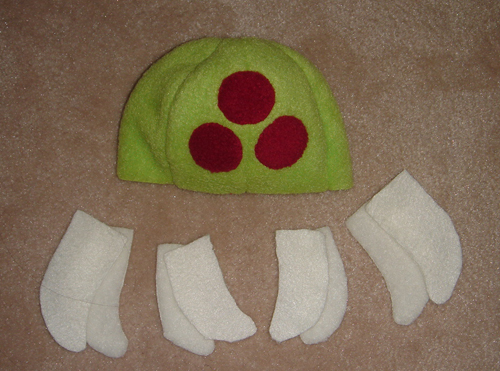
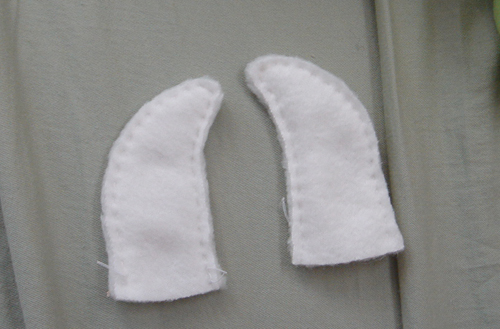
Here are the 8 pieces of fang cloth. 4 for each size, 2 for each fang, for a total of 4 fangs.
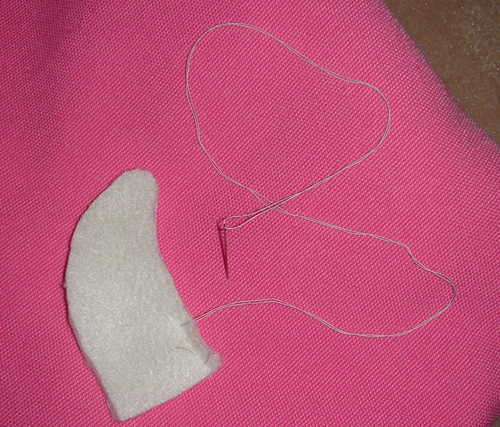
So place two same-size fang pieces together with their 'good' sides touching. Similar to how you sewed the body pieces together, use the basic stitch to sew up the outer edge of the fang. Because these will be turned inside out, feel free to make your knots where you can see them. Use white thread.
Don't sew the base of the fang. You'll need that hole to turn it inside out.
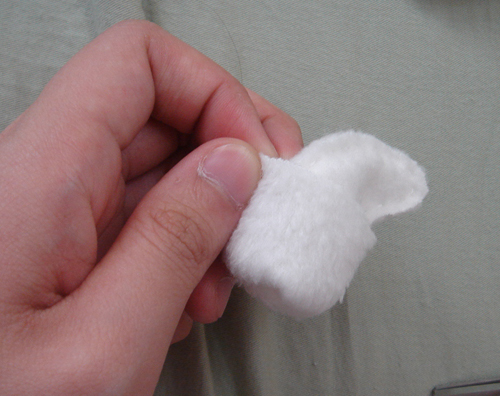
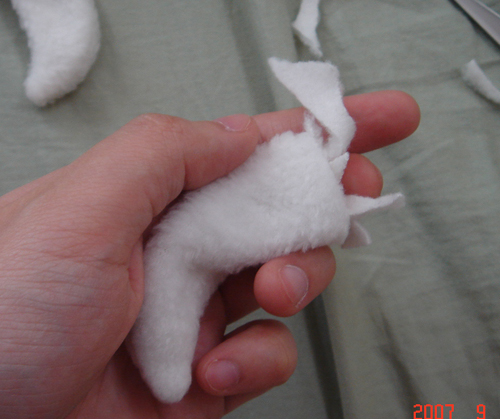
Turn the four sewed-up fangs inside out. Use a pencil or something if your fingers are too sausagey to push the cloth all the way through.
Fangs~!
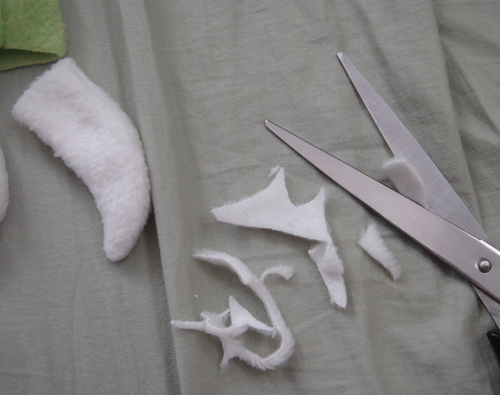
Now remember those scraps I told you to save? They'll come in handy as stuffing for the fangs and perhaps also the metroid's main body. I usually only stuff the larger, back fangs and leave the smaller ones floppy, but that's up to you. Cut up the scrap fabric into small strips or squares. Because the fang is white and it can be somewhat see-through, try to use your white scraps or lighter colors.
Stuff to your desired consistency. Use a pencil or something to poke the stuffing to the tip of the fang if you have to. Leave about 1.5 cm of unstuffed space from the opening at the base of the fang.
Next: Putting it all together