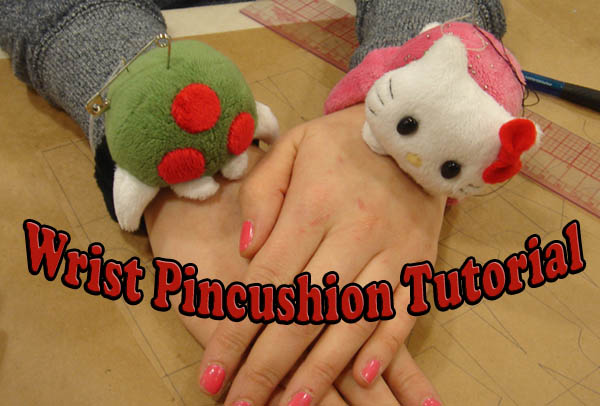
 Once upon a time, I made a classmate in my costuming class a wrist pincushion for her Secret Santa present and it was so delightful that I made another for myself. Then I made this tutorial so everyone else can have one too! They're so handy; perfect for the habitual or occupational sewer. All I ask is that you give credit to me and link back to Metroidhat when possible. If this is your first time sewing or if you need a refresher, please check out the Materials and Techniques page. And as with all my tutorials, it is recommended that you read through the whole thing first before starting anything. Materials-Fabric! Most varieties are acceptable, but I recommend something strong and soft against the skin Start off with your soft plastic lid, which can come from sour cream, yogurt, margerine, or any other similar container. Cut a circle that is no bigger than two inches in diameter. Then out of fabric, cut a circle that has about a 1 cm margin around the plastic circle. Alternatively, you can cut out rectangular pieces of plastic and fabric for a squarish pincushion. (Just round off the corners a bit.) 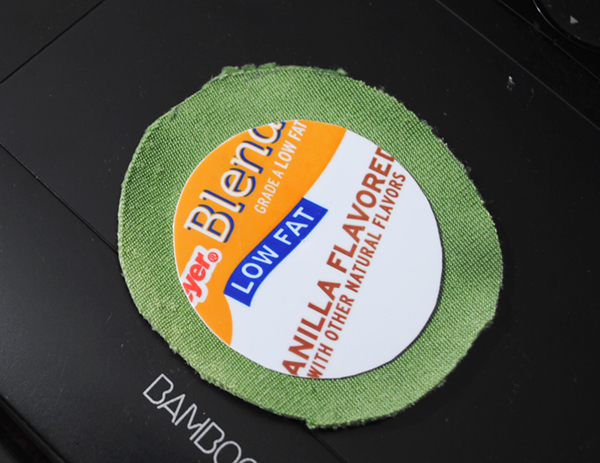 Hand sew a running stitch around the outer edge of the fabric. Keep the stitch length long, because you'll be pulling on the thread to gather the fabric together, enclosing the plastic. 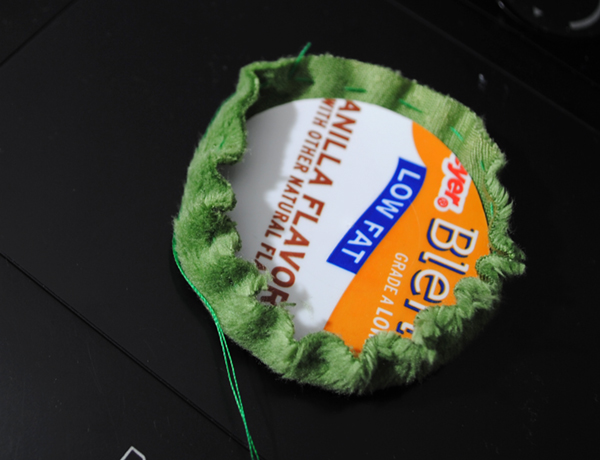 Thaaat's right... gather that fabric tight. Now to further ensnare the plastic, sew a stitch on the other side of the circle such that the thread is crossing the middle of the circle. 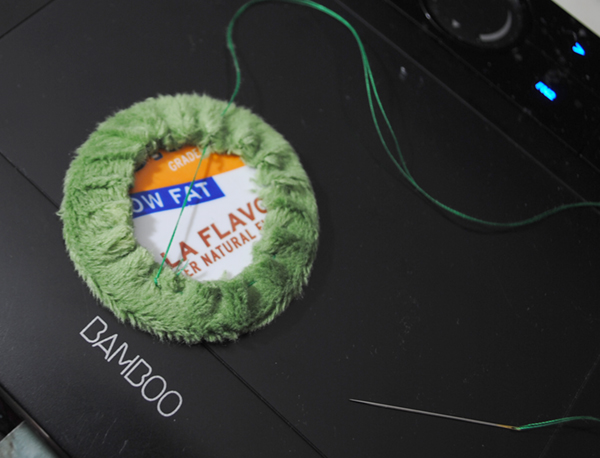 Keep doing that while slightly shifting the direction of your stitches, eventually making a tight web that holds the plastic in. It's important that the fabric is very well secured to the plastic because everything else is going to be attached to the fabric. The plastic is not easy to sew on. Hence its purpose; it's there to prevent any pins from puncturing your wrist.  Now cut a length of your elastic. You want it to be long enough to go around your wrist without any tension, plus an extra inch and a half. Then cut a length of fabric that's twice the width of your elastic plus an extra inch or so for seam allowance. The length should be how far your elastic can stretch. 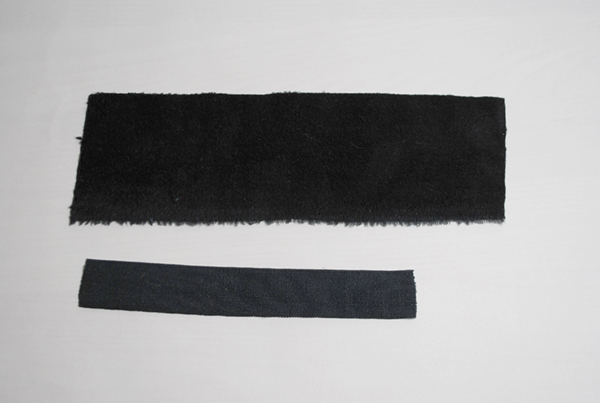 Fold your long piece of fabric in half width-wise with the right sides facing. Sew along the edge, forming a tube that should snugly fit your elastic. Turn it inside out and stick your elastic in. If you're having trouble doing that, pin a safety pin to one end of the elastic and use it to shimmy the elastic through the fabric tube. 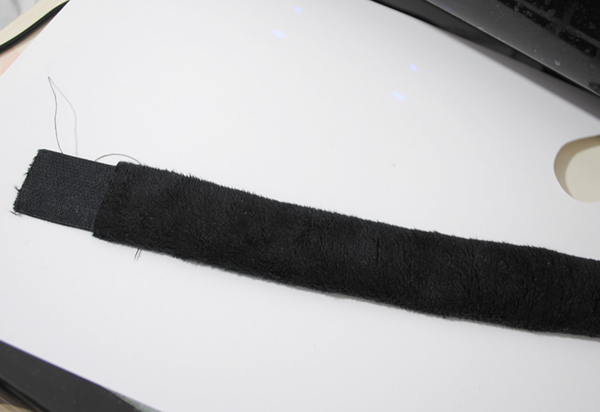 Have the elastic flush against one end of the fabric tube and sew it in place. Then do the same for the other side. Because the fabric is longer than the elastic, the fabric will be scrunched a bit. 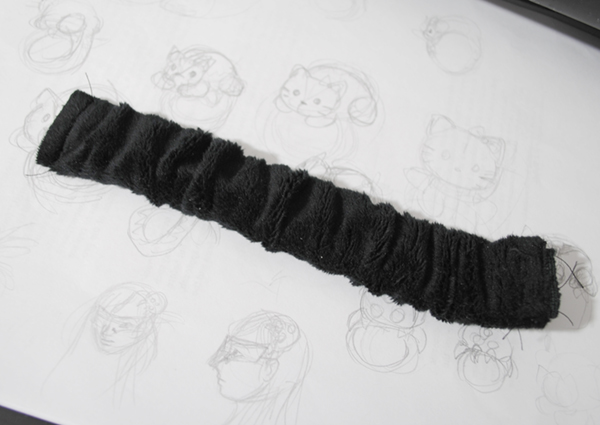 Overlap the two ends of the elastic and pin them together. Slip your hand through the loop and see if it fits you snugly. You'll want it comfortable and tight enough that it can hold the weight of the pincushion on top of your wrist, but not so tight it cuts off your circulation. You'll want to err on the loose side. Sew them together with a zigzag stitch or a sturdy series of running stitches. Then insert the plastic part under the elastic loop, the messy side up, right under where the elastic overlaps itself. Very securely stitch the elastic to the fabric of the plastic piece by hand sewing. Or, if you have an industrial sewing machine, you can sew right through all the layers including the plastic. Ideally, you'll just want to stitch about 3mm away from the edge of the plastic so it isn't so visible. In this picture, the elastic isn't long enough to be attached to itself so its just sewn onto the plastic. 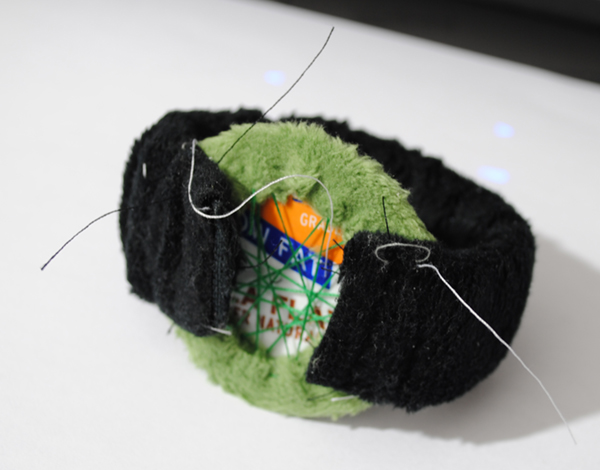 If your fabric is fuzzy, you can hardly even see the stitching! 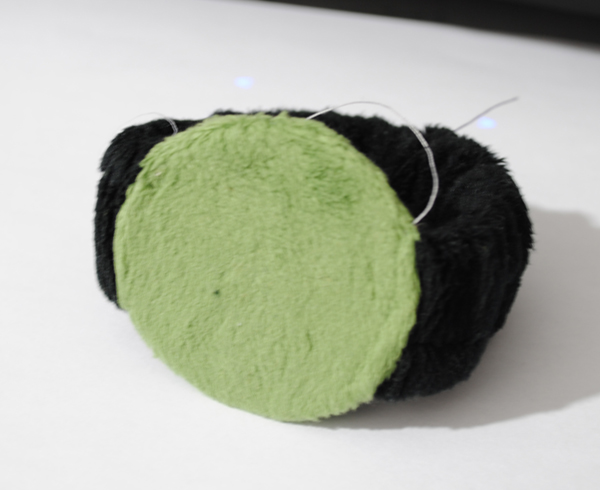 You now have a base upon which to build your own pincushion! Sky's the limit here; I encourage you to create your own variation of a stuffed something to be your pincushion. But I'll give you some suggestions for base shapes and final results. The patterns given here are approximate in size. 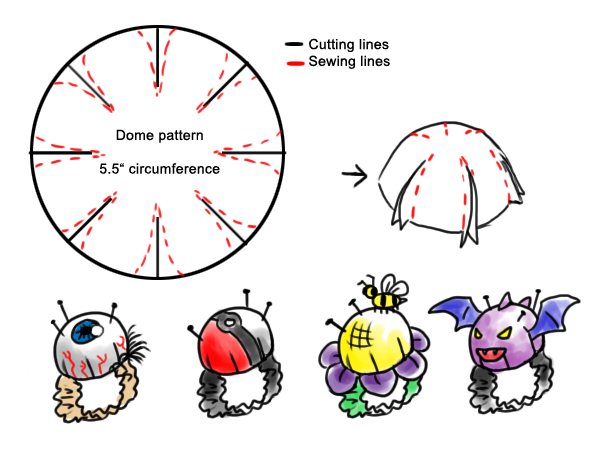 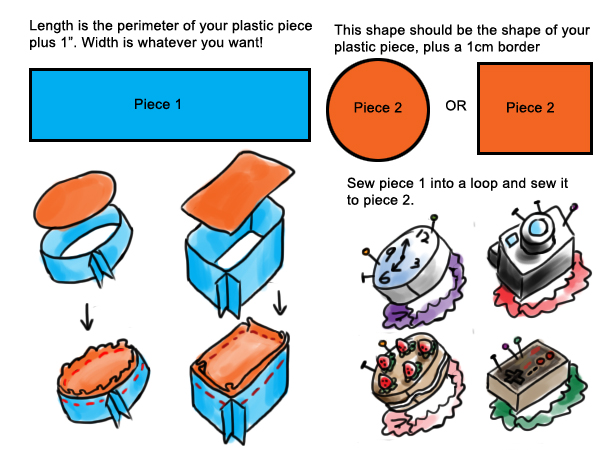 I, being me, have made a metroid top to be my pincushion! Whatever it is you made, stuff it with stuffing. Fold the bottom lip of your cushion (if it has an open bottom) inwards and pin it to the plastic base. 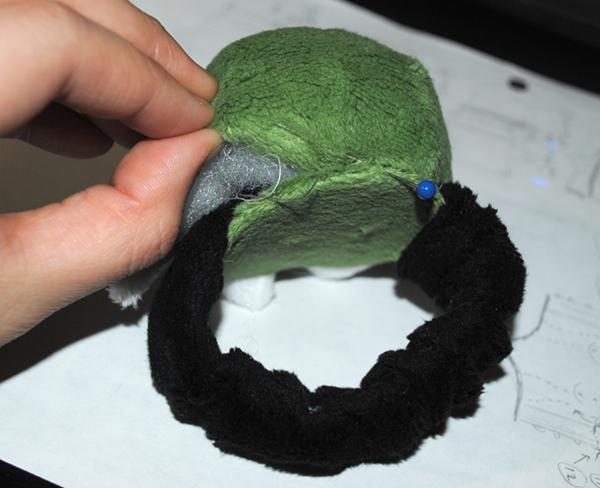 You will want to neatly ladder stitch the edge of the fold to the edge of the fabric along the plastic part, sewing the two into one unit with as invisible a seam as you can manage. When you get to the areas with the elastic between the cushion and the plastic, just sew on the fabric of the elastic. 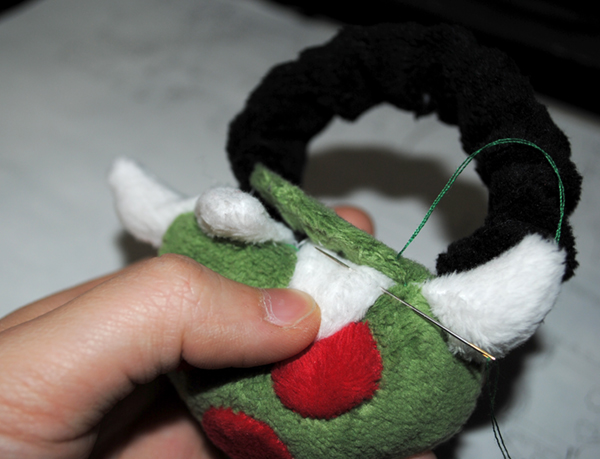 AND THERE YOU GO! You have made your very own pincushion! Go enjoy the fruits of your labor by stabbing it repeatedly! 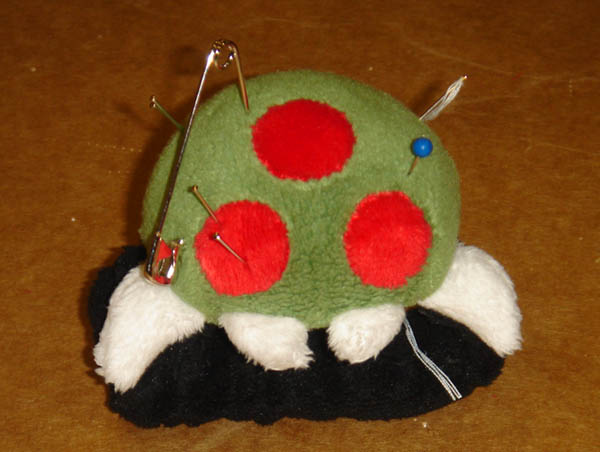
|
