Mr. Saturn's face
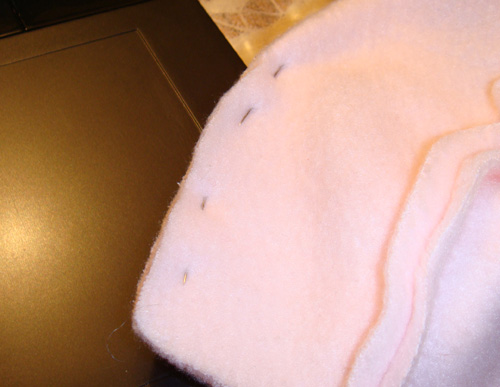
Of the four sewn seams of the body combination, the seam which hides the bend in the hair will become the back of the Mr. Saturn. Beside this seam, there will be two open wedges which you are going to sew now. Well first, pin them closed, good sides touching, bad sides exposed.
I will again emphasize: sew up the two wedges on the back of the Mr. Saturn.
Starting from the 'point' of the wedge, sew down toward the body's base. As shown on the template, you'll have to start sewing a bit above where the wedge begins. And you'll have to sew it at a slight angle to the edge so that it gently eases into the 5-10 mm distance you'll have to keep from the cut edge of the cloth.
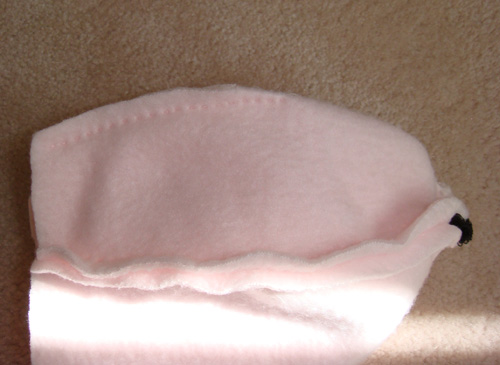
Here's a pic of the inside of the plushie at this point. The back of it, at least.
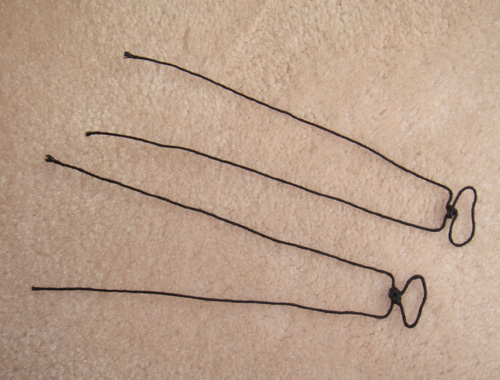
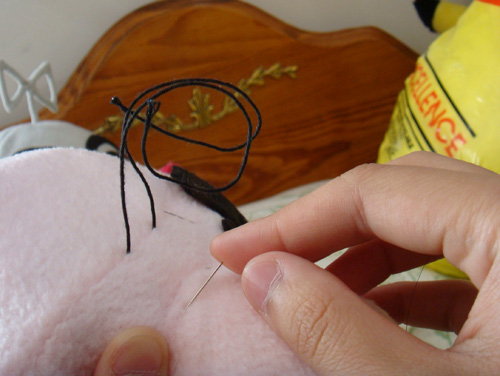
Now to prepare whiskers! There's a number of materials you can use for whiskers and some are better than others. If you're using a type of wire, make sure it doesn't discolor or leave residue on cloth. Also, if it's very stiff and has sharp edges, you'll need to loop the ends so they don't poke out eyes. You can also make whiskers in the same way you made the cloth hair.
I managed to find some string-wrapped wire at the dollar store which is perfect. Once I'm done the rest of the plushie, I'll trim them down and dip the ends in gloss so the string doesn't come apart and it doesn't poke anyone.
Whatever it is you use, you should try to make some sort of loop at the base so you can later secure it to the inside of the body with stitches. If that's impossible, then try to make any sort of irregularity at the base of each whisker so at least it won't slide out of the plushie. And then secure it with a dab of hot glue.
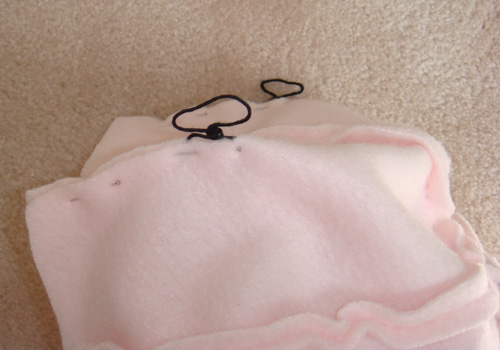
Take what whiskers you got and stick it into the final two wedges of the body combination, placing it right against the top of the wedge. The unsightly base of the whisker should be on the inside of the Mr. Saturn, along with the exposed edges and bad sides of cloth. Pin the wedge edges together.
Like how you sewed the wedges before, start sewing down, following the cut edges. When you're around the whisker area, stitch up and around, enough to secure the whisker to the body.
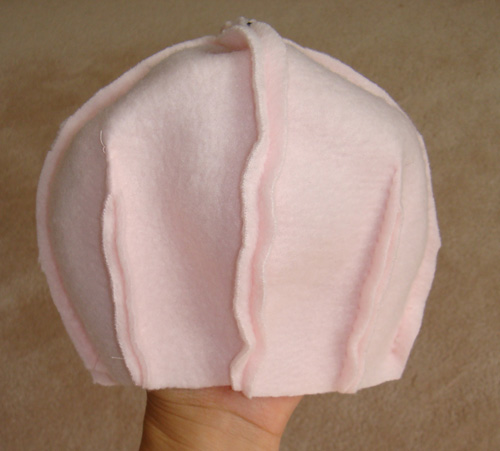
Here's a sample of whiskers made like how the cloth hair was made, though it's attached to a Mr. Saturn hat.
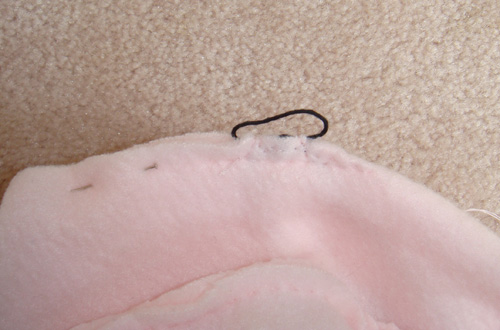
In this inside picture, you can see how it's secured to the body.
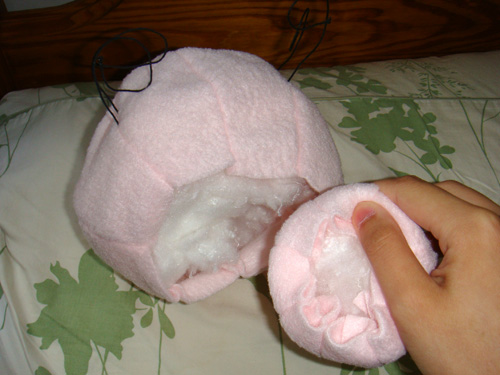
I curled the whiskers so they won't get damaged. Now turn the body so that it's good sides are showing and stuff it. Don't stuff it too much; you just want to establish it's approximate form. Take the nose and loosely stuff it too. Then fold about 1 cm of the edge inside, on top of the stuffing.
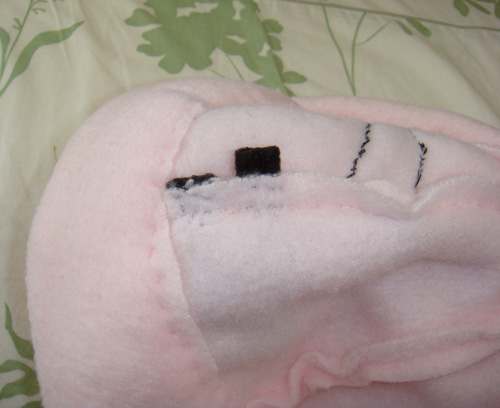
Place the nose where you want it at the front of the face, preferably with seams from the nose and face matching. Then pin it down in place, carefully, running the pin through the folded edge of the nose.
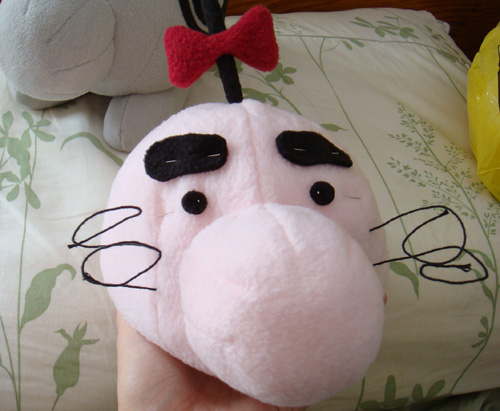
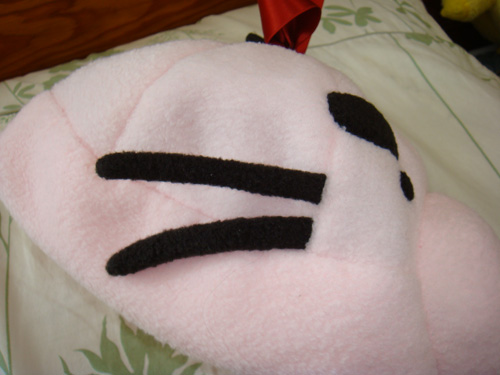
The reason you're doing all this stuffing and placing is so you know where to put Mr. Saturn's eyes and eyebrows. Cut out those pieces with black cloth. I didn't make a pattern for these, but whatever, they're easy enough to create yourself. Pin them down where you think they look okay. Make sure you look at it from all angles; it's easy to make an eyebrow too high, too mean, too close.
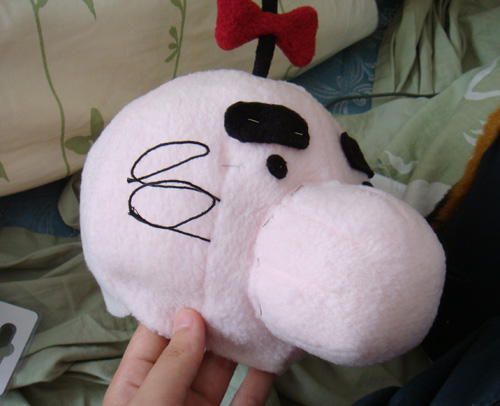
Here's another angle with the pins on the nose visible.
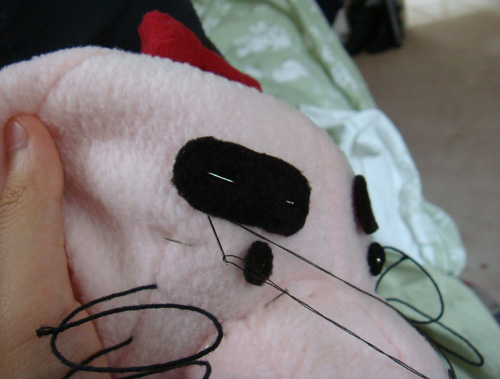
Now unstuff the body and prepare a black thread. Sew on the eyes and eyebrows using the whipstitch technique. If you have button or other eyes, stick them on in whatever way's most appropriate.
Previous: Making Mr. Saturn's nose