The Nose
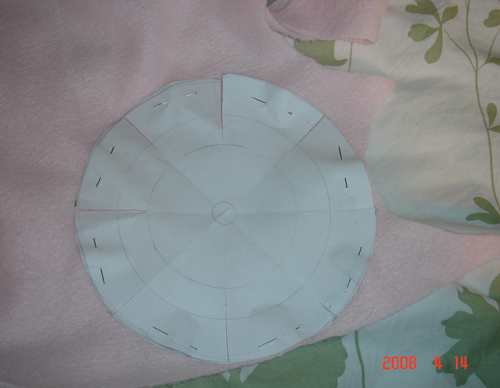
Pin the template to the cloth and cut out the Nose piece. Note that in these pictures, the nose template doesn't have 'wedges' taken out of it, but instead simply has cuts into the circle of cloth.
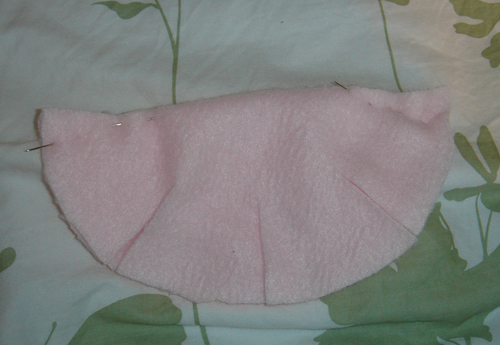
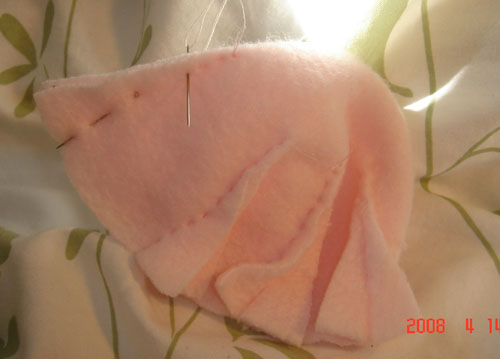
Fold your nose piece as shown here, matching up two of the wedge edges with the good sides facing each other and the bad sides exposed. Pin up the edges approximately along where the cloth will have to be sewn, as shown on the template. Do this for all eight wedges.
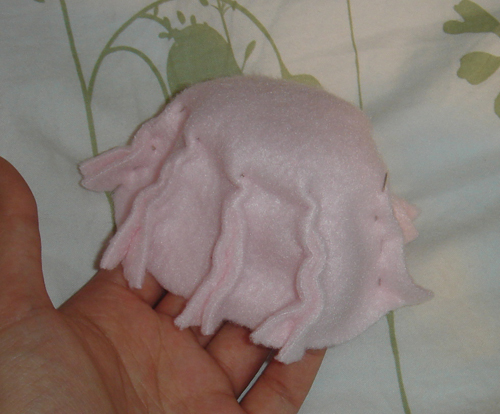
The nose should now appear something like this dome shape. In this picture, the bad side is visible.
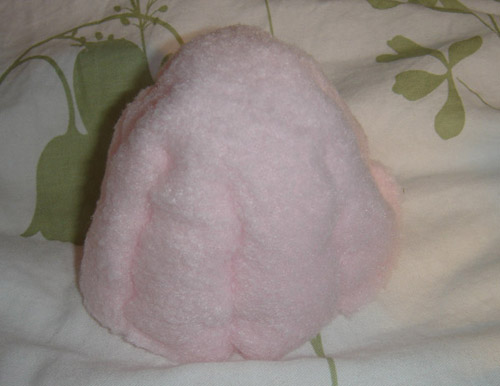
If you turn it inside out, it should look like this, with the good side exposed.
Making sure that you're sewing on the bad side, start a basic stitch along the edge of the wedge. I recommend you start from the top tip of the wedge. And, as shown on the template, you'll want to start sewing slightly above where the cut-out wedge ends. Try to keep your stitching even, otherwise the finished plushie will have visible crooked stitches along the seams.
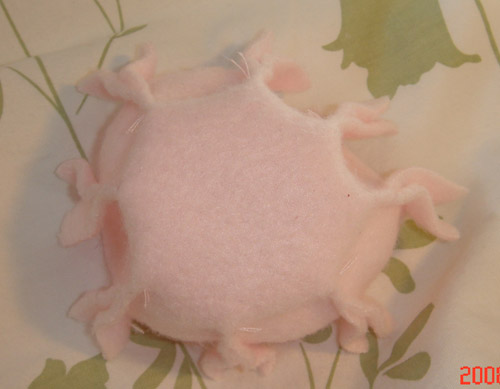
Sewing up all eight sides, here's what your nose should look like from the top down.
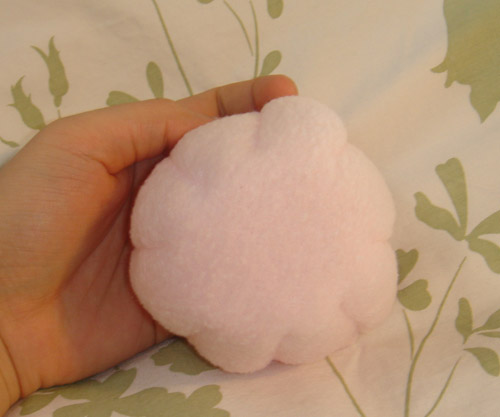
Turn it inside out and there! A nose!
Previous: Making Mr. Saturn's ribbon
Next: Making Mr. Saturn's face