Making the Feet
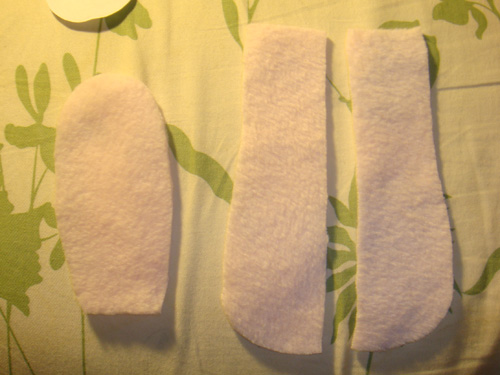
First, cut out one Feet Bottom piece and two Side Feet pieces. HOWEVER! You must be careful when cutting the side pieces. Make sure you flip the template around when you are cutting to get a mirrored version of one side piece. If you don't, then one of the pieces will have a bad side of the cloth exposed on the outside.
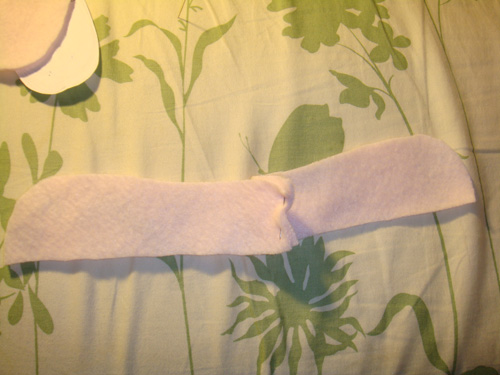
Pin the two side feet pieces together as shown. In this picture, only the bad sides of the cloth are exposed.
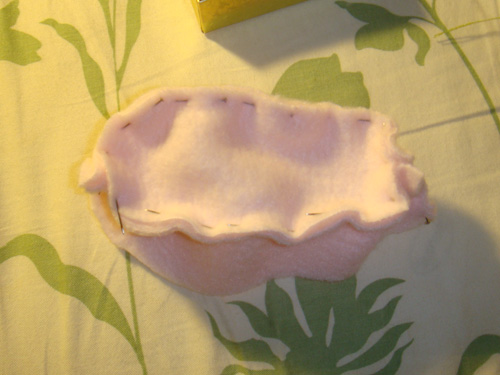
Pin the flat part of the Feet Bottom piece to the middle of where you just pinned the Side Feet pieces. Again, this picture shows only bad sides of cloth.
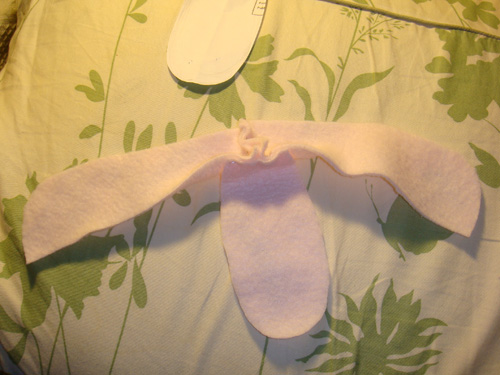
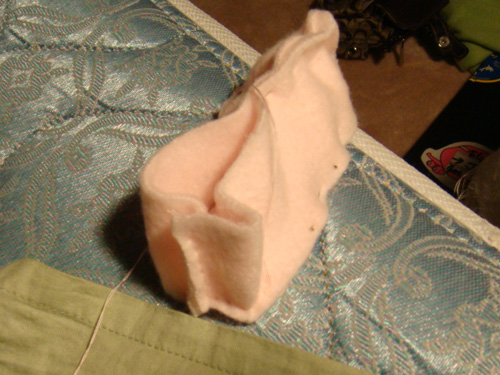
Take the flat part of the side pieces and line it up with the perimeter of the bottom piece, pinning them together evenly at the edges. In this picture, note how I paid special attention to the 'heel' of the foot by making the 'angled' part of the area as sharp as I can. It helps to keep in mind that you are making something like a small shoe.
Progress...
Hmm!
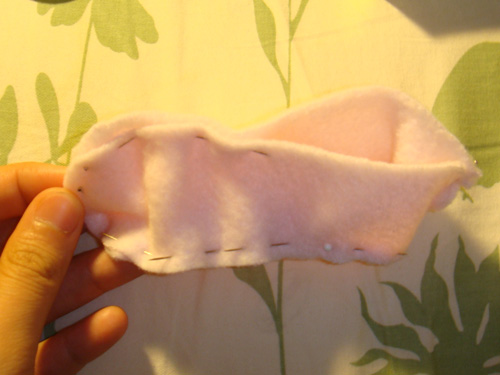
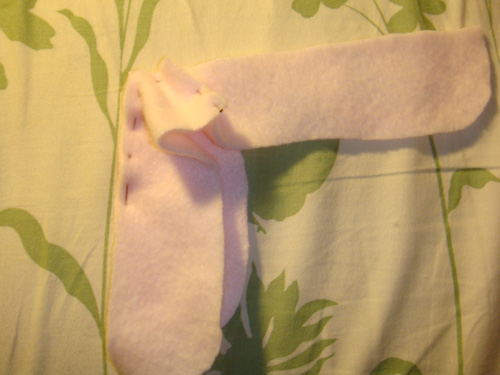
Once the two Side pieces meet each other at the 'toe', you can proceed to pin those together along the top of the foot. There may be a bit of excess material so you'll have to make a judgement call as to how far from the edge the pins should be.
Don't pin together the entire top part of the side pieces. Leave an opening as shown here, like the opening of a shoe.
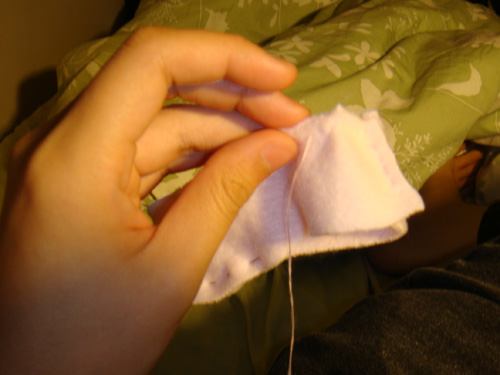
Use basic stitch to sew where you put the pins.
I managed to get a nice sharp edge for the corner of the heel.
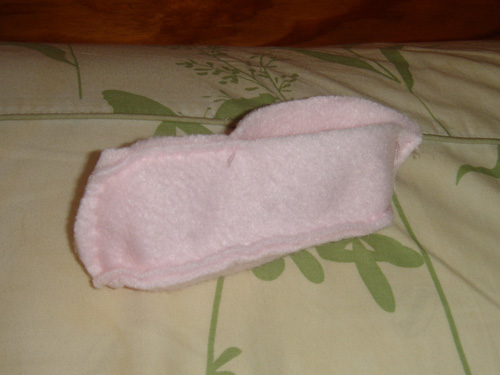
Looks nice.
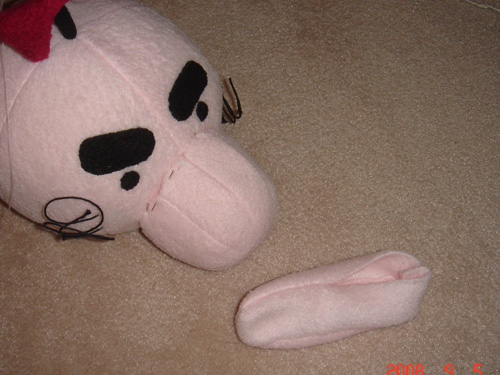
Turn it inside out. And do the whole thing again to make two feet.
Previous: Stuffing Mr. Saturn's body