The Ribbon
Making the Mr. Saturn ponytail can be difficult or even impossible if you have the wrong type of cloth, the wrong type of wire, or if your fingers aren't good at handling delicate things. If you find that you can't do this method exactly, you can increase the size of the Hair piece. It'll make the hair 'fatter', but it'll be easier to turn inside out. Or, you can forgo the cloth portion and simply use wire for the hair. A black pipe cleaner, perhaps doubled over and twisted together, can make a fine hair. Or invent something of your own. Go ahead, get creative!
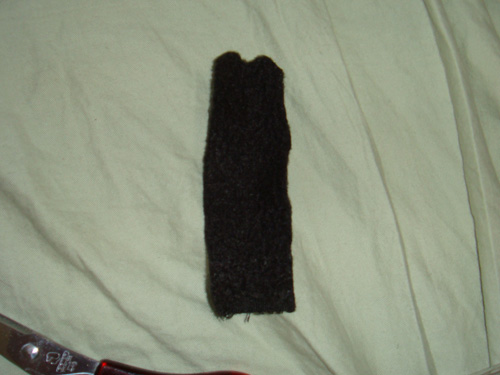
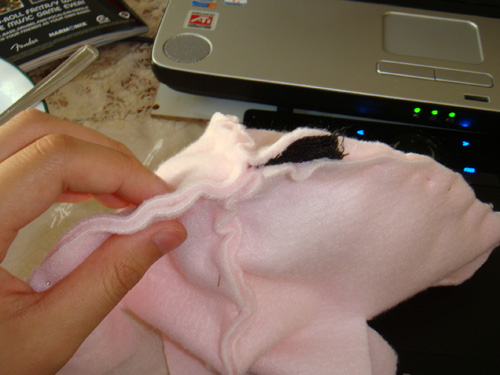
Cut the hair cloth piece and fold it together, good sides facing each other. Pin them together.

The next few steps are sort of hard to see in photos, so I made a drawing instead. The dotted lines in the drawing show where the stitches go. Sew around the open parts of the hair, trying to keep as close to the edge as you possibly can. 5 mm is about as far as is permissible. The flat, not-rounded portion of the hair is to be left open because you'll be using that to turn the hair inside out. This is where it gets somewhat hairy because the hair is so thin, which makes turning inside out a painful process. Use pencils, nails, tongs or whatever to push, pull, nudge, shuffle the material inside out. Just be careful not to tear the thread or the cloth.
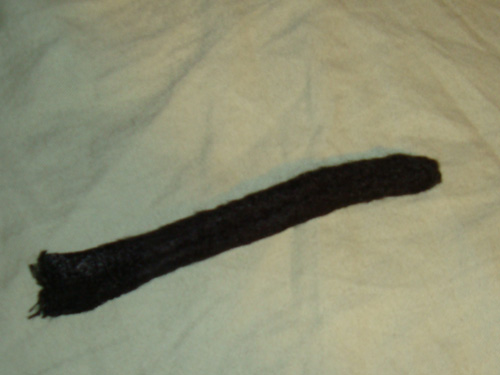
Ta da.
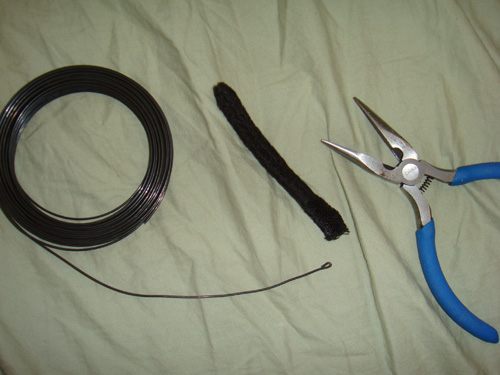
Now we play with wires. For the wire running through the hair, you'll need it to be stiff enough to hold up the ribbon. If I remember correctly, I used 8 gague wire that I bought from a craft store. If you're using something that feels a bit feeble, you can double it up and twist it to form a stronger wire.
Notice how there's a small loop at the end of my wire? That's because the cut end of the wire is sharp, and so looping it will protect the cloth from being cut.

Insert the wire into the hair. Cut the wire about 1-2 cm longer than the cloth portion. Use that extra length to form an oblong loop which is bent about 90 degrees to the main length of the hair. If you can, keep the seam of the hair along the inner curve of the wire. That way, the seam will face the back of the Mr. Saturn and won't be so visible. But it's not really a big deal. Fold the remaing cloth over the loop and secure it in place with a few stitches.
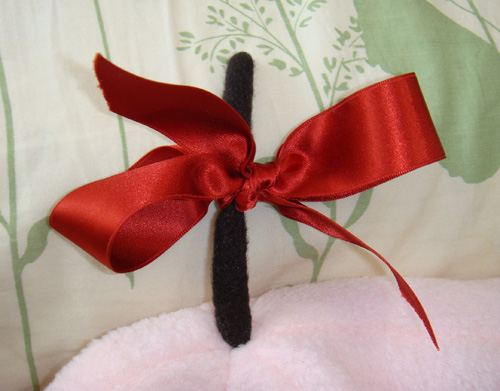
One way to make the ribbon is to simply tie a bow onto the hair using red ribbon. Then use red thread to make a few stitches through the knot and the hair that will keep the bow from coming apart.
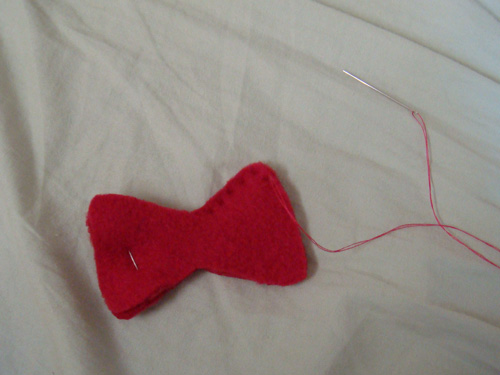
You can also manually make the ribbon. Cut out two of the ribbon pattern in red cloth and put them together, good sides touching. Then begin sewing around the outside with the basic stitch, keeping about 5mm from the edge.
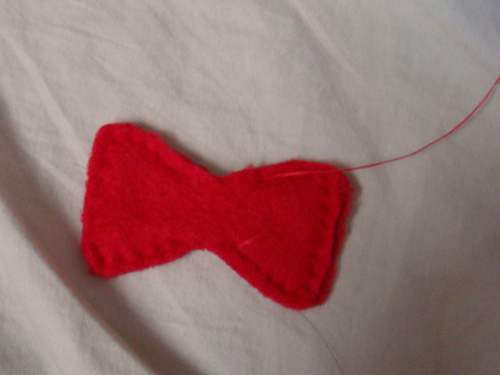
However, don't sew the middle of the ribbon. You'll need that space to insert the hair into.
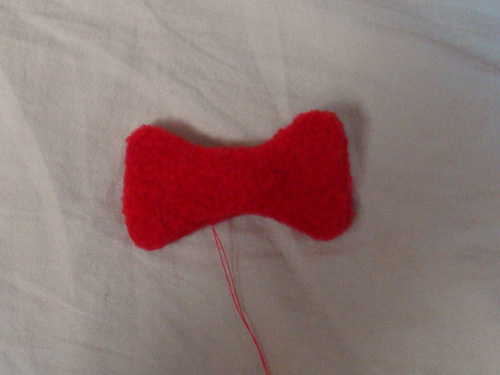
You'll also use the space to turn the ribbon inside out.
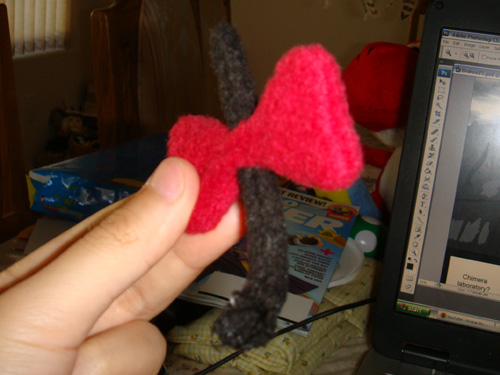
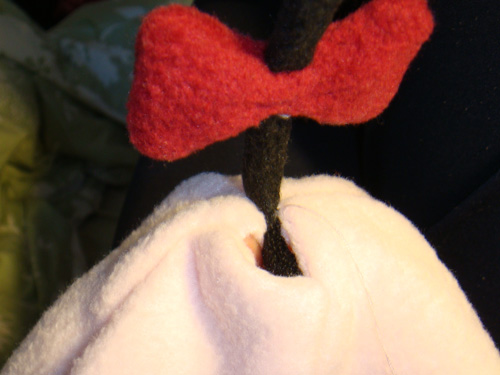
Insert the hair into the ribbon. Adjust it to your liking and sew them together using red thread. If you want, try to make the ribbon pinched from the middle by sewing the top and bottom of the ribbon close together. Use the whipstitch or the hidden stitch. Make sure you get all the remaining exposed edges of the ribbon.
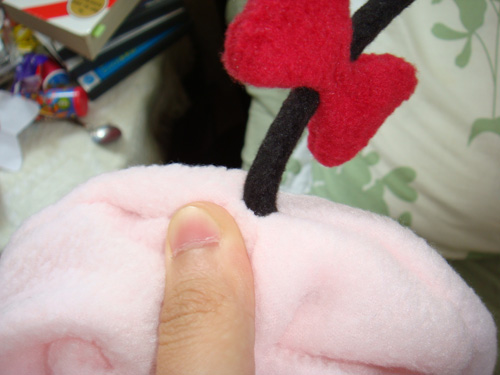
Now insert the hair into the center of the combined Body pieces. It should be inside out, bad sides exposed. The end with the ribbon should be sticking out of the outer side of the Mr. Saturn body, which is where the good sides of the cloth are visible.
Remember how the hair was bent 90 degrees? The shorter part of the hair's bend should be on the inside of the body. Place that small bend of wire inside of the extra cloth along the body's inner seam. That way, the remainder of the wire will stand up by itself on the outside of the body. Pin the hair in place. You might want to flip the body inside out and make sure that none of the hair bend shows up on the outside of the body between the seams.
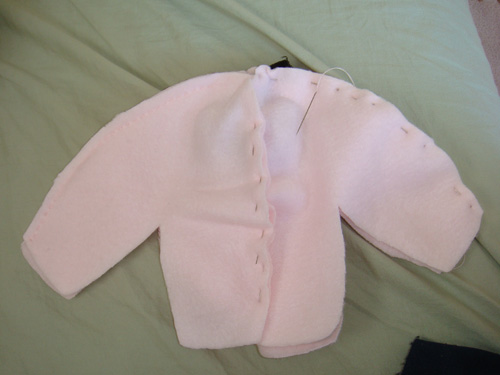
Take some pink thread and start sewing along where you pinned the body pieces together. Use the basic stitch. Start from the bottom of the body working up towards the center, removing pins as you go. Keep your stitching small and neat, not crooked, and maintain about a 5-10 mm distance from the edge of the cloth.
When you reach the hair at the center, use the whipstitch or hiddenstitch to carefully sew the four body pieces to where they touch the hair. I had to remove the pin holding the hair and pinch it in place. I turned the body inside out and back again several times to make the stitching easier and to see what I was doing.
Once that's done, start securing the small bend of wire to the body. To do that, it's probably easiest to push it slightly out of the way and start sewing down the body pieces, similar to what you did before, using the basic stitch and maintianing an even distance from the cloth edges. And then go back and run some stitches right through the hair's wire and cloth sandwiched between the inner folds of the body pieces.
It's important to secure the hair very well because people will be tempted to grab Mr. Saturn by his hair more than any other part of his body.
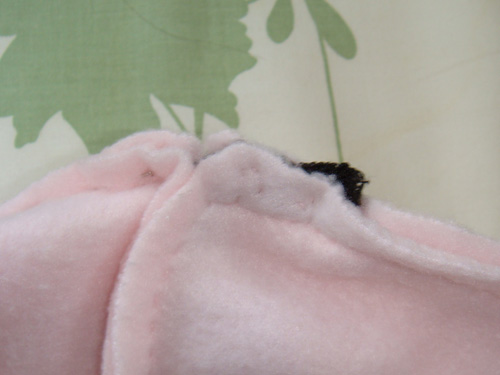
Continue sewing down the body piece. Once you're done, prepare another pink thread and sew up and down the remaining two sides of the body combination. Here's a closeup of the hair where it meets the body, with the cloth pulled back so you can just barely see the stitching.
Previous: Making Mr. Saturn's body
Next: Making Mr. Saturn's nose