Geno Plushie Blog Part 1: Intro and 2012 Version
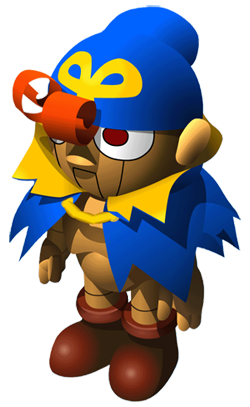
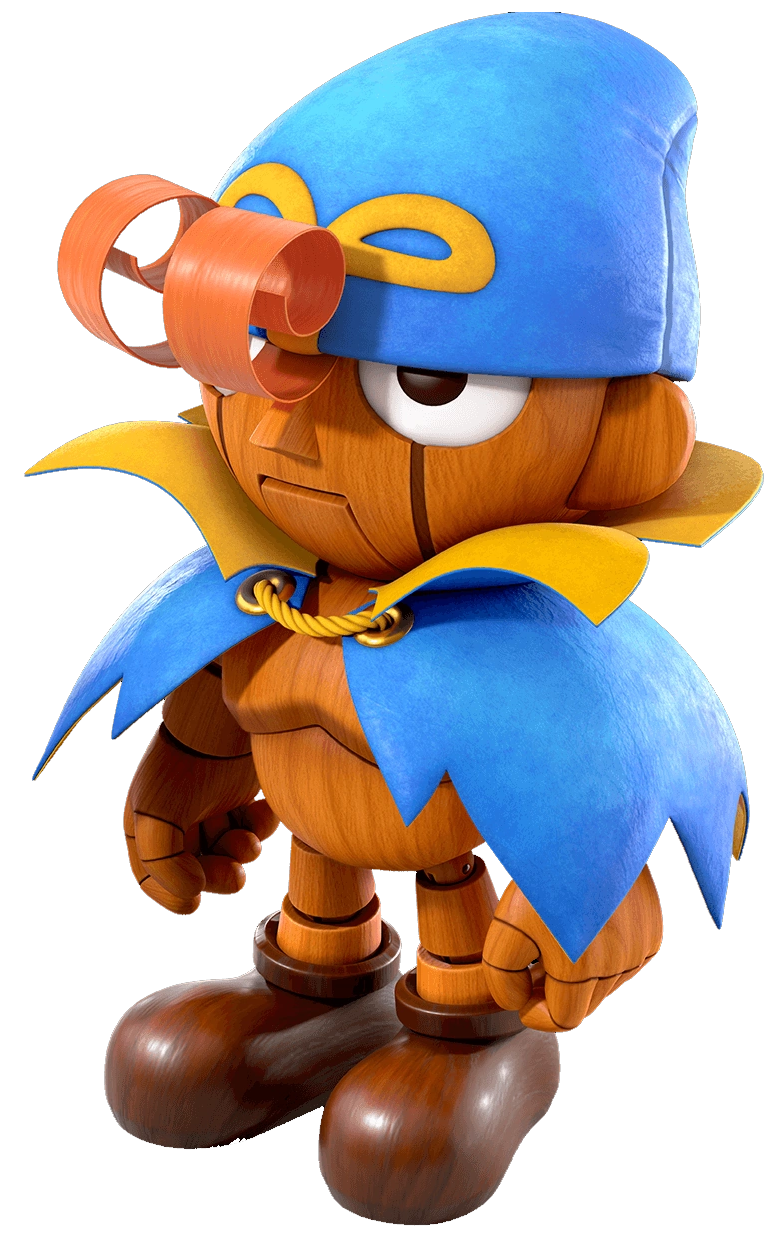
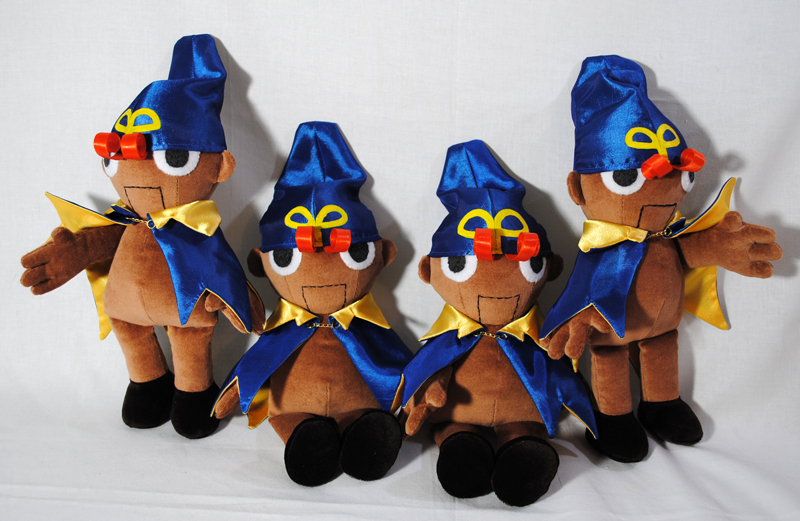
Surely you know Geno, the literal Star of the classic video game: Super Mario RPG? This plushie version of him had always been a popular seller in my store. I wish I could just pump out a ton of Geno plushies, but he's quite involved to construct! This blog-thingy, while not meant to be a complete tutorial, is meant to educate budding seamsters on some of the techinques I use to make plushies and inspire them to make similar things. Or if they're really up to it, they can try to make their own Geno! Though if you don't sew, maybe you'll get a kick out of how flat pieces of fabric are magically turned into a cool 3D doll. Sometimes Geno plushies are available in my Etsy store, although they tend to sell out quickly.
The first version of Geno was made back in 2012. He got a major update in 2018 with the addition of embroidered eyes, man boobs, a shapely butt, and shoe shafts that wrap around his ankles. Then in 2023, I threw most of his old pattern out the window and remade him from scratch. By then, I was a much more experienced seamster with many more techniques at my disposal. And his resurrection came just in time for the Mario RPG remake!
Skip to the 2018 Version
Skip to the 2023 Version

Anyways, here's how I made Geno in 2012!
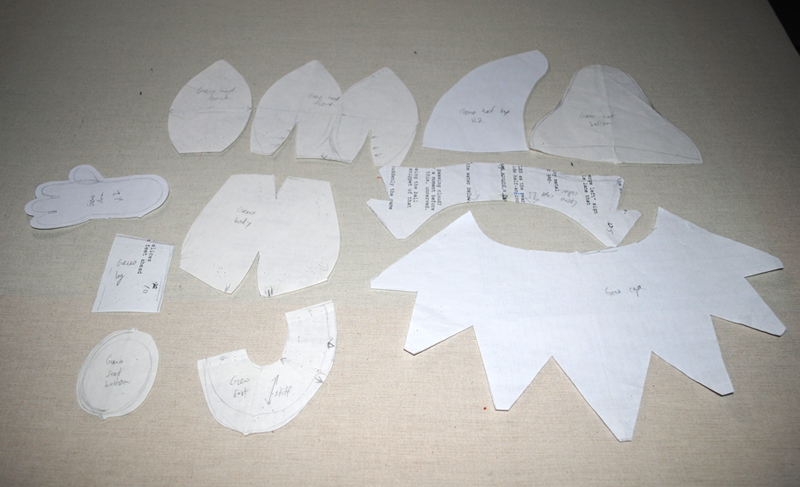
Here are all the pattern pieces for Geno. I just make all my pattern pieces on scrap paper.

The fabric I use for Geno's body is a kind of very low pile velour of sorts. I want him to be textured and cuddly without being too fuzzy.
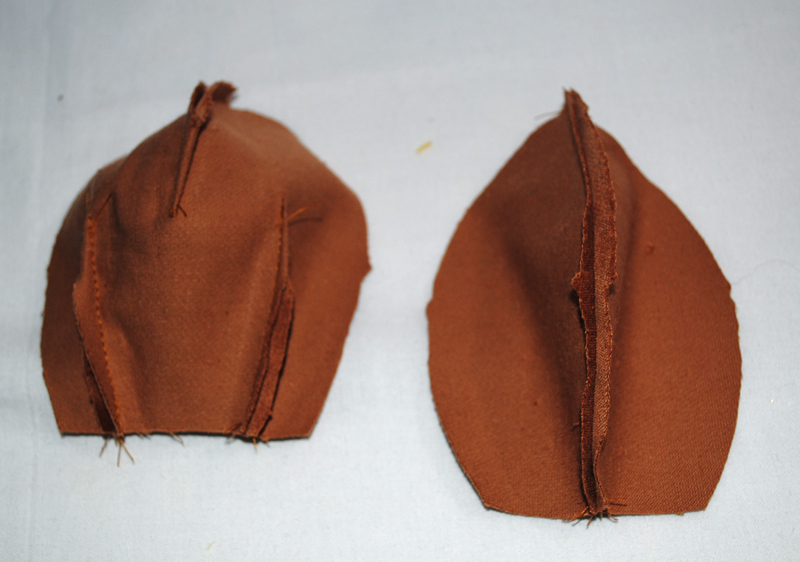
Here's the front and back pieces of his head. Their pattern pieces are different, with the front piece (on the left) having some very precise darts to control the shape of the head and the positions of the seams. As you will see later, the only seams that will be visible on the front of the face are the two that run down his eyes. It corresponds to the lines that run down Geno's eyes in the official art. I love it when seams are both functional and add to the overall look!
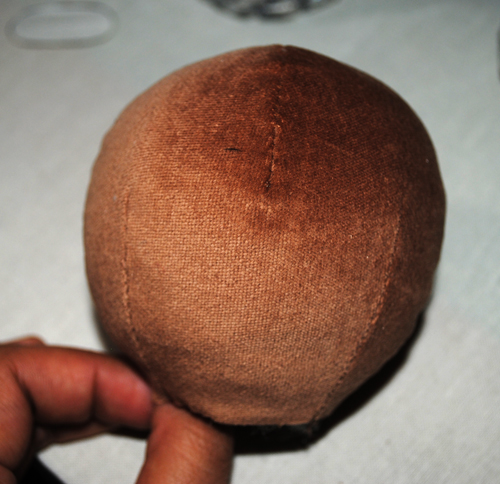
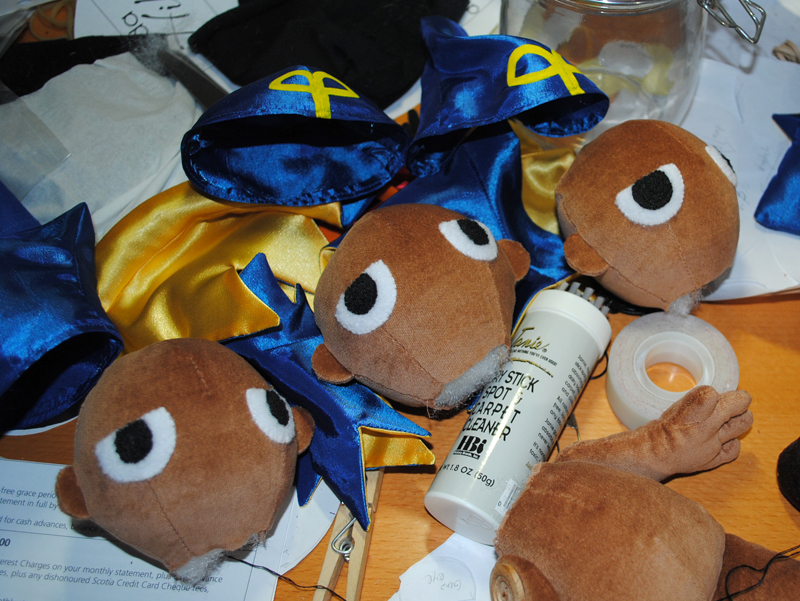
An here's his head all put together and stuffed. Although... there seems to be something missing....

OH BUTTS, I forgot his ears! Well, that's straightforward enough to fix.
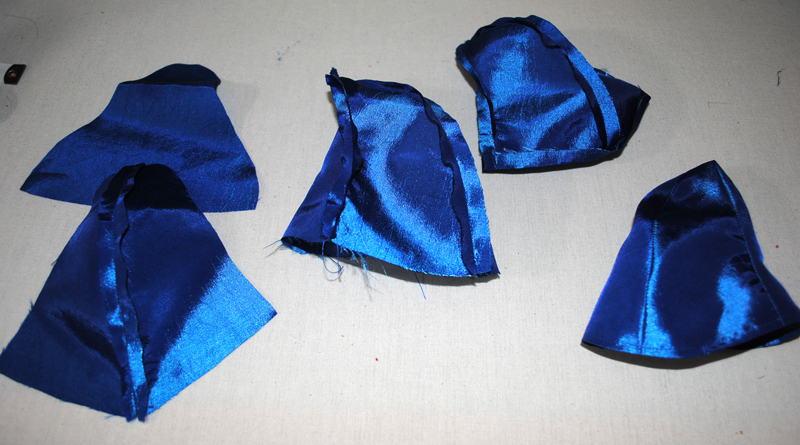
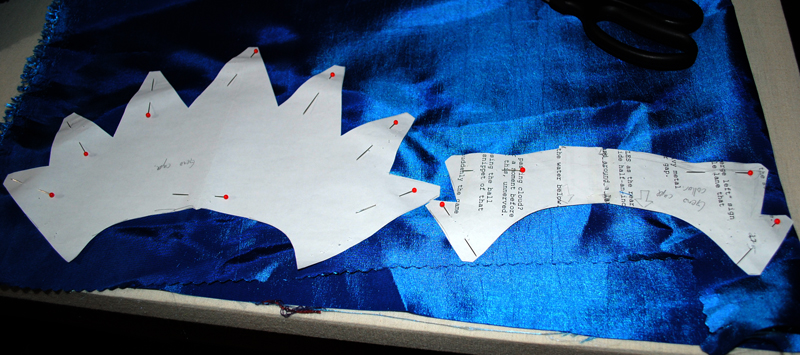
The hat is simply three fabric pieces sewn together with the hem folded up once and sewn. I used to use polyester satin for Geno's cape and hat, but I happen to have lots of blue taffeta, so I use that as well as yellow satin together.
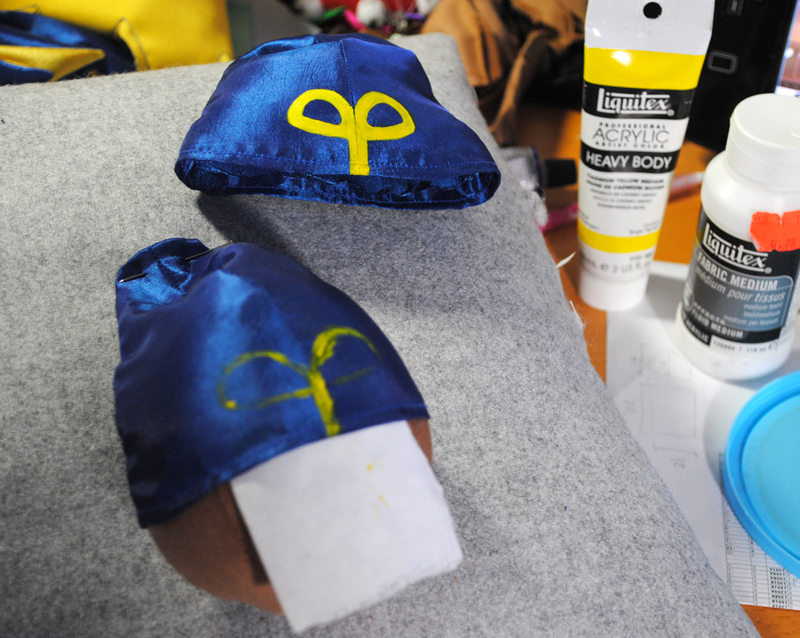
To make the yellow symbol on Geno's hat, I use acrylic paints with some fabric medium so it doesn't get too plasticy. But the plasticy quality of acrylic is good on the dark taffeta; it's not so transparent that the blue shows through, and it won't bleed. As you can see here, I pull the hat over the head to paint them, with a scrap of paper protecting the face.
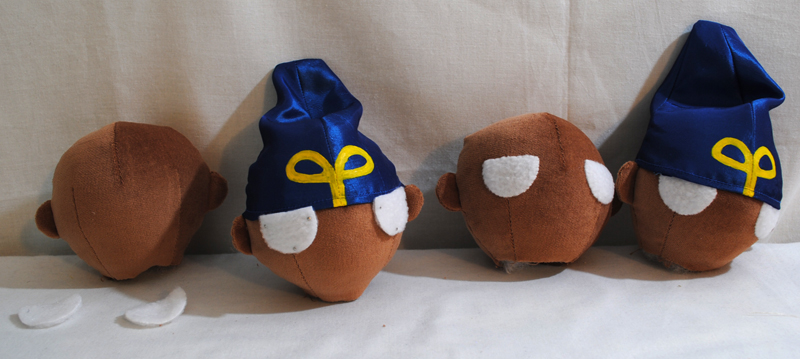
White fleece semi-circles are positioned carefully using pins, then hand-sewn onto the face. I like using fleece when I hand-applique because its edges don't fray and it is fuzzy enough to hide my stitching job.
However, that can make the pupils of Geno's eyes look fuzzy. I control that a little bit by using a dimensional fabric paint. Once it's dry, I'll iron it under a piece of cloth, making flattening out the paint.
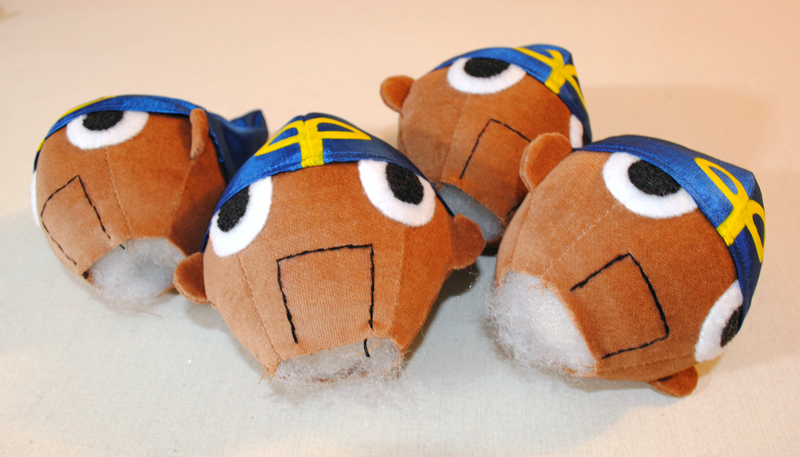
Their mouths are embroidered on. Yeah! Look at these handsome devils.
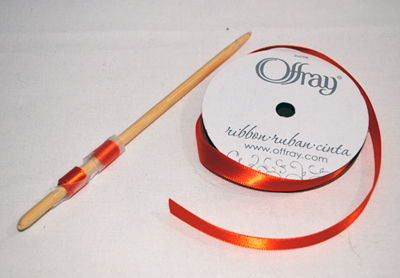
Geno's curly locks are made out of polyester ribbon. First, I wrap a few lengths of it around a stick and tape them to keep them rolled.
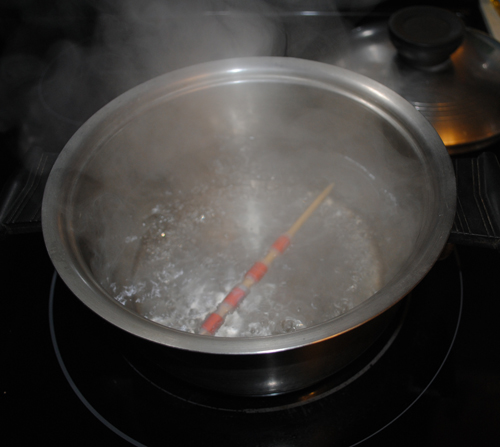
Then I boil the ribbon. The thing about polyester is that it responds well to heat. It's pretty much plastic.
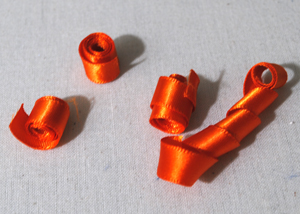
Curly ribbon! I cut them into appropriate lengths and burn the ends so they don't fray.
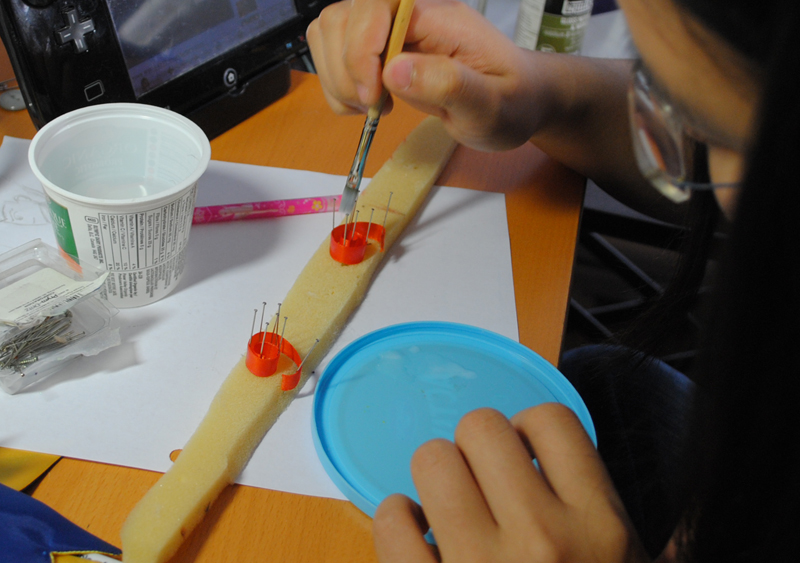
I carefully shape the curls around pins and apply a gloss acrylic medium. This will stiffen the ribbon. I used to use starch, but that stuff tends to melt away with moisture and time, leaving droopy ribbon.
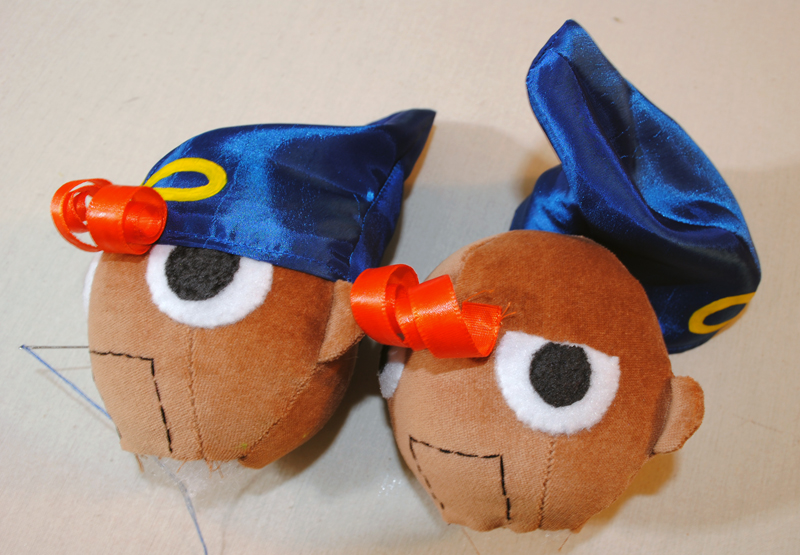
I sew on the hair, then I sew the hat right onto the head. There sure is a lot of hand sewing on these guys!
The pattern for Geno's cape is only two pieces.
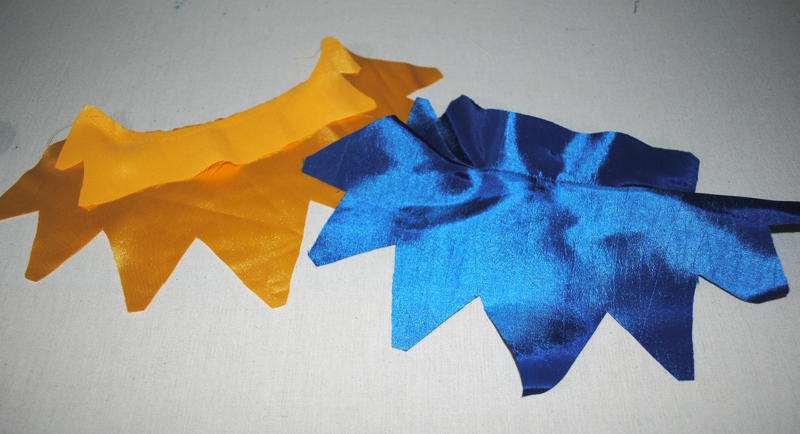
Wait, make that four. Two each in blue and yellow. Here they are sewn together
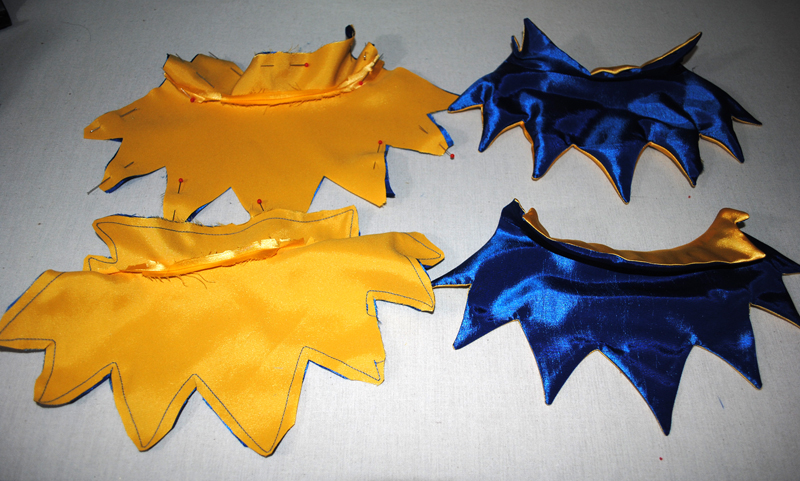
Then the inside and outside are sewn together. It's important to carefully trim away the seam allowance and iron the cape flat. The finished cape is on the bottom right corner.
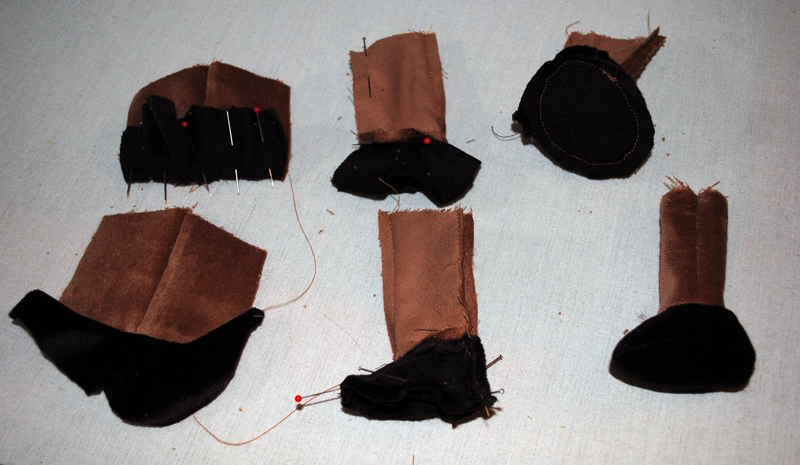
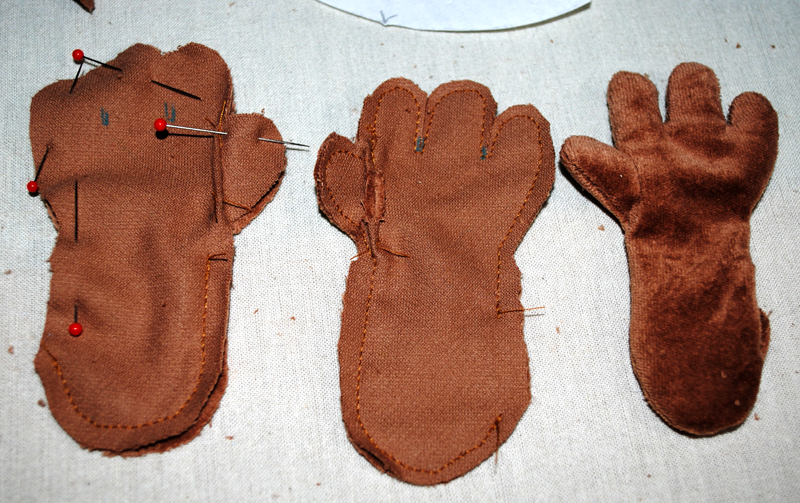
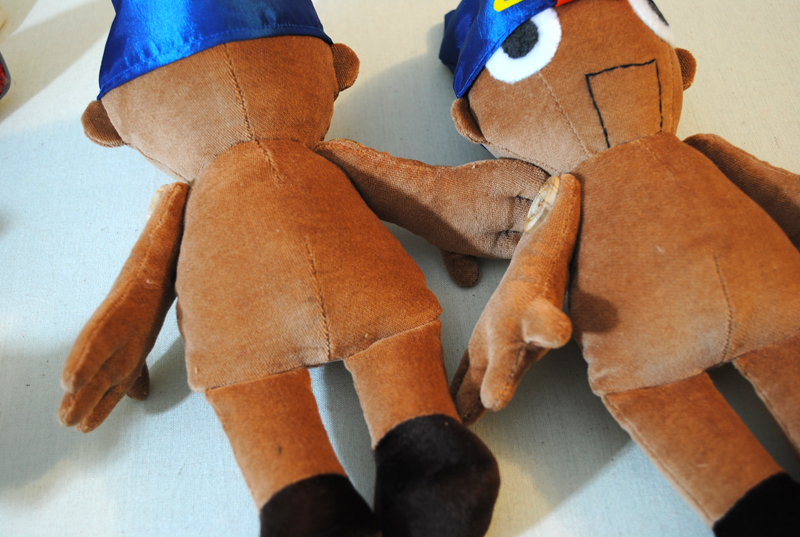
Now onto the feet. In the top left corner, you can kinda see how I attach the foot to the leg. It requires a lot of pins, because I'm curving the foot piece very unnaturally. But once I attach the foot bottom and turn it inside out, everything looks alright.
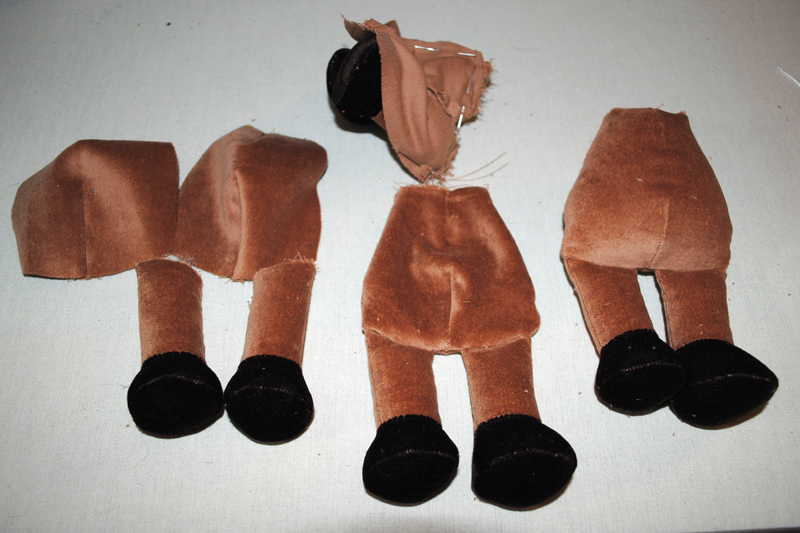
Attaching the legs to the body is also kind of fussy. As you can see at the top of the photo, the legs need to be crammed inside the pieces of the body as it's sewn inside out.
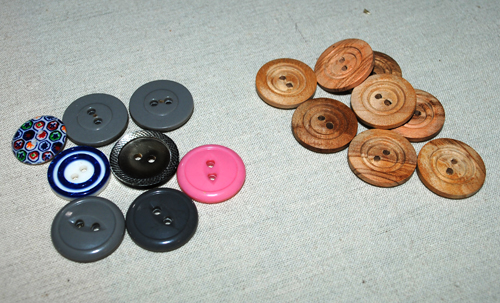
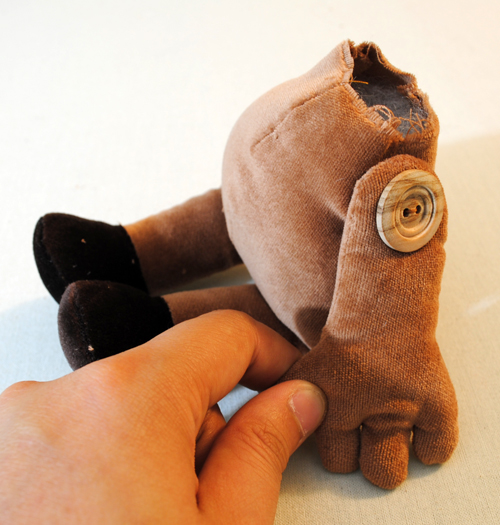
To make the arms posable, I use button joints. The outside button is a cool wooden button to fit with Geno's puppet style, but the inside can have any old button.
Geno: Now with Karate Chop Action!
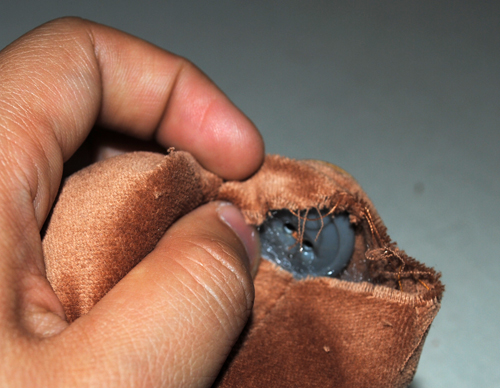
Here's a closeup of the inside button.
The heads are sewn on by hand. All that's left is to put on the cape.
The gold chain in the front of the cape is sewn closed around Geno's neck, so it's not going anywhere. And all of a sudden, he is finished!
Onwards to Part 2: 2018 Version
Or skip to Part 3: 2023 Version
