Metroid Plushie Tutorial
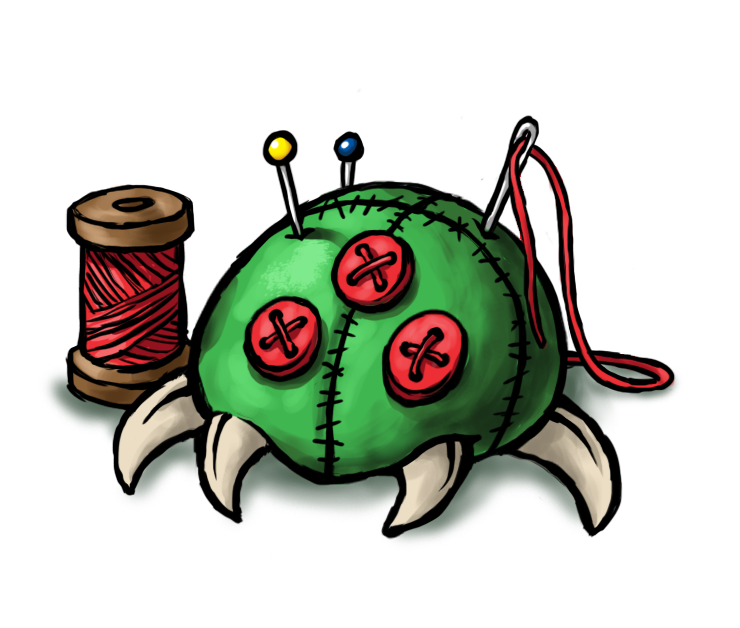
Metroids on your mind? How about making your own Metroid plushie as a huggable companion? Congratulations, you have come to the right place! This is a fairly straightforward pattern suitable for beginners, and you don't even need to use a sewing machine if you don't want to. Though if you're a total newbie to plushie making, or if you need a sewing refresher, it's a good idea to check out my Sewing Materials and Techniques page for a review on the basics of sewing.
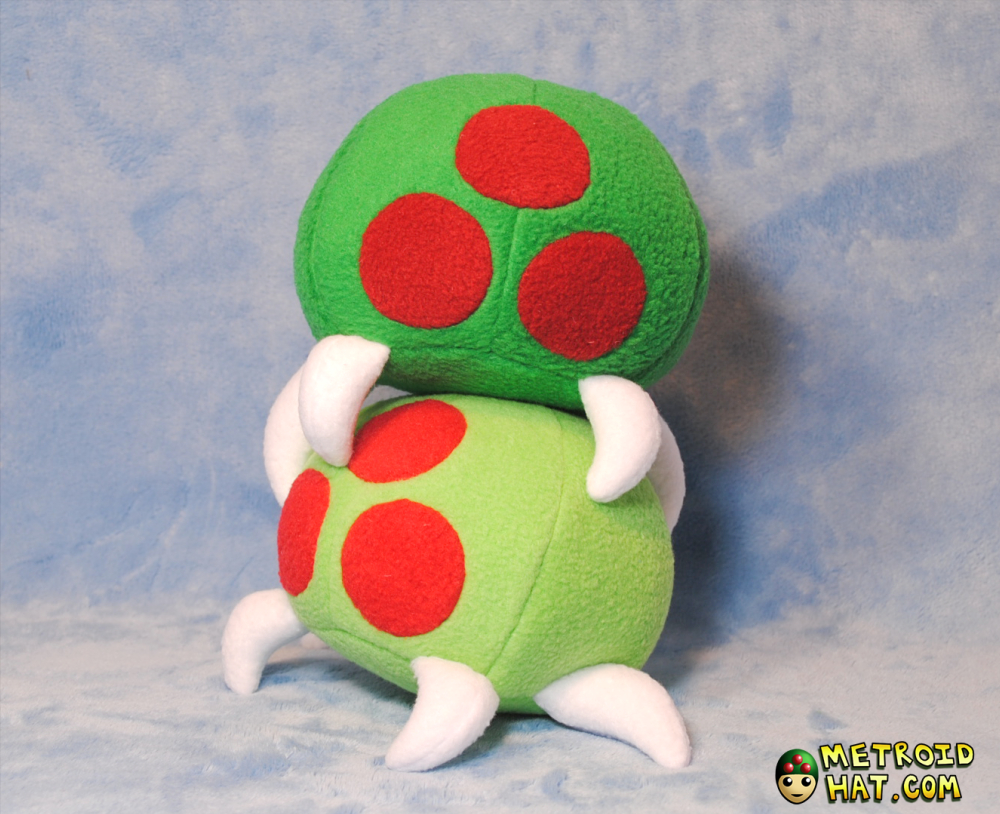
This is my newer Metroid pattern tutorial, updated in 2020. This is the same pattern I use to make plushies sold in my Etsy store, which are occasionally available.
If you want to see the older 2007 version of my Metroid plushie tutorial for some reason, click here.
Once in a while I give a seminars on Fangamer's Twitch, sharing some of my plushie making processes. For one of them, I made a Metroid plushie. So you can follow along with this video if you need a little extra guidance.
Pattern
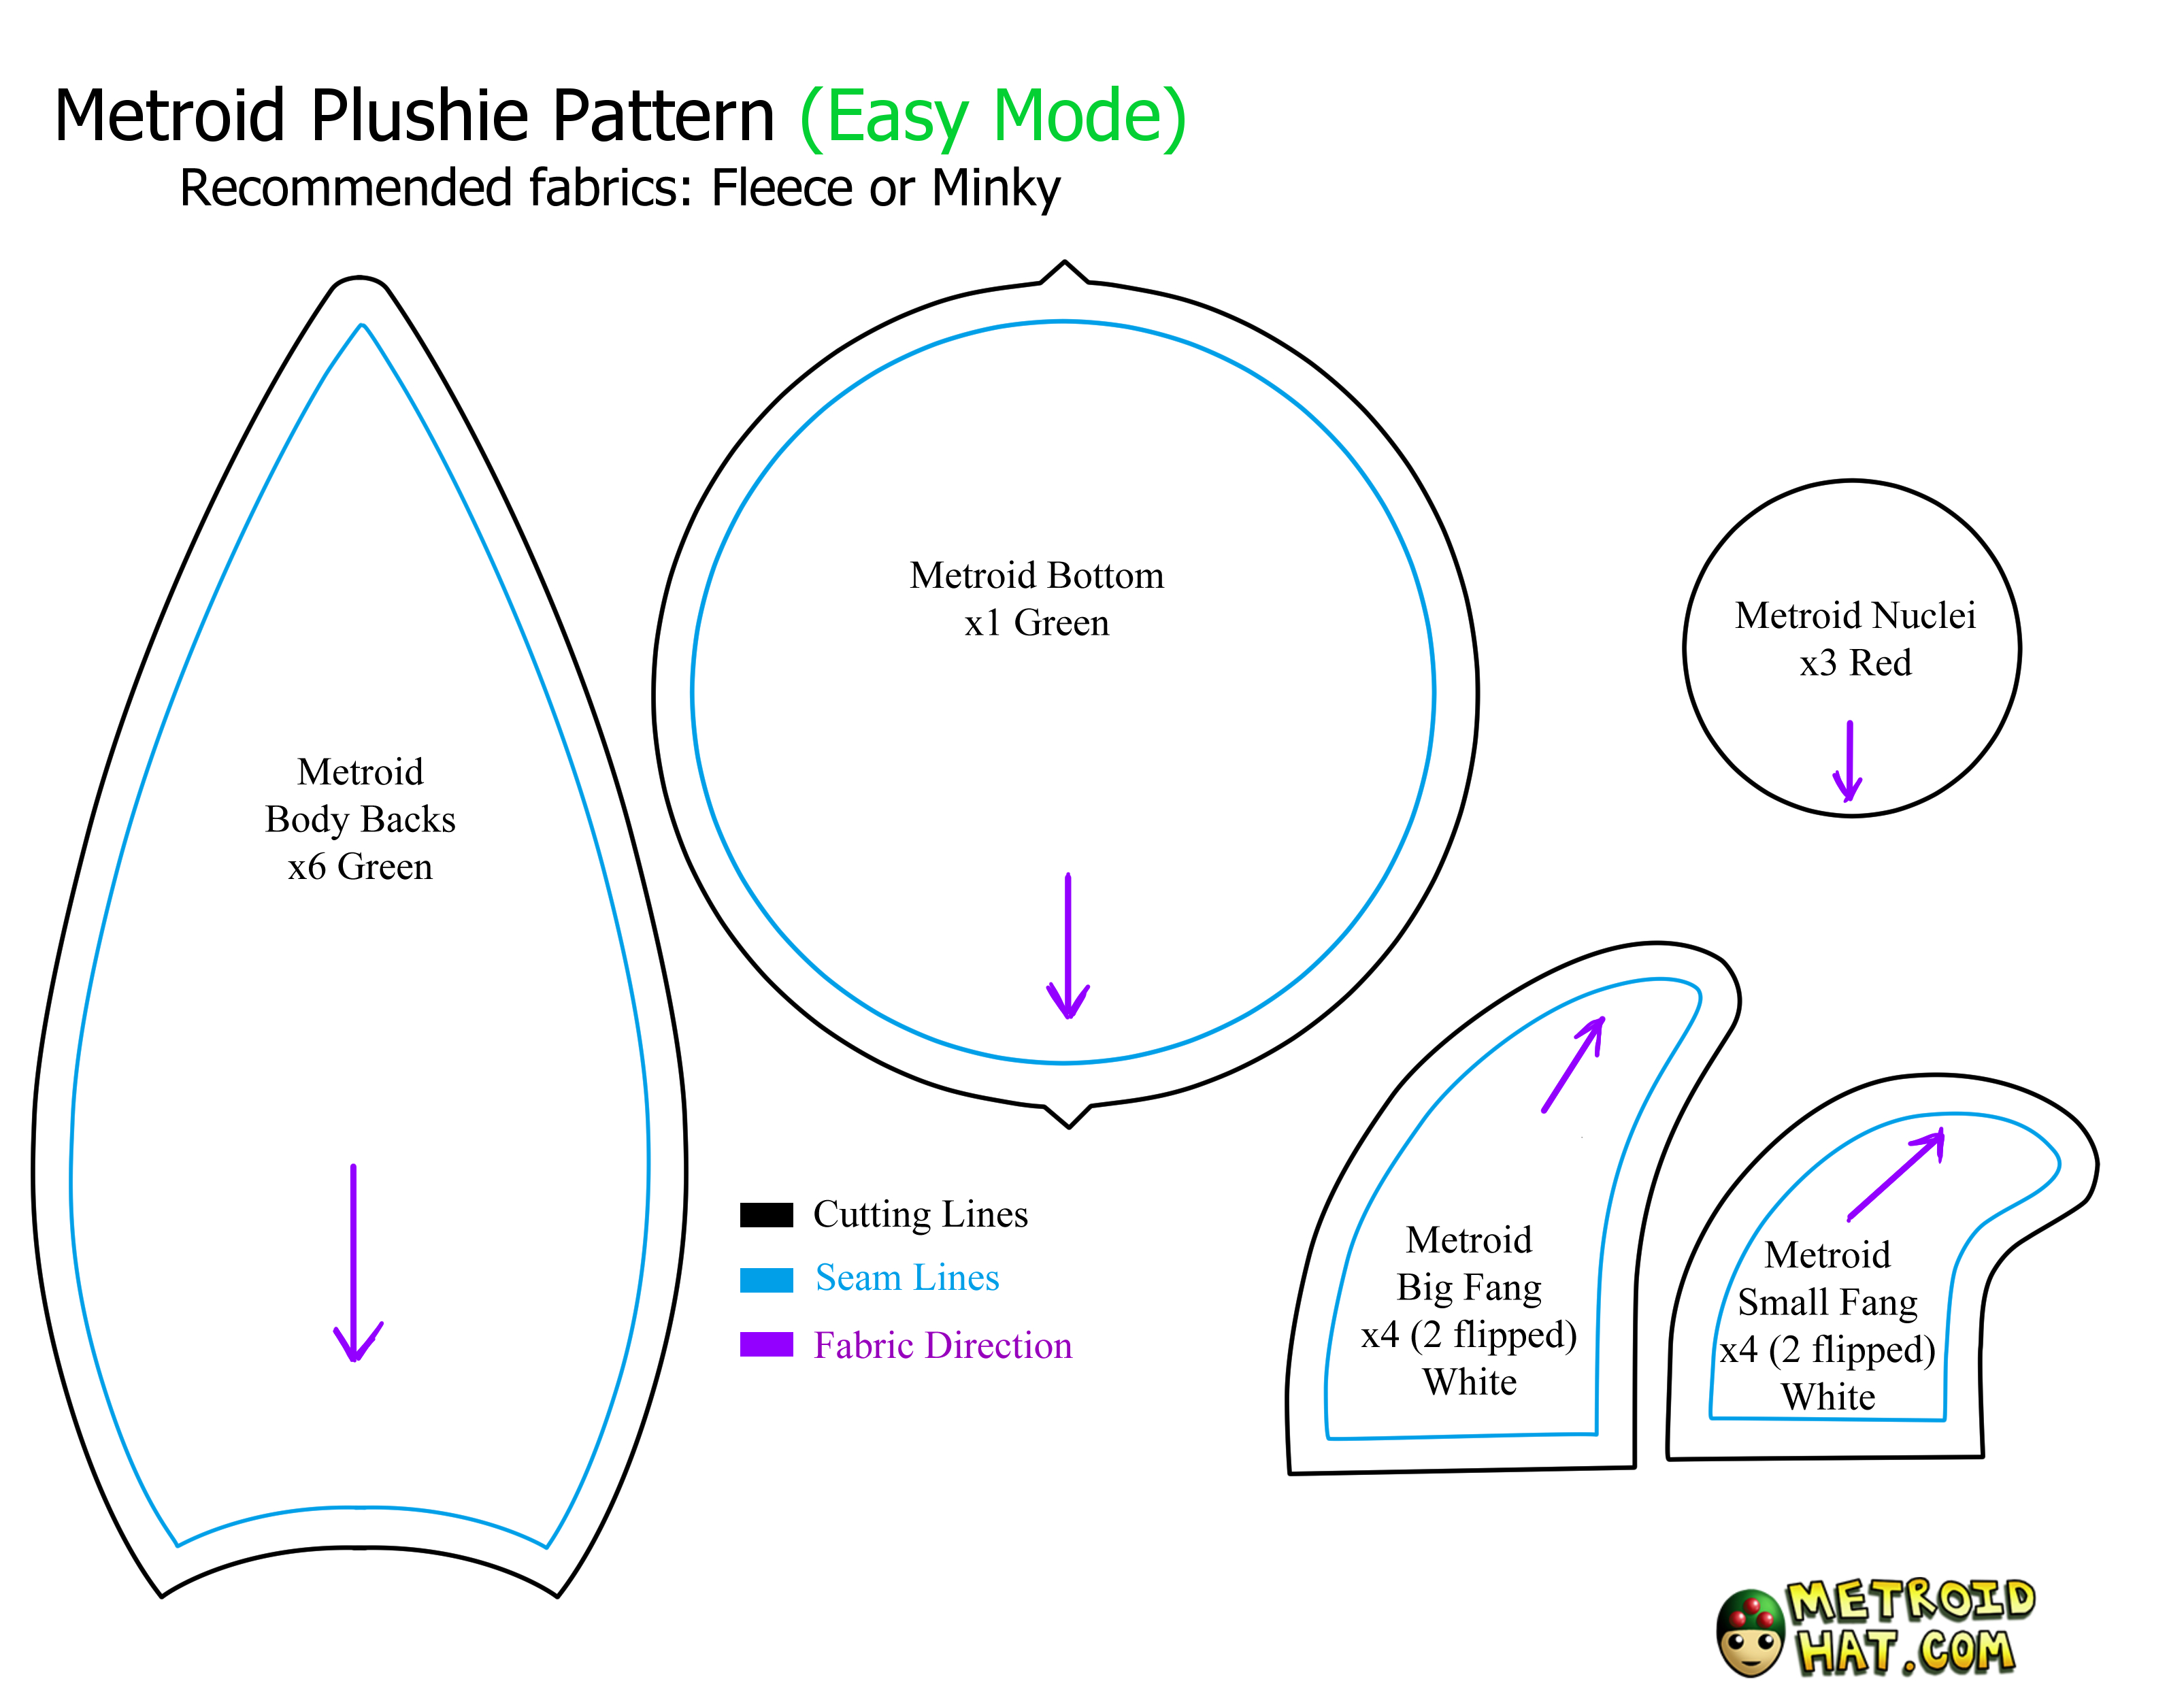
Please note that there are two patterns, the main difference between them being how difficult the nuclei are to attach. This tutorial mainly deals with the Hard pattern, but if you find that intimidating, you can use the Easy one instead. These pattern pages can be printed out on normal 8.5x11 paper in landscape mode.
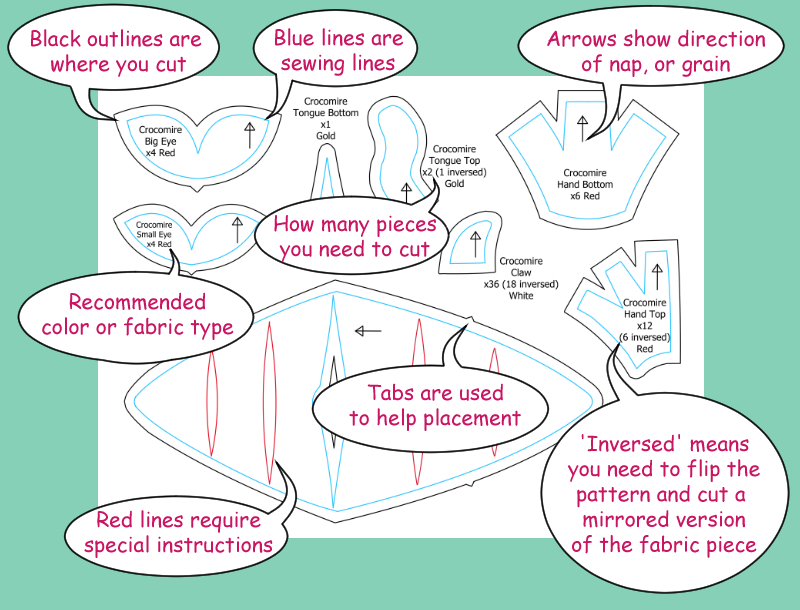
Here's a handy guide on how to read my patterns:
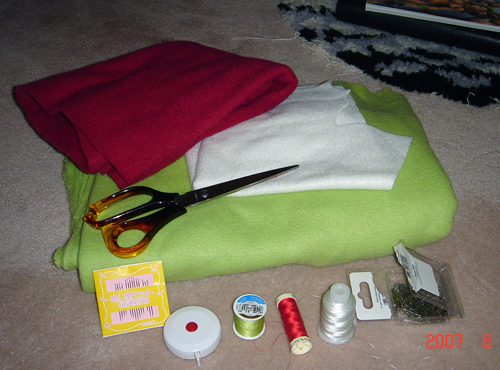
Materials List
Time to Sew!
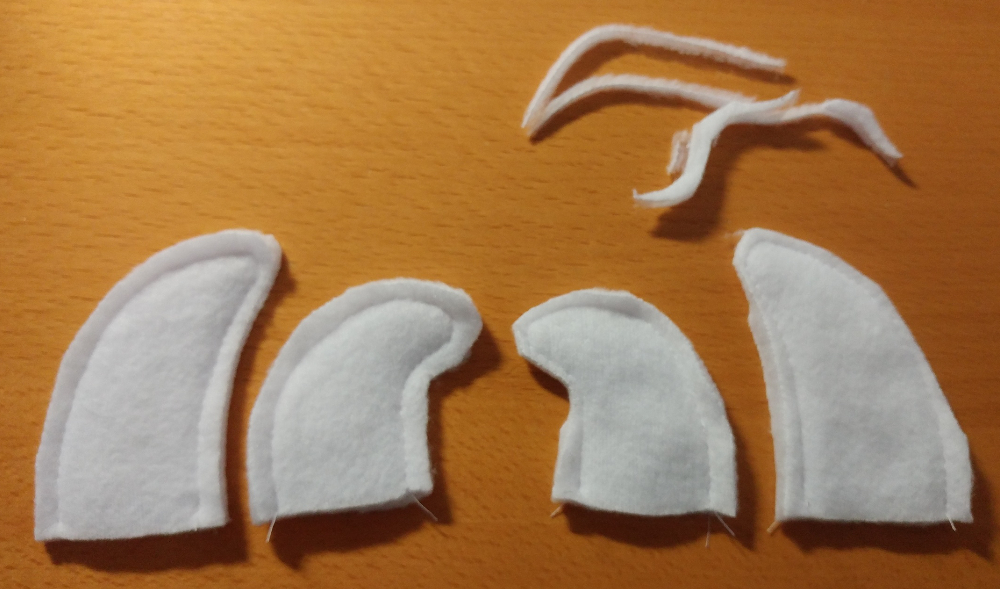
Match each of the Fang pieces with their opposite, placing their right sides together, and sew around, leaving the bottom open. Trim the seam allowances around the area you just sewed, especially around the tip and curves of the Fangs.
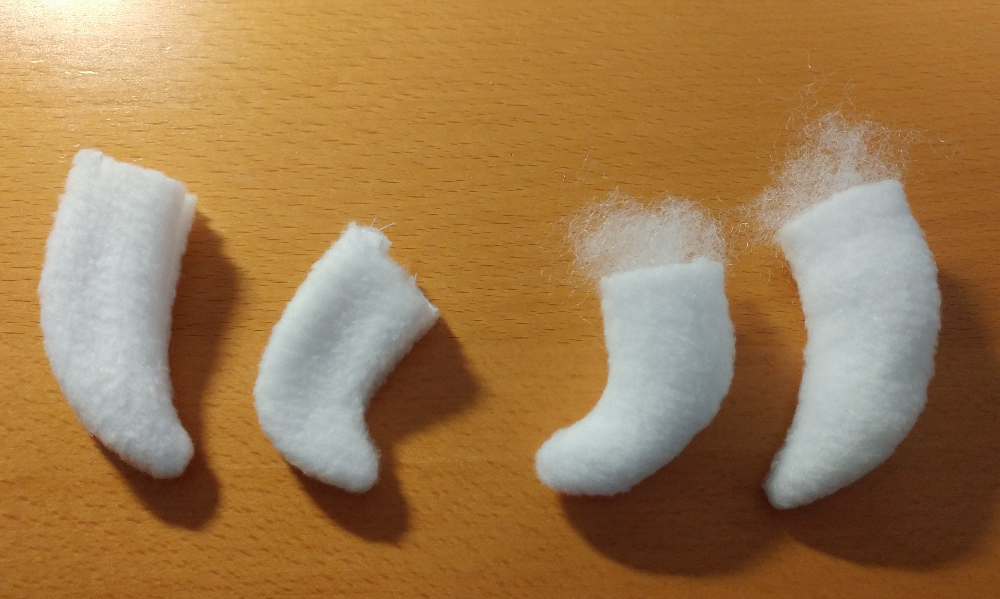
Now turn each Fang inside out and give them a bit of stuffing.
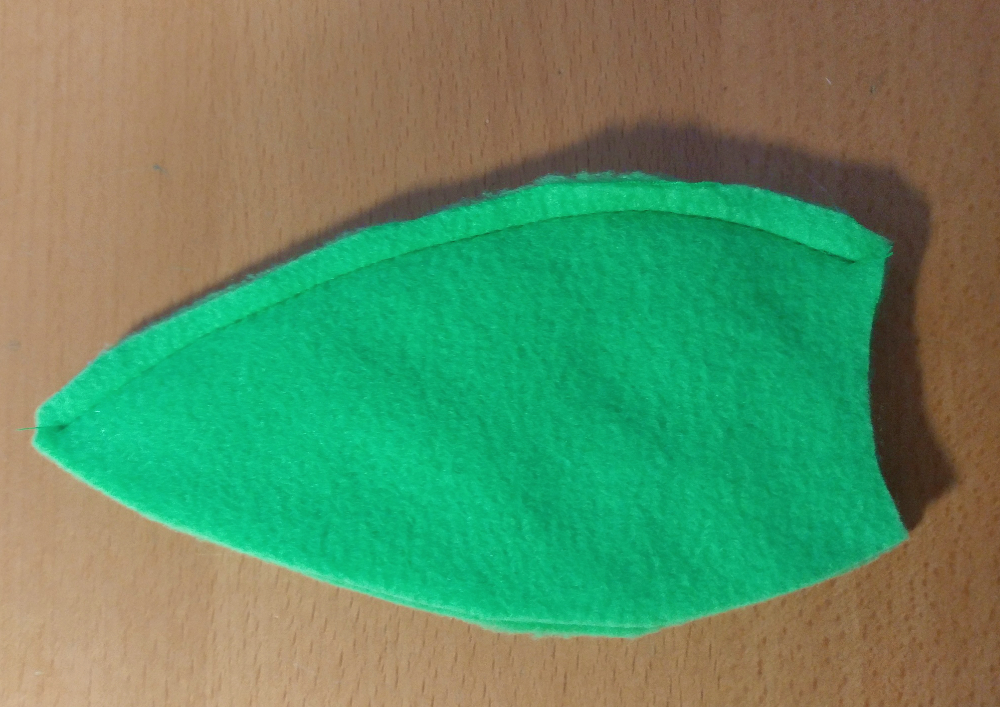
Take two of the Body Back pieces, match them right sides together, and sew down one side.
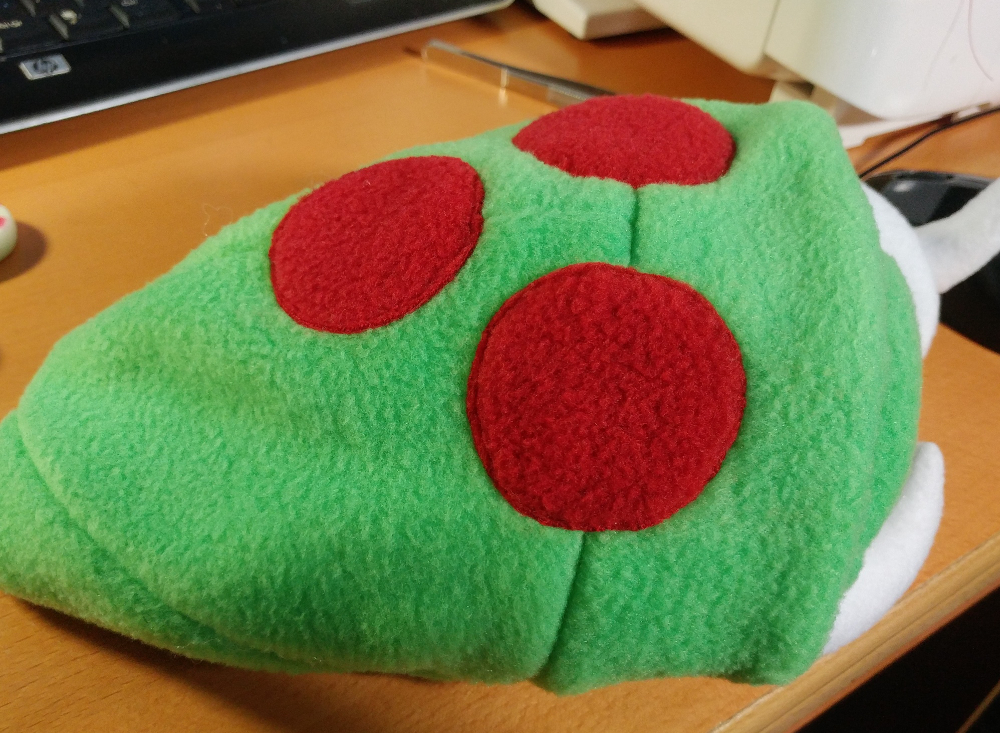
If you are using the Easy Pattern, open up your Body pieces and place the Nuclei where you want them to be on the good side of the fabric. Carefully pin them down then sew around the nuclei's edges. You can use sewing machine or hand sew. The picture here is actually that of a Metroid Hat, which I used a machine to attach the Nuclei, but you get the idea.
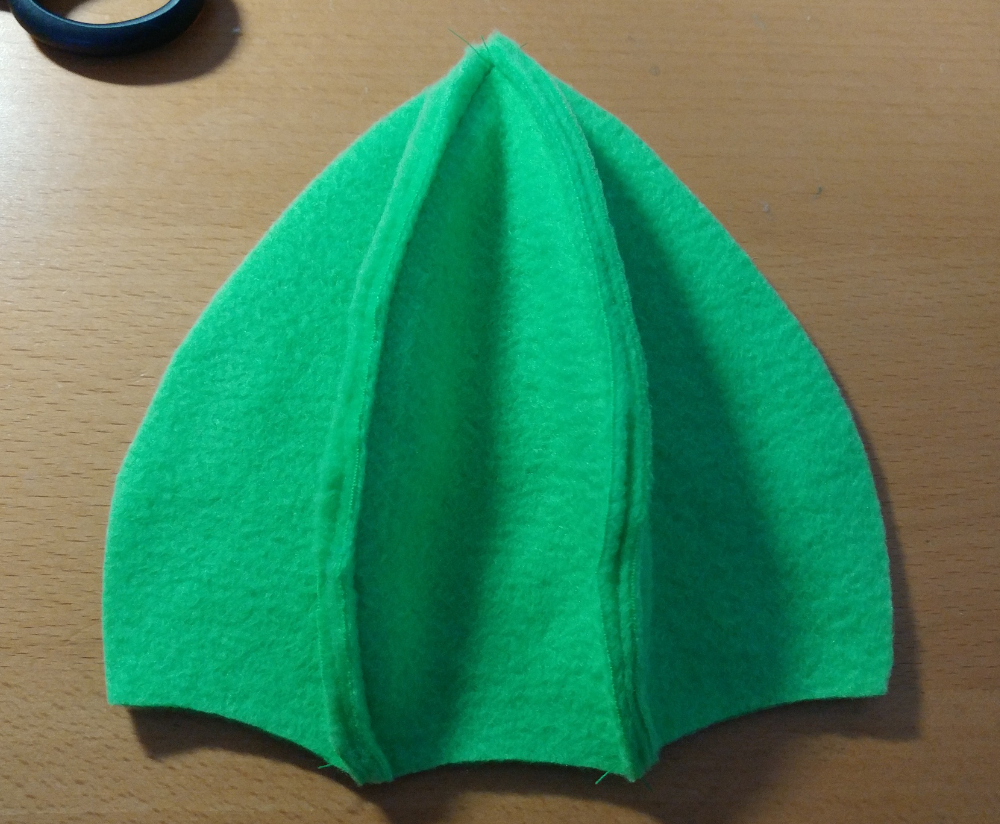
Now add another Back piece to the ones you've already sewn, trying to make sure your seams meet at the same place at the tip of each piece.
Now add a fourth...
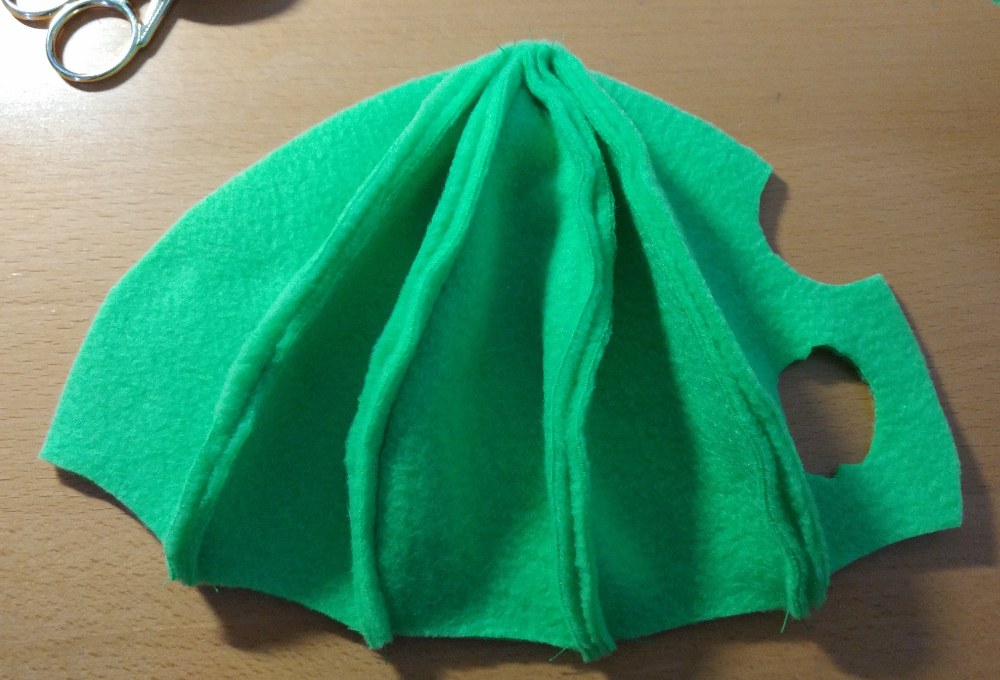
If you are using the Hard Pattern, the next piece will be one of the Front pieces. Sew it on like before. The Easy Pattern only has Back pieces, so continue sewing them on, pretending the holes aren't there in the picture.
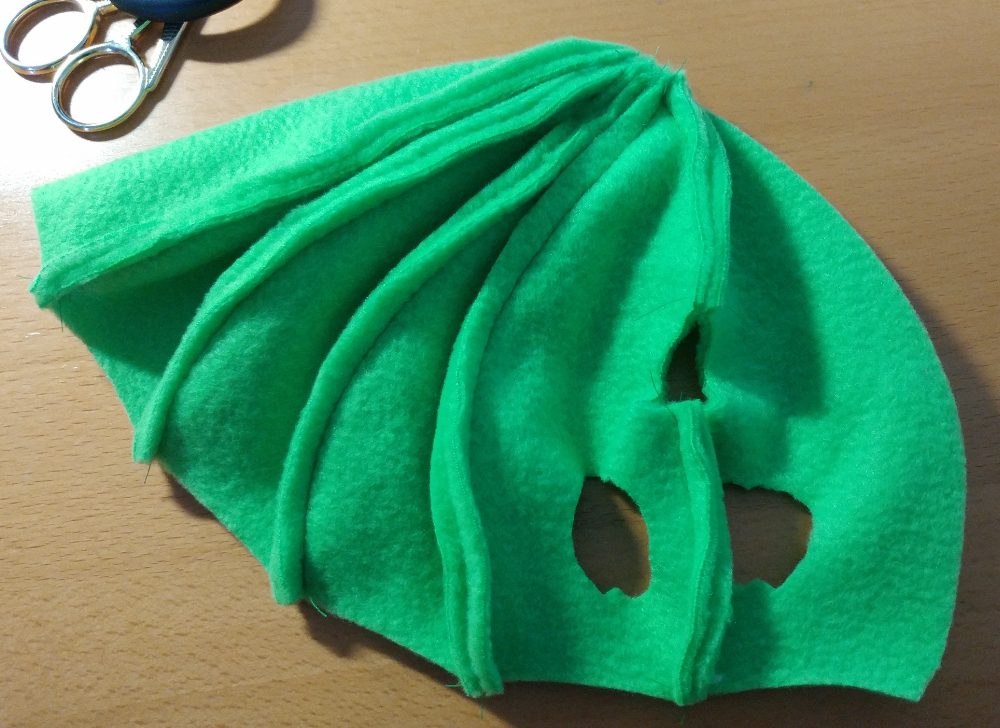
The opposite Front piece can be sewn on. Leave the center opening so you end up with a hole.
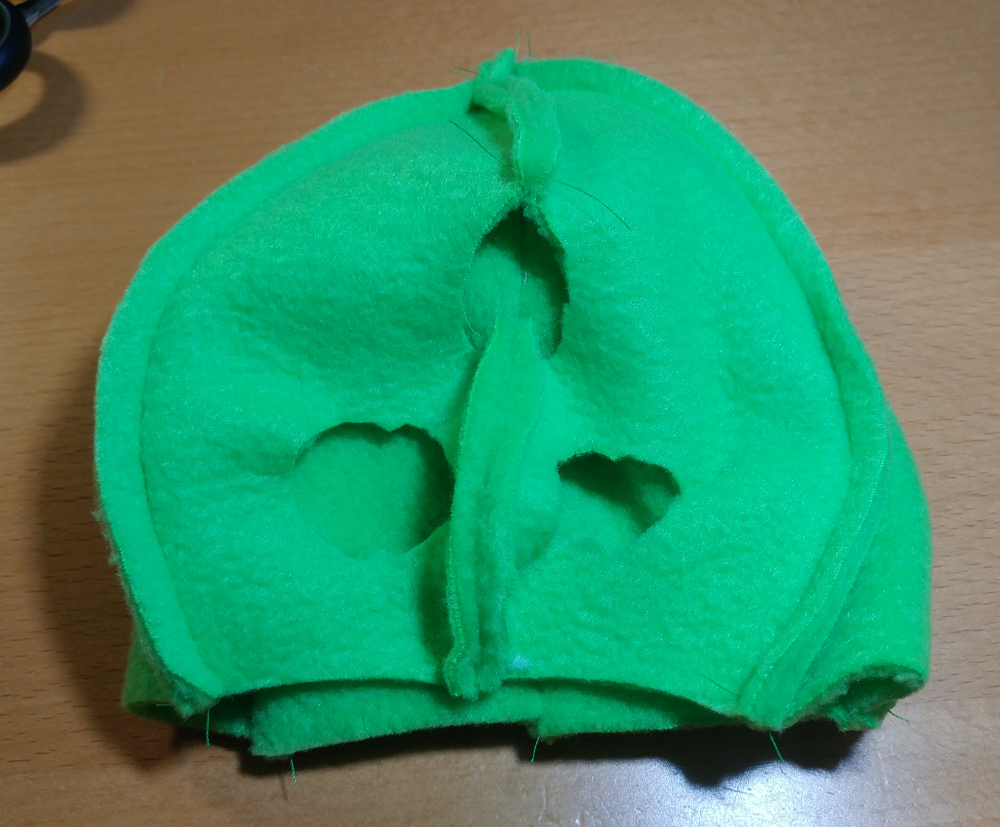
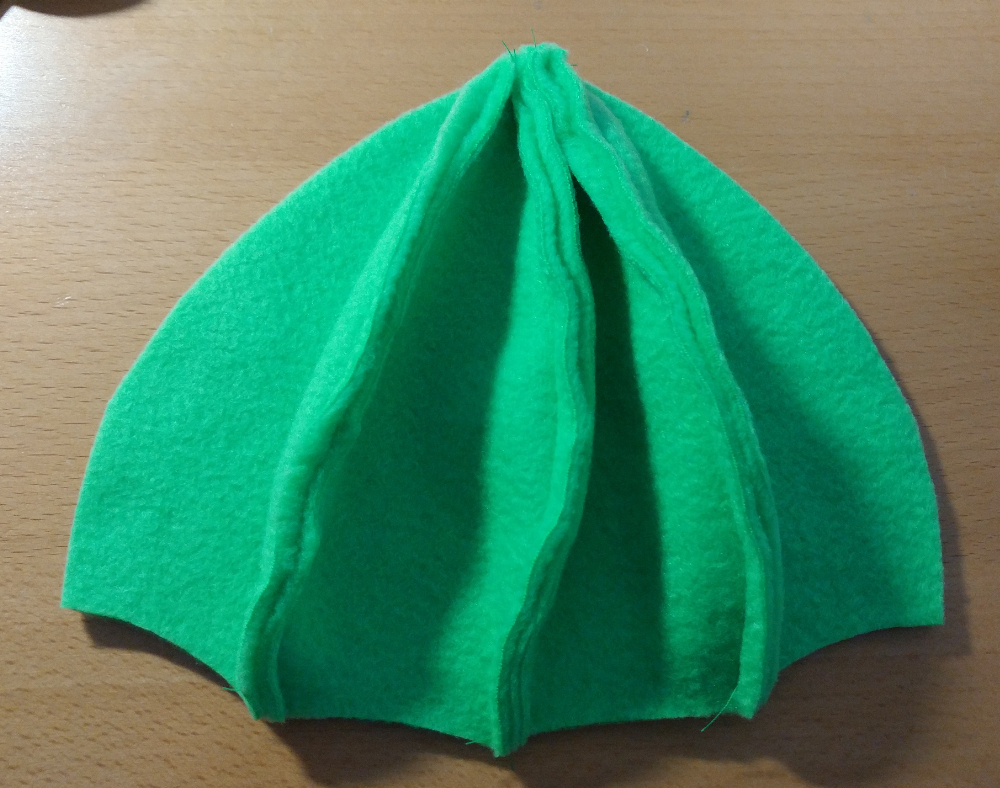
With all six Body pieces jonied, connect the first and last piece so they form a dome.
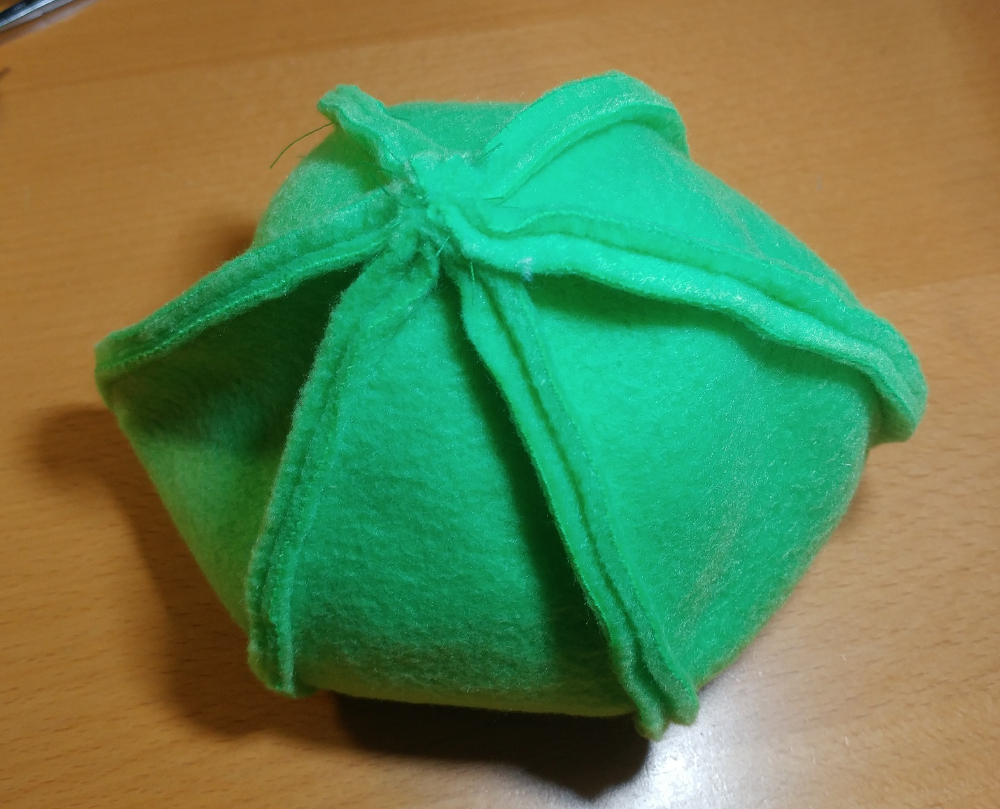
This is how it looks from the top.
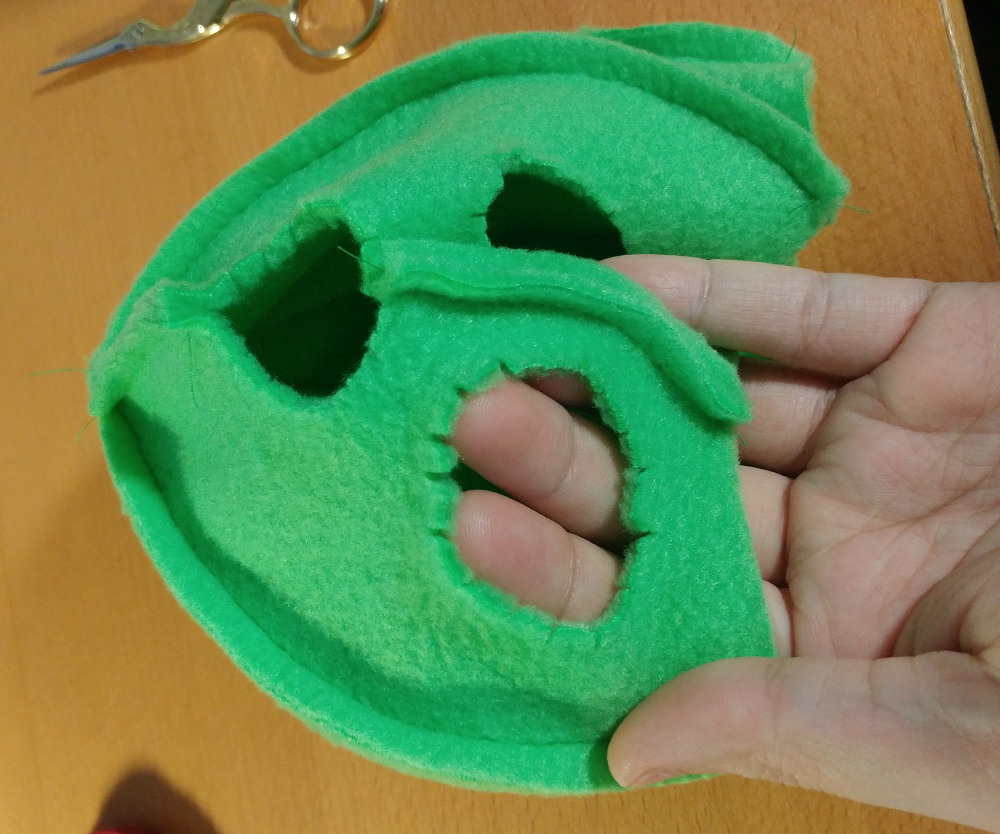
The Hard Pattern requires you to clip into the seam allowance of the Body Front pieces where the nuclei will fit in. Don't clip too deeply; it's better to cut less, then cut a little more if you need to.
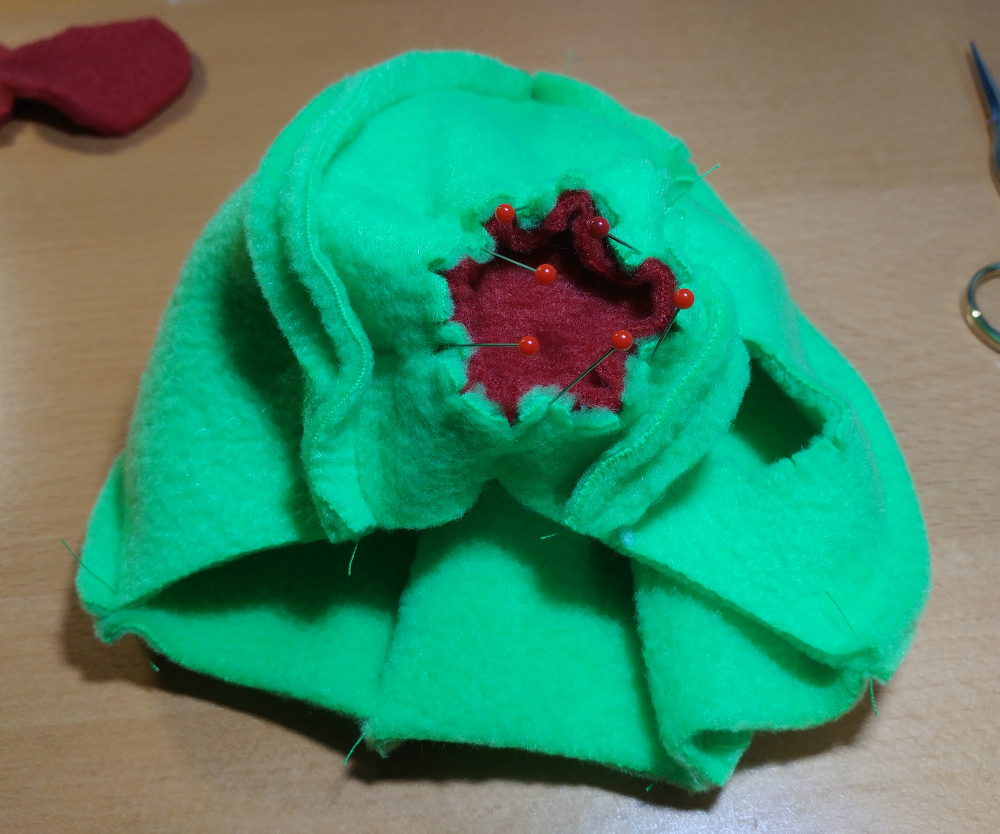
This is the tricky part! Pin the Nuclei to the Front holes. This will require you to wrestle with the fabric because the Front piece especially will not want to cooperate. The clips you made should help you manipulate that fabric. Match the tabs on the Nuclei to the Front piece to help you position them correctly.

Now get in there with your and sew the Nuclei down. If you are using a sewing machine, you will find it easier to sew and maneuver if the green Front fabric is facing upwards.
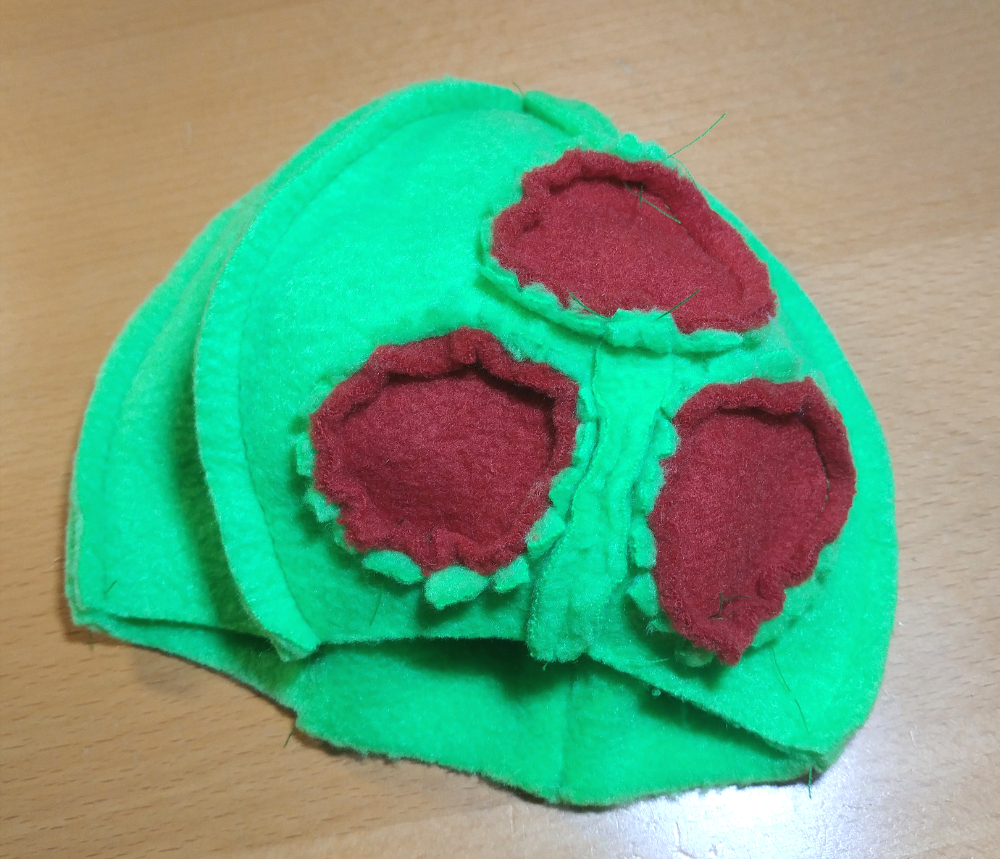
Repeat for all three Nuclei. Phew, the Hard part of the Hard Pattern is over!
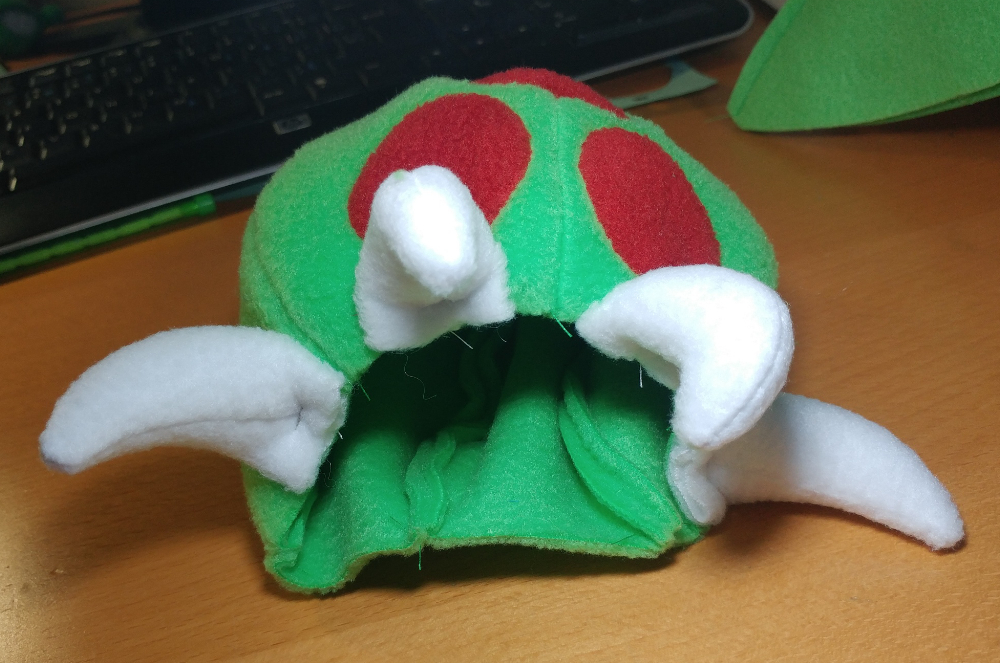
Pin the Fangs where you want them to be on the main Body. Ideally, flatten the base your Fangs such that they point downwards when you pin them down.
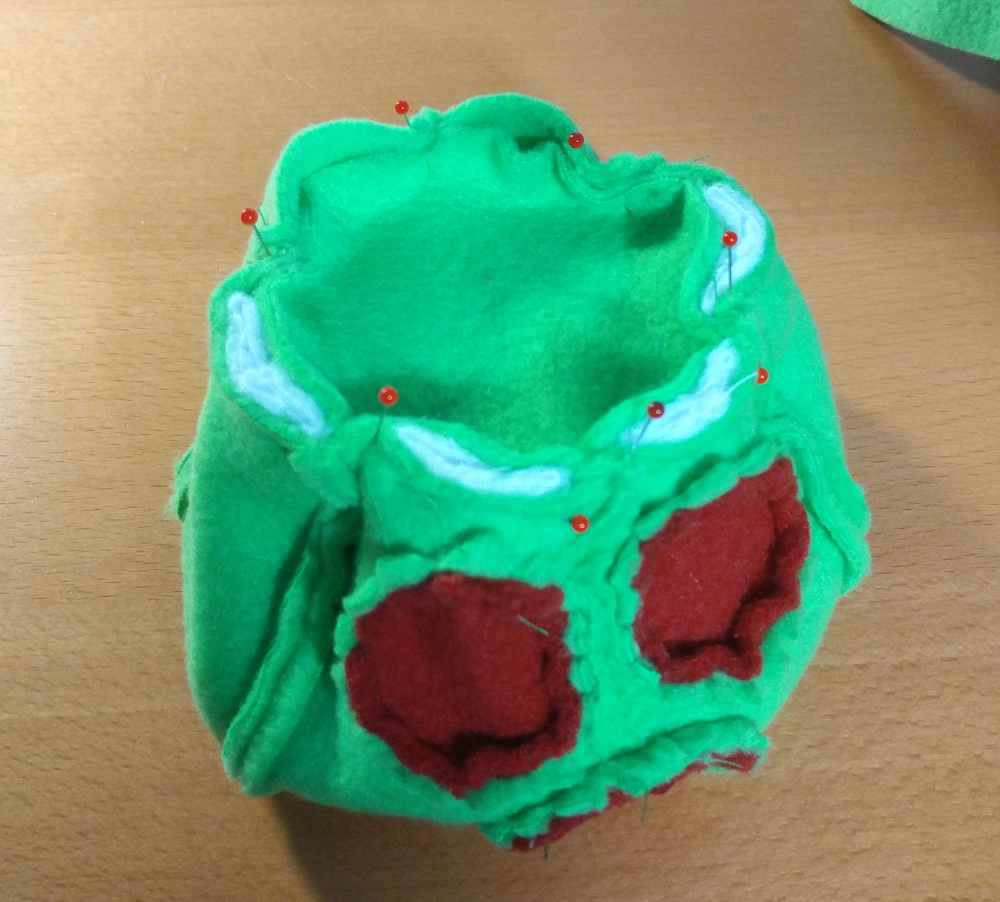
Pin the Bottom piece to the bottom of the Body dome. Pin the tabs to the front and back seams of the Body first so your fabric will be evenly distributed.
Now you can sew around the Bottom, attaching it to the Body. Take care to sew through the Nuclei as you do so. They might slip out as you're sewing. However, you'll want to leave about 2 inches of the back unsewn. You will need that hole to turn your plushie inside out.
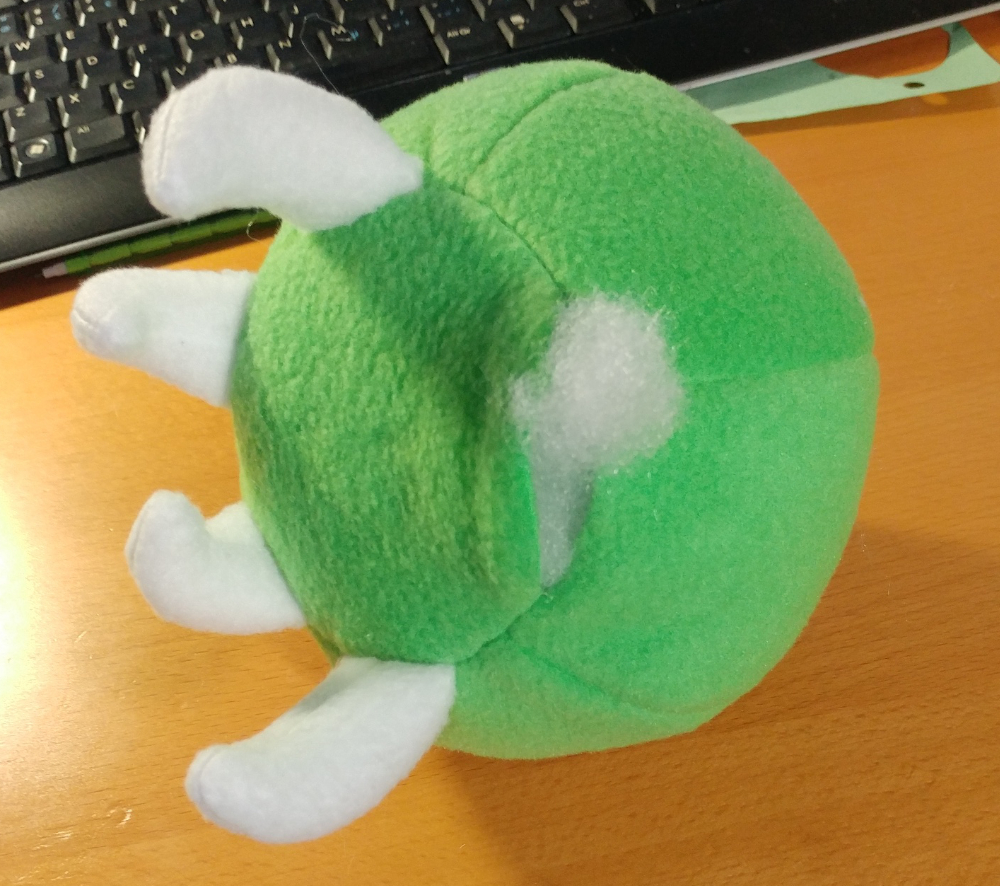
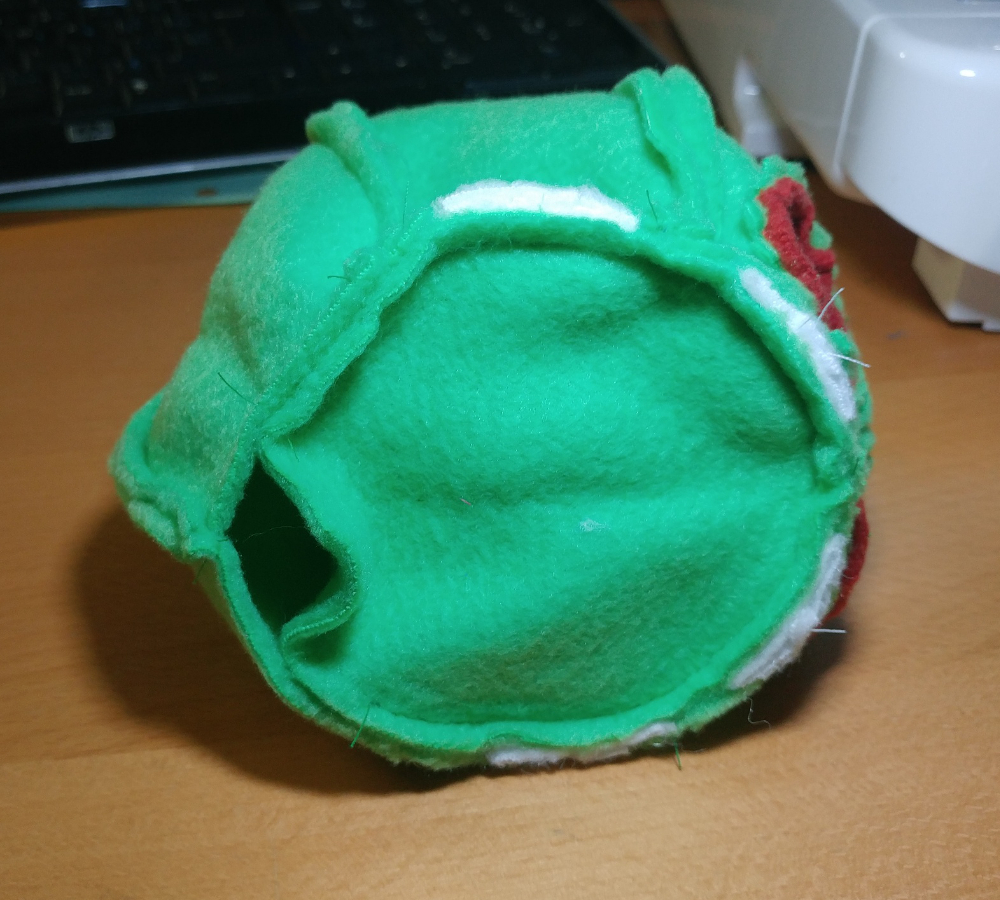
Bag out your Metroid. Start sutffing it until you're satisfied with its squishiness.
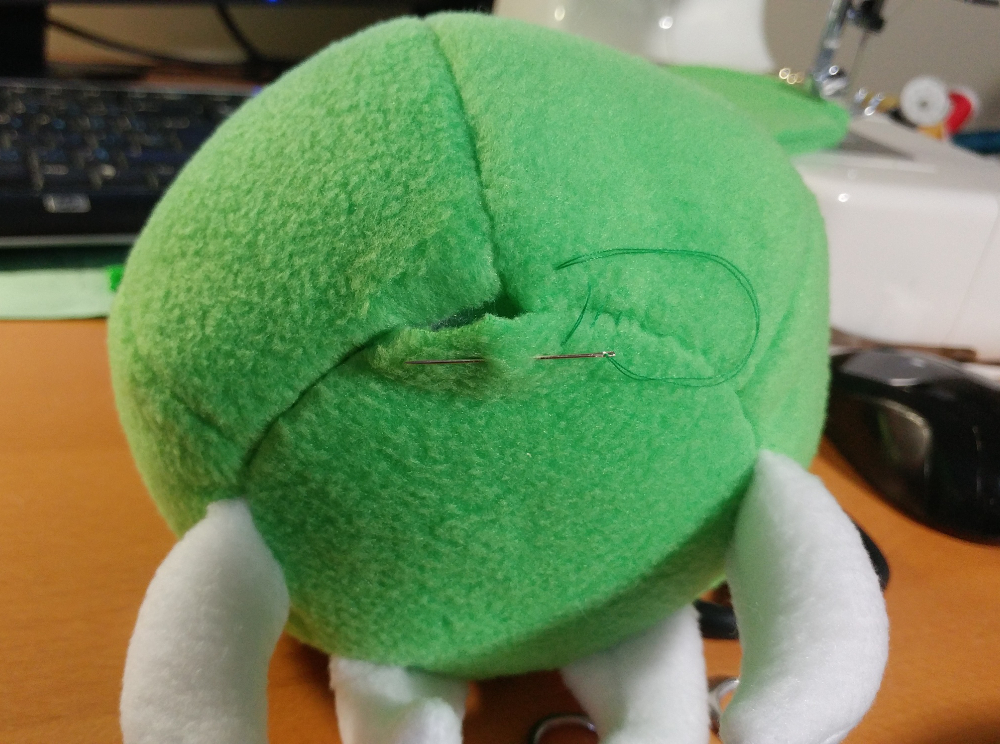
To close the stuffing hole, use the Ladder stitch.
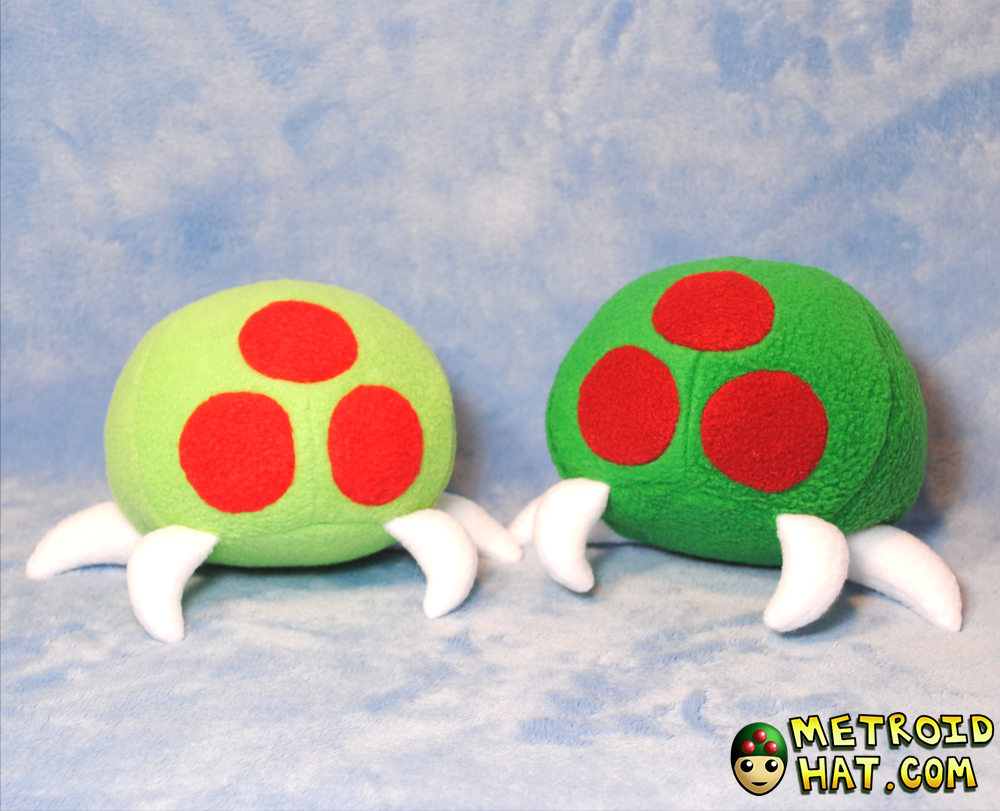
And there you go, you're done! If you had fun making your Metroid, consider letting me know how he turned out! I'd appreciate comments and pictures through Twitter or email (eyes5_5eyes(AT)hotmail(DOT)com). Or if you want, a donation would be nice!
