Crocomire Plushie Tutorial Part 4
Belly and Eyes
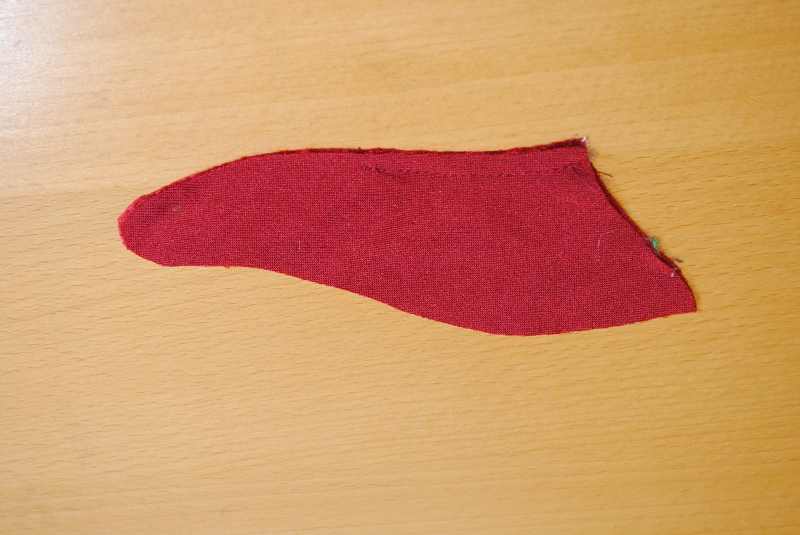
Sew a little ways up the top of the Tail Side pieces.
Attach the base of the Tail Sides to the tailhole at the bottom of the Back pieces.
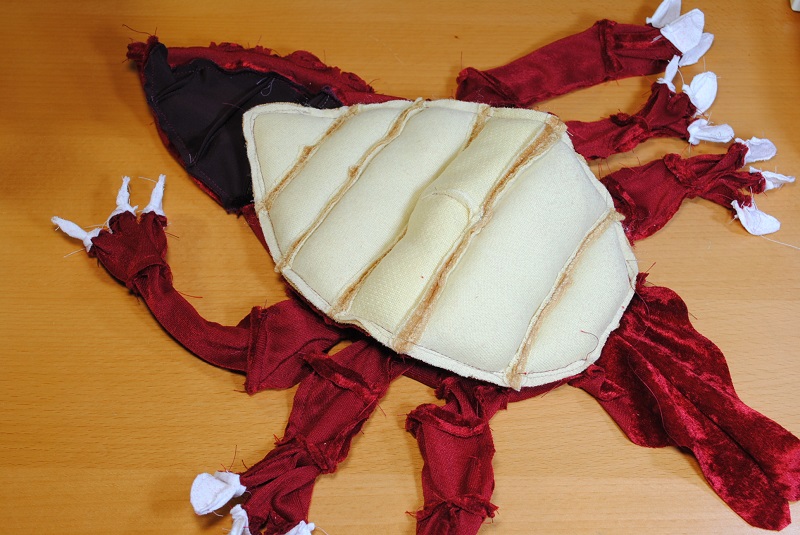
Shifting gears a bit, we now move onto the Belly. Every piece of the Belly has a corresponding backing made of cheap jersey material. First we wanna take the C pieces and sew up their darts.

Places the two pieces of the Chin together and the Belly A pieces together. Then sew them to each other in a single seamed 4-piece sandwich.
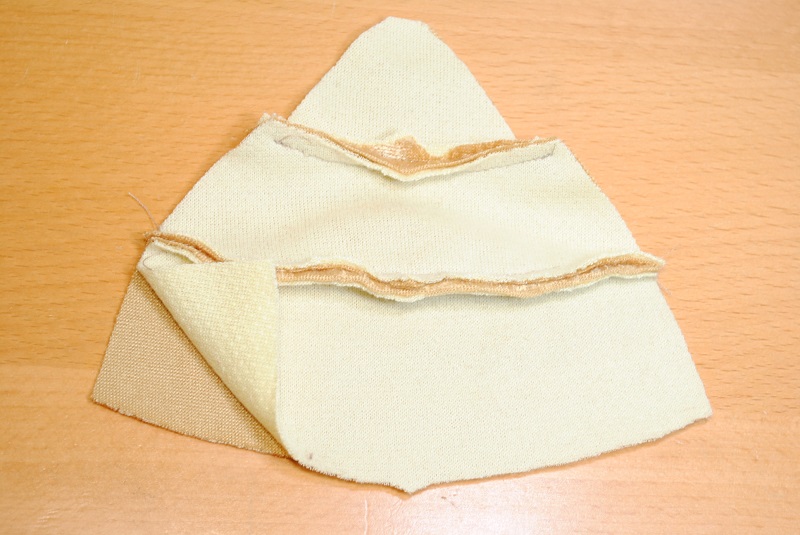
Sew the two Belly B pieces to the bottom of Belly A.
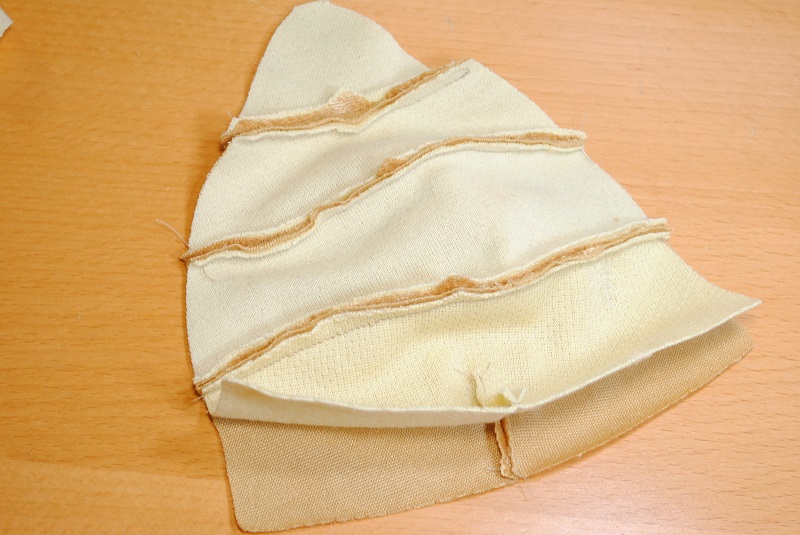
Now Belly C. Note how the seam allowance on the dart of the jersey C piece faces away from the other C piece.
Add the Belly D pieces and finally the Belly E pieces.
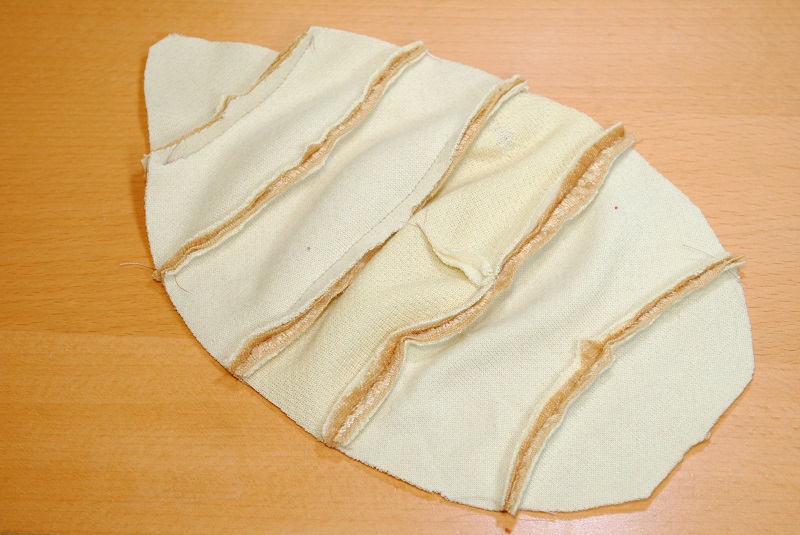
Sew around half the entire belly. For every segment, you need to maintain an opening, so stop sewing before you get all the way around the Chin and Belly E, while leaving a side of Belly A, B, C, and D open. Also, sew very close to the raw edge, not on the seam allowance line. You will be sewing around the belly again, and you don't want any of these current stitching lines to show.
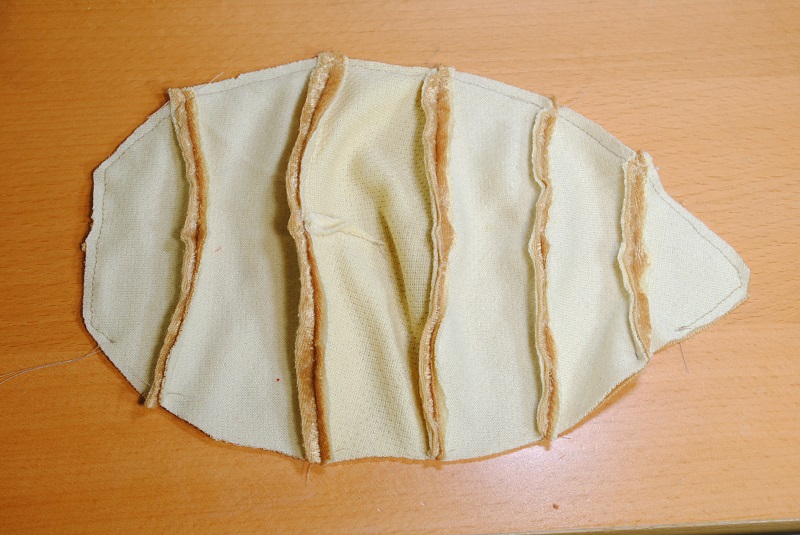
The idea with the belly is that it gets stuffed as its own pillow separate from the rest of Crocomire's body so it can have those defined belly lines. Stuff every segment of the body. Then pin the belly to Crocomire's open cavity. To help position the pieces, you will notice that every belly line corresponds either to a tab or seam on the Side. It's a good idea to clip into the Side's seam allowances at the tip of the chin and the base of the chin.
Sew the Belly to the Sides. Only the bottom of Belly E will remain open.
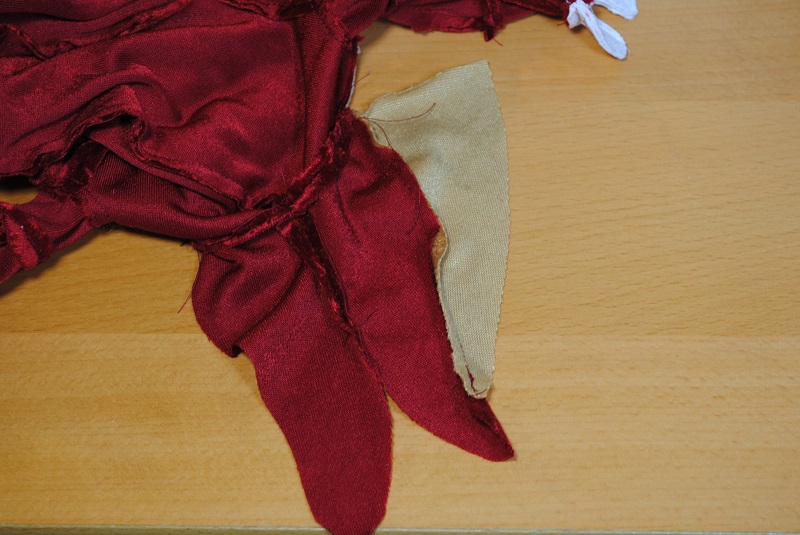
Sew one side of the Tail Bottom to the Tail Side.

Sew the other side of the Tail Bottom to the Tail Side, then all the way along the Tail Side until you hit the previous seam. In this case, try to sew all that in one seam, right over the seam allowance between the Bottom and Side, treating those two connected pieces as one fabric piece. Then clip the seam allowances where the three fabric pieces intersect so they don't restrict any stretching. If you did this right, you'll end up with a smoother tail. But if not, it's not a big deal.
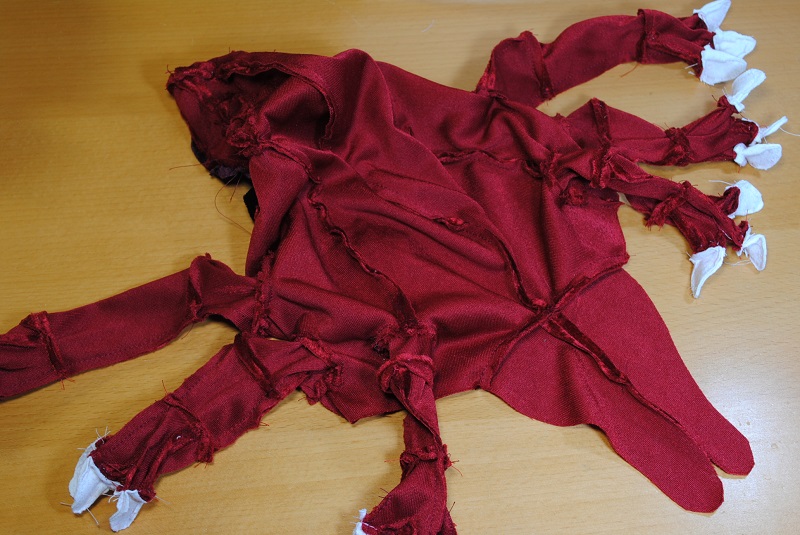
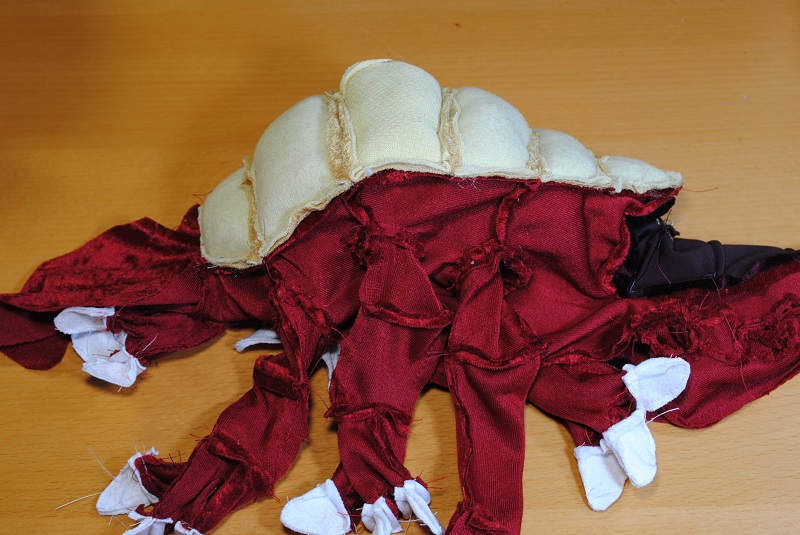
Trim away all the bulky and restricting seam allowances on Crocomire. This includes the tips of his claws, tail, chin, snout, tongue, and anywhere there is a sharp angle or an angle with a lot of fabric, such as between his fingers, around his wrists, and at the elbows of his arms and legs. Oh boy, now it's time to bag out Crocomire! Carefully pull the limbs out of his herniated butthole, making sure not to tear the delicate surrounding material, then pull out the rest of his body. Using hemostats, chopsticks, or whatever prodding tool you have, poke up his bum and fully push out each of his claws.
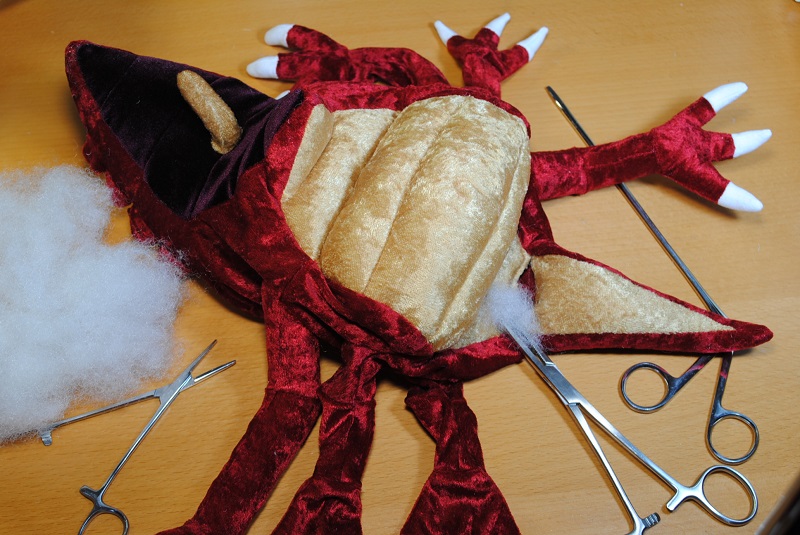
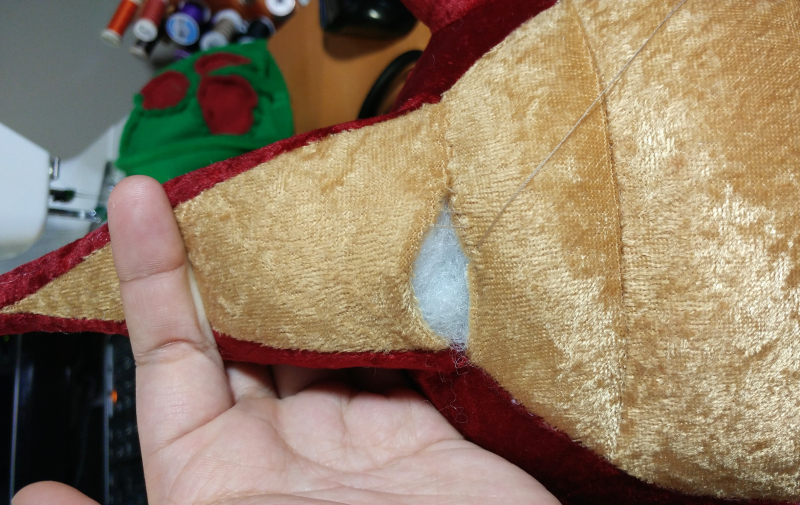
Now comes the long, arduous process of stuffing. For the best results, stuff very slowly, like a fingertip-sized wad of stuffing at a time. He should be stuffed fairly stiffly at the limbs and tail, but all of him should be stuffed enough to maintain enough tension to hold his shape. If you used crushed panne fabric, that will take a lot of stuffing, since the material is so stretchy.
Using a ladder/slip stitch, sew up his bumhole once you're done stuffing it.
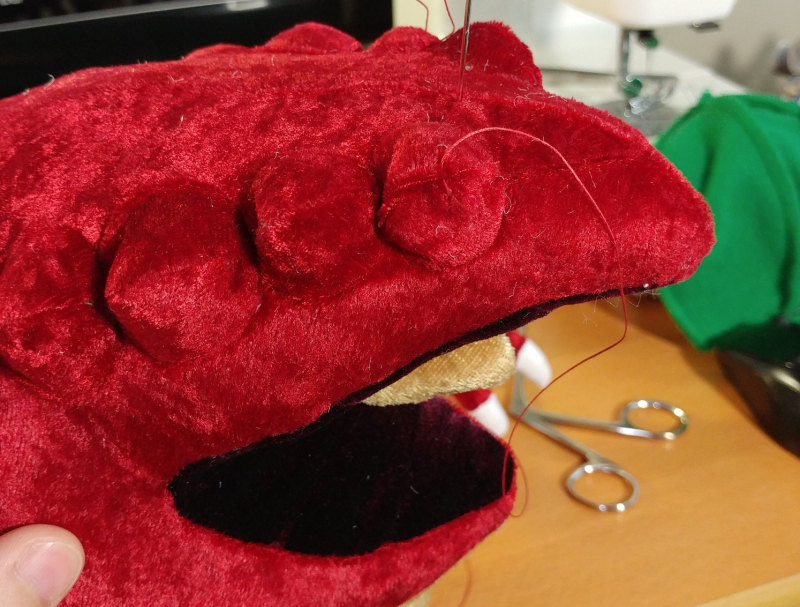
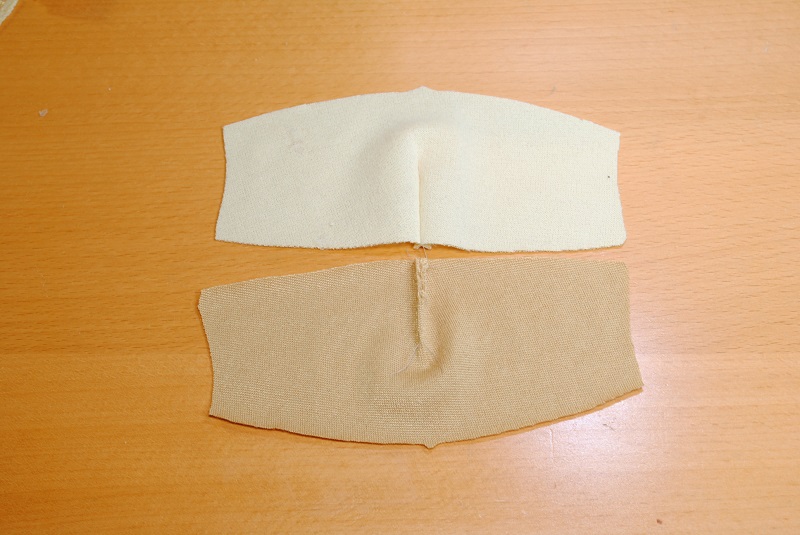
Now for the eyes. Despite what it looks like now, the eyes are not supposed to bug out like that. They're meant to encase the shank of the button once it's sewn in, and to provide a kind of eyesocket-like effect. Get your long needle and thread it with some heavy thread and make your first stitch in the middle of the Small Eye.
Sew on the smaller button.
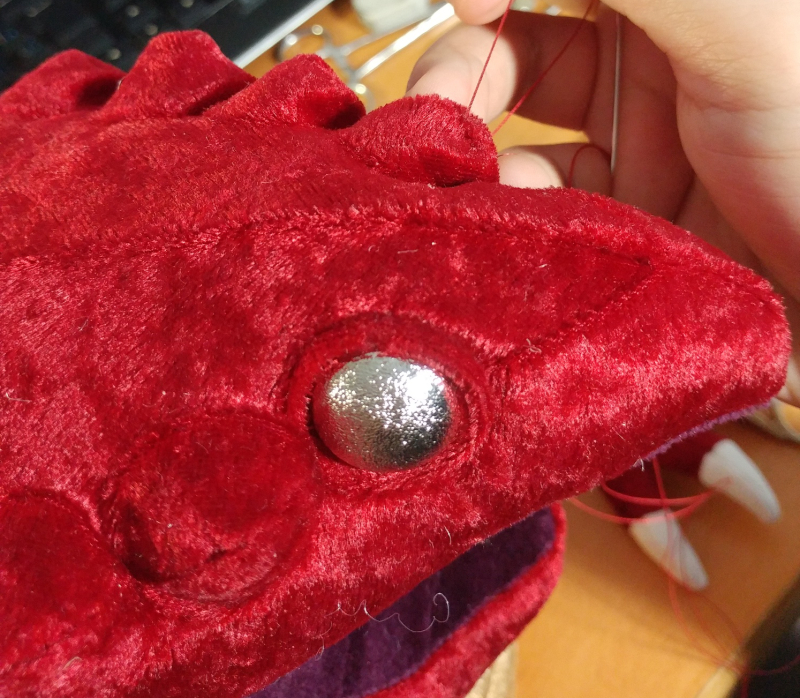
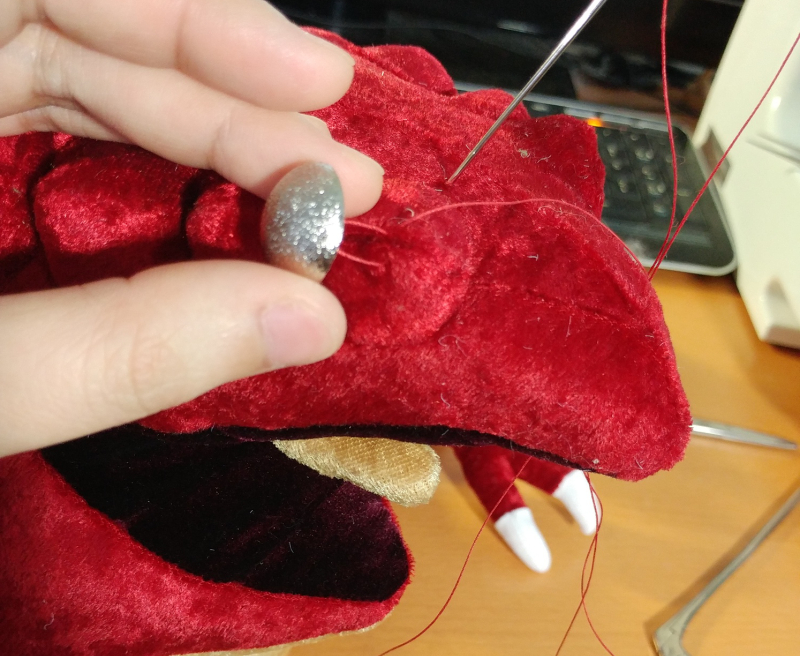
Once you're done, pierce your needle through the base of the Small Eye to the other Small Eye across the other side of the face. And give your thread a pull... Ah, see how the tension of the thread pulls the button in, setting it into the eyesocket? Try to maintain that tension as you sew in the second eye. If it's not perfect right now, don't worry, you'll come back to it later.
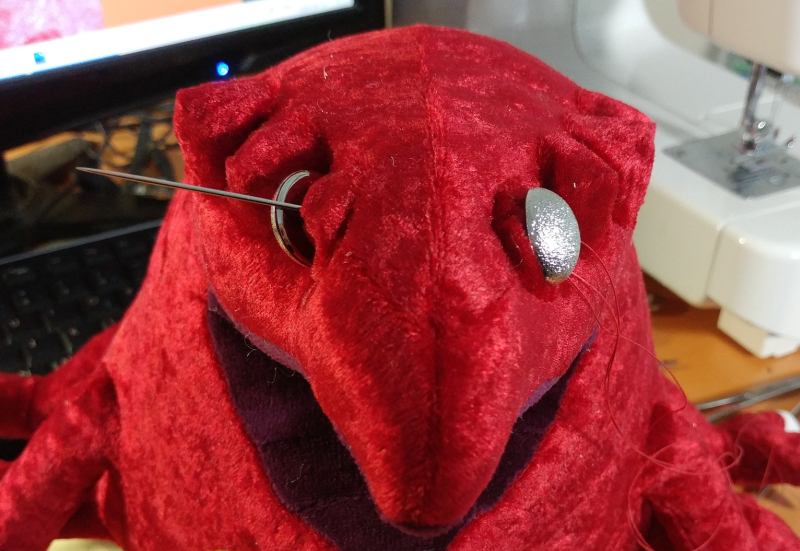
Run your thread back to the first button, pulling your thread to draw the second button inwards. Now sew a few stitches through the first button's shank to lock it in. Then back again to the second button. You really wanna secure these buttons tension-wise!
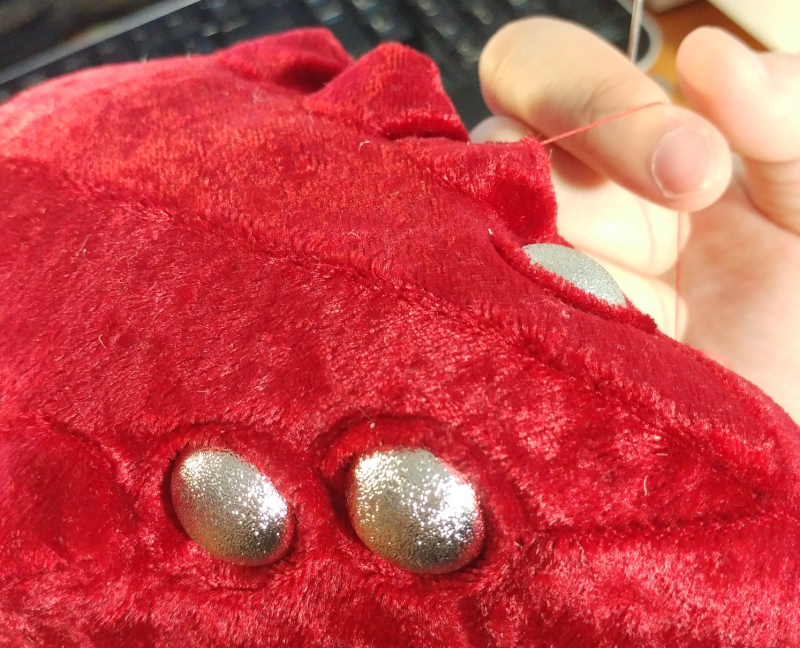
Now you can move on to the second set of small eyes. Repeat the procedure so all the small eyes are sewn on. Then you can move on to the 4 big eyes, setting them into the big eye sockets.
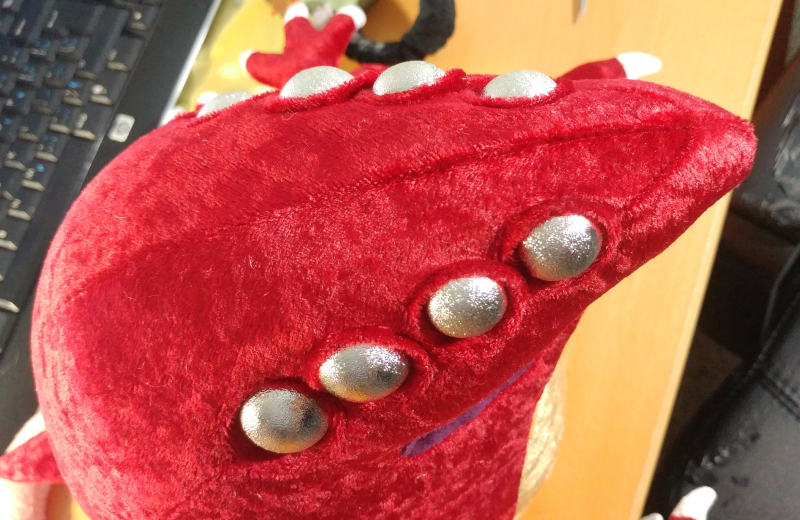
This should be what all the eyes look like at the end. If the tension is weak in some eyeballs, feel free to go over them again.
Congrats, you're done! If you had fun making your new squishy, leggy friend, consider letting me know how he turned out! I'd appreciate comments and pictures through Twitter or email (eyes5_5eyes(AT)hotmail(DOT)com). Or if you want, a donation would be nice!
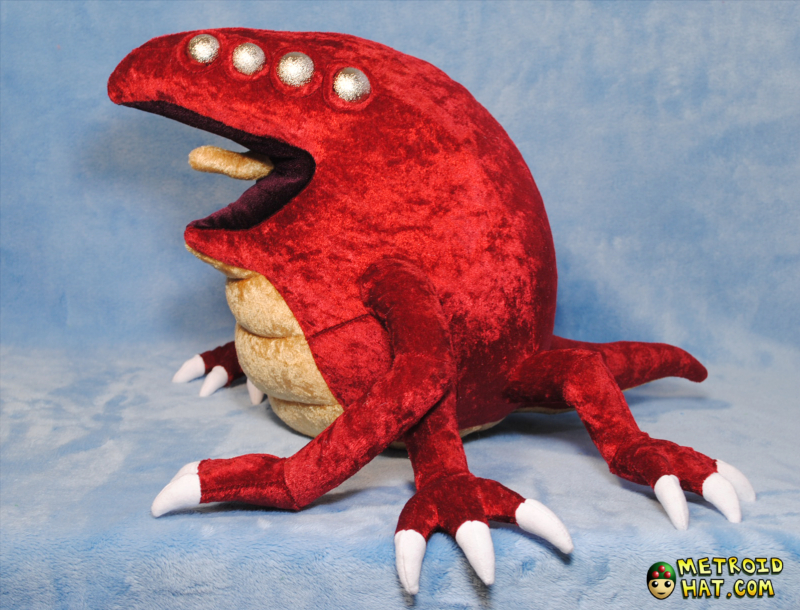
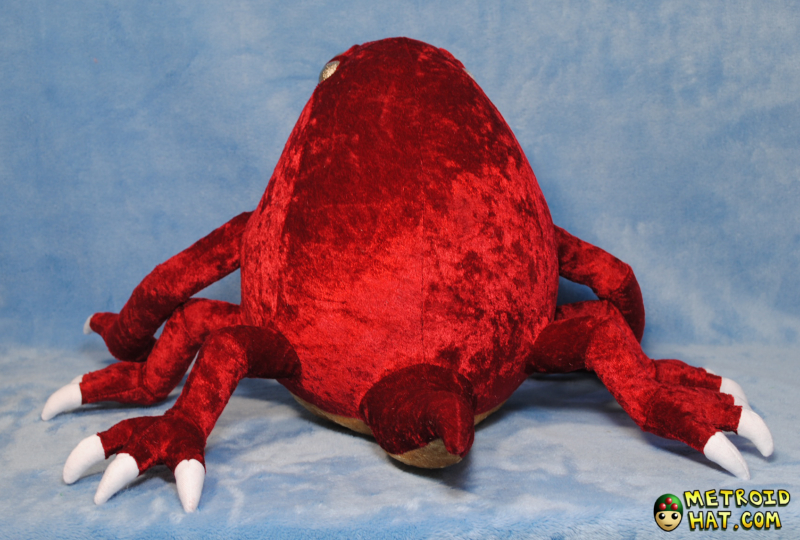
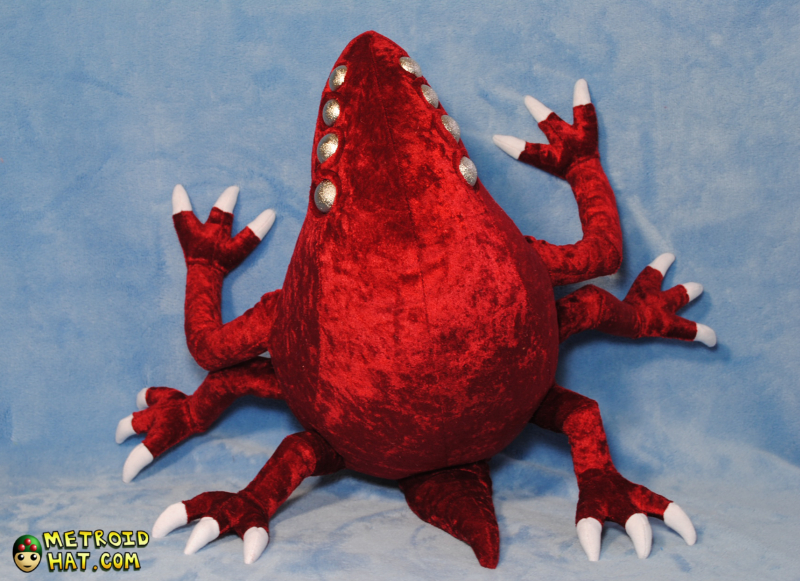
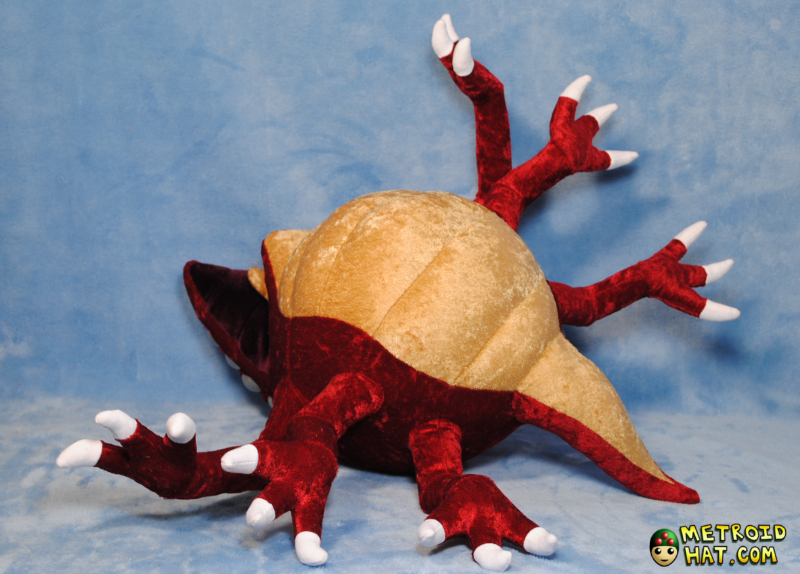
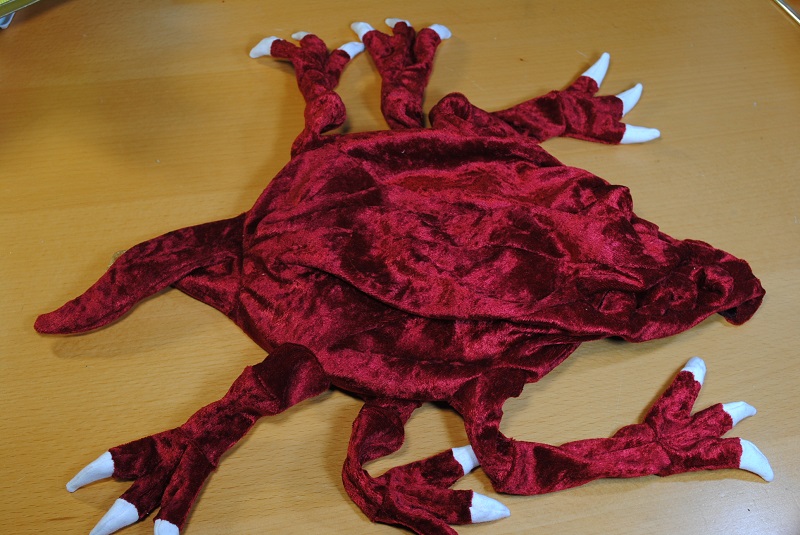
Here's some photos of a completed Crocomire.