Crocomire Plushie Tutorial Part 3
Body and Mouth
Sew the Back and Sides together, only at the small section between the snoot and eyes.
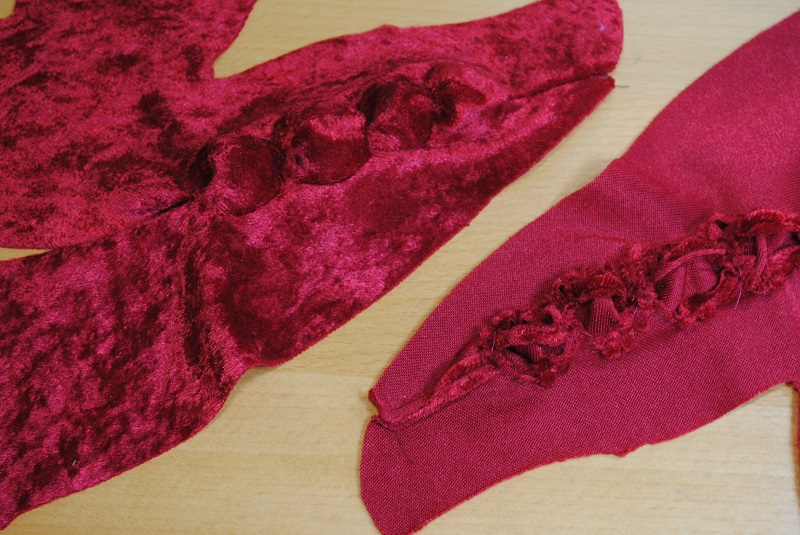
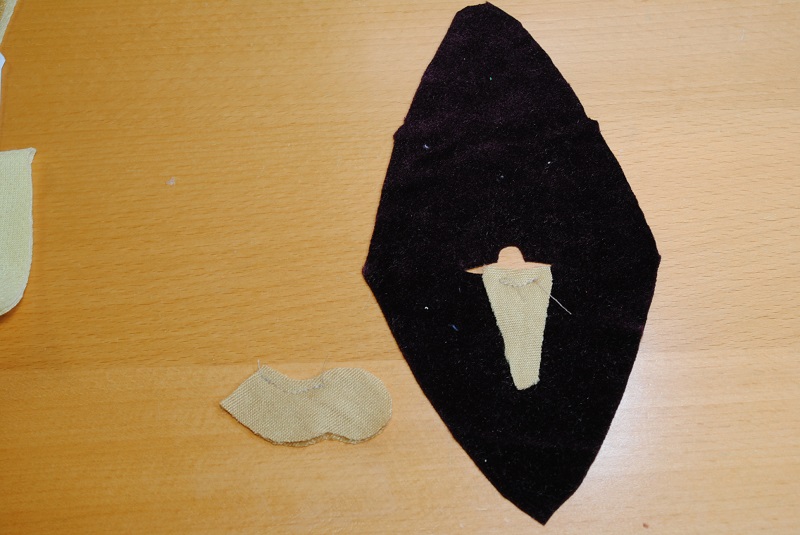
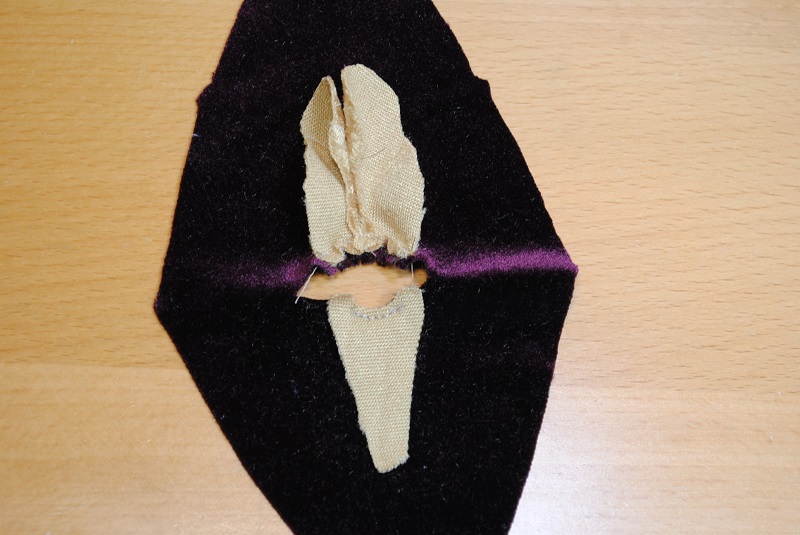
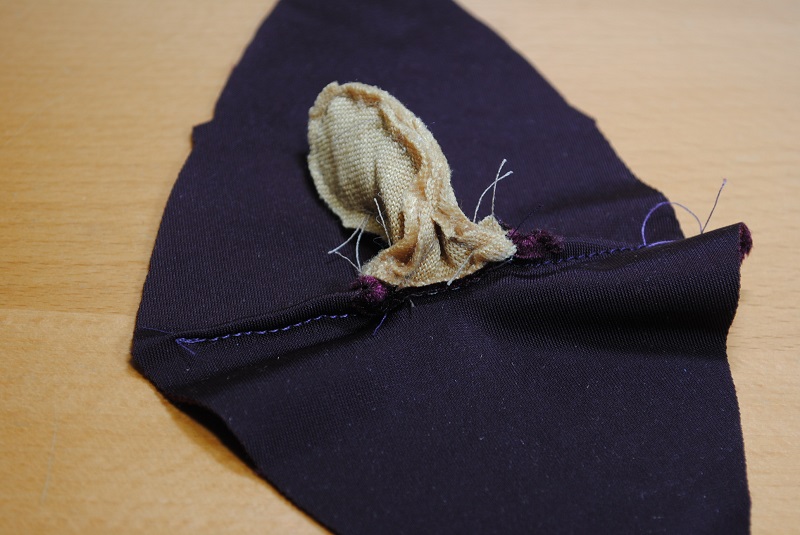
Set one of the Small Eye pieces into the eyehole where the Back and Sides meet. To do that, you'll need to clip into the seam allowance of the eyehole and force it to curve along the edge of the Small Eye. For more information on this technique, please refer to the Sewing Materials and Techniques page.
Fold the Small Eye in half and sew the dart closed in a curved seam along the edge.
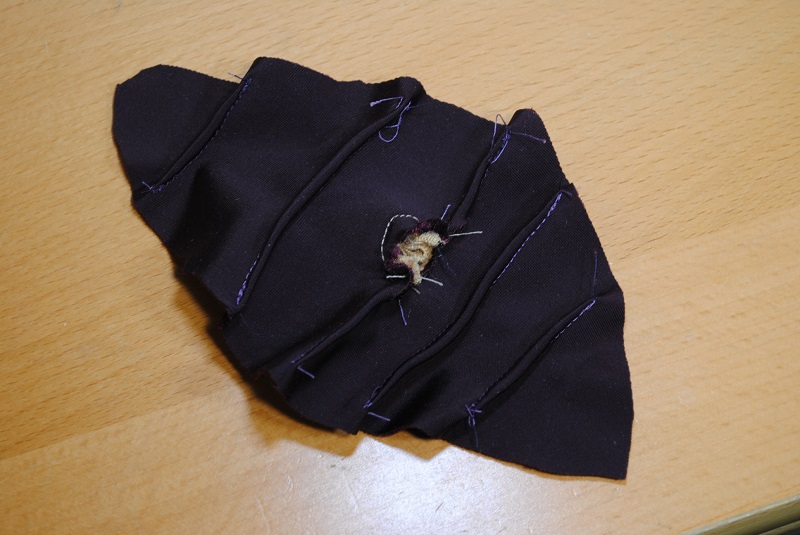
Congrats, you sewed an eye in! How was that? Great, now do it again!
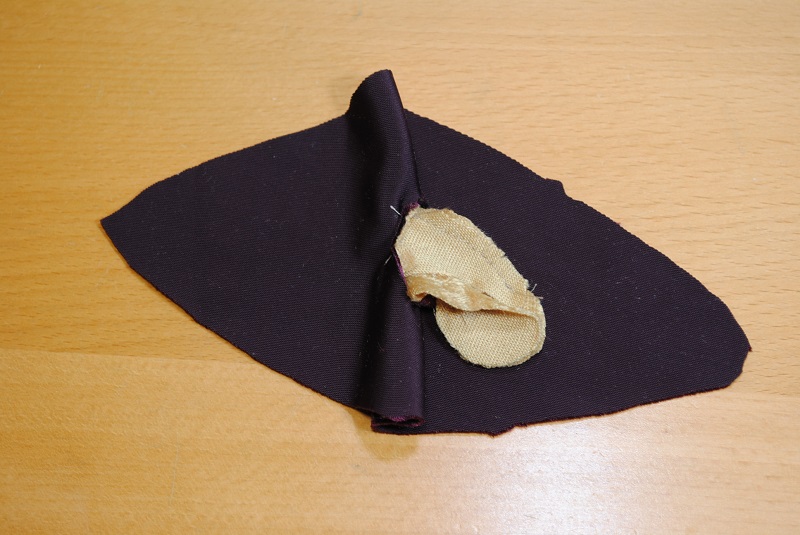
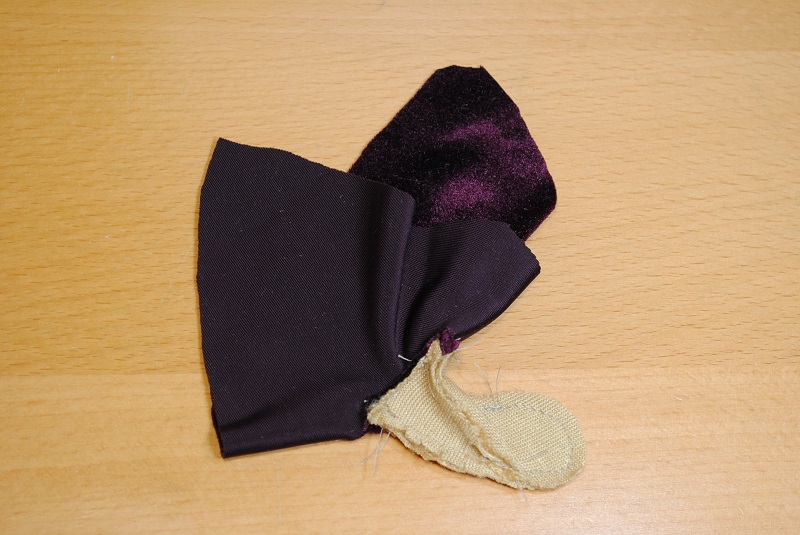
Now four more times using the Big Eyes!
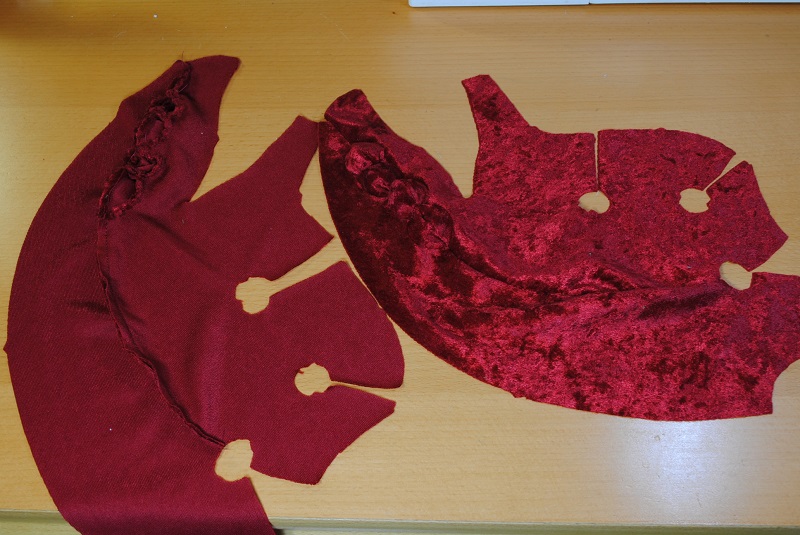
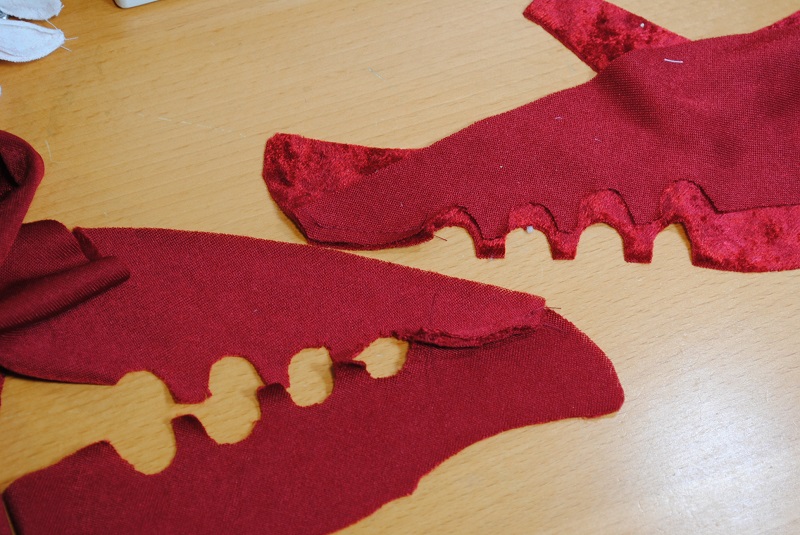
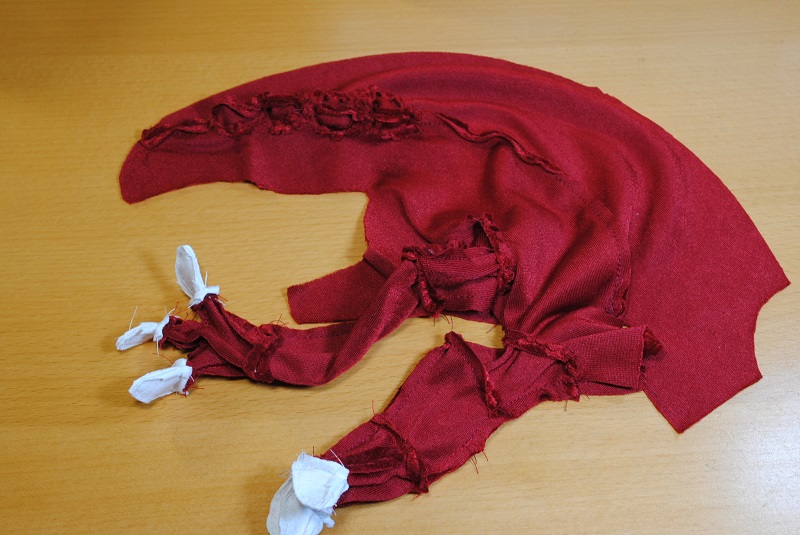
Sew down the Back and Side from the last eyeball to the first leghole. Match the tabs on both pieces together to help guide you. It can be useful to clip into the seam allowance of the Back piece a little bit in order to allow it to curve properly along the Side.

Set the Bicep into the armhole of the Side. Make sure you set the left arm into the left side of the body and the same for the right. Like how you set in the eyes, clip into the seam allowance of the armhole and force it along the upper edge of the Bicep pieces. The tabs inside the armhole correspond to the dart in the Outer Bicep and the seam where the Outer and Inner Bicep meet. You might notice that on the pattern, there's a cut edge leading from the belly to the armhole, and on either side of that line, the seam allowance narrows as it reaches the armhole. Therefore, when you're pinning the Side to the Bicep, you'll find that Bicep will extend beyond the edge of the armhole. And that's okay. We'll survive this. Together.
Here's another angle. Note how the upper edge of the Bicep has an 'S' shaped seam when spread out, but relaxes into the circle of the armhole. And check out how much the seam allowance of the armhole has been clipped.

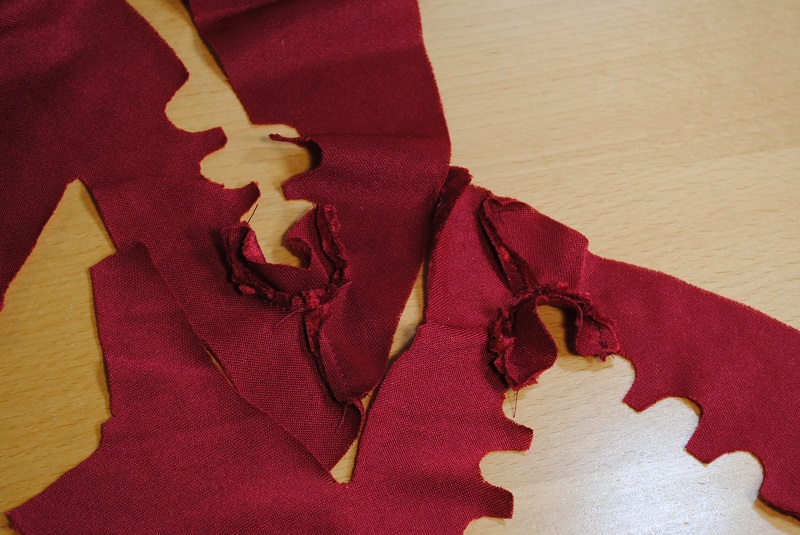
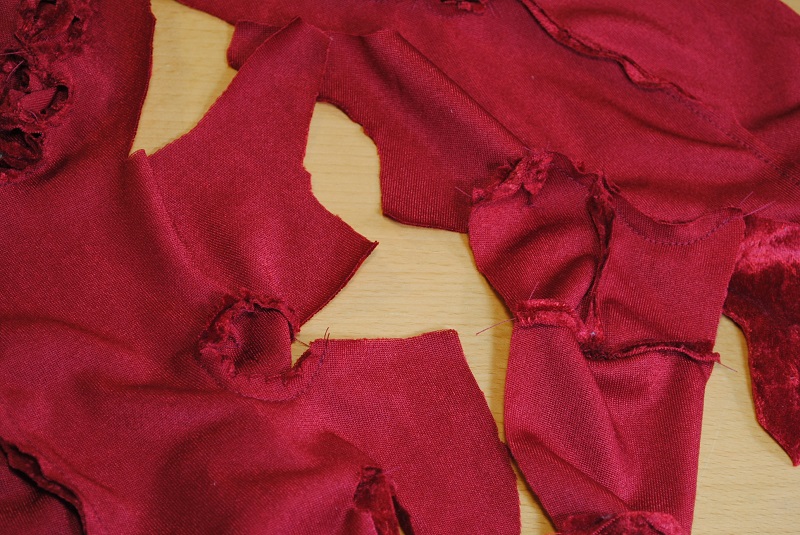
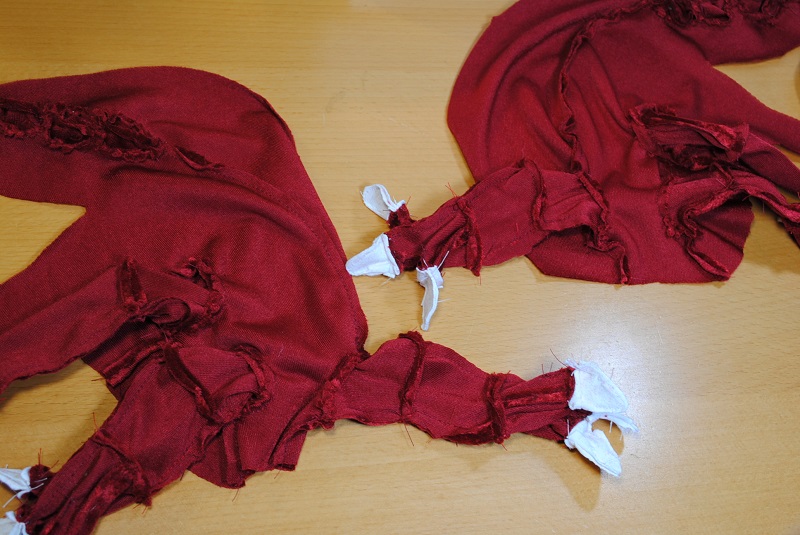
Sew down the cut edge of the Side leading from the armhole to the belly, remaining aware of how the seam allowance narrows as it gets closer to the armhole. Now you can sew down the Biceps, Forearms, and Hand Tops until you reach the Claw. It's a good idea to stop and start your seam whenever you reach a new pattern piece, taking care not to sew directly over the seam allowances at each intersection.
Now set the two Upper Front Legs into the middle leghole on the Sides. Take care in how you set them together; use the notations and tabs on the Leg pattern piece to position it correctly. The 'Top' tab on the Leg matches to the top tab in the leghole and the 'Bottom' tab matches to the bottom one. Once again, be aware that the seam leading to the belly narrows towards the leghole.
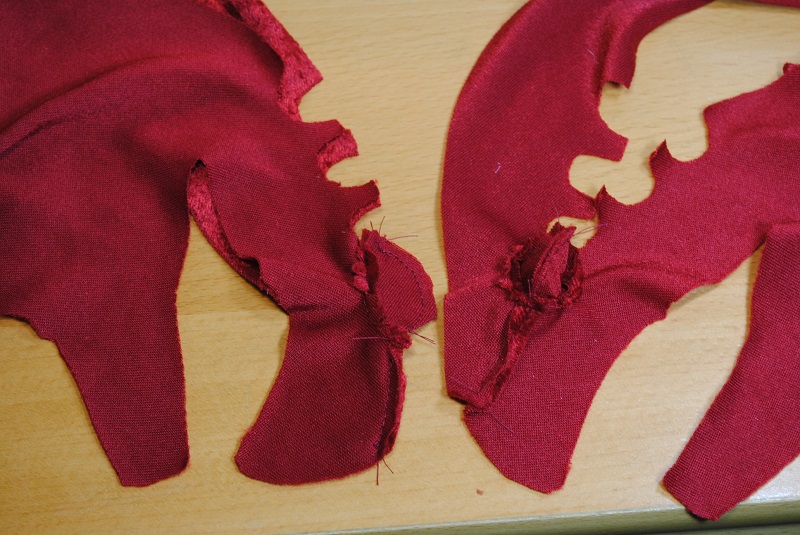
Sew the seam leading to the belly, then along the Upper Front Leg, and the remaining bit of the Lower Leg. Because the Upper Front Leg has weird curves, it's a good idea to clip once or twice into the seam allowance where the edge turns concave. That way, the two fabric edges can meet up smoothly.
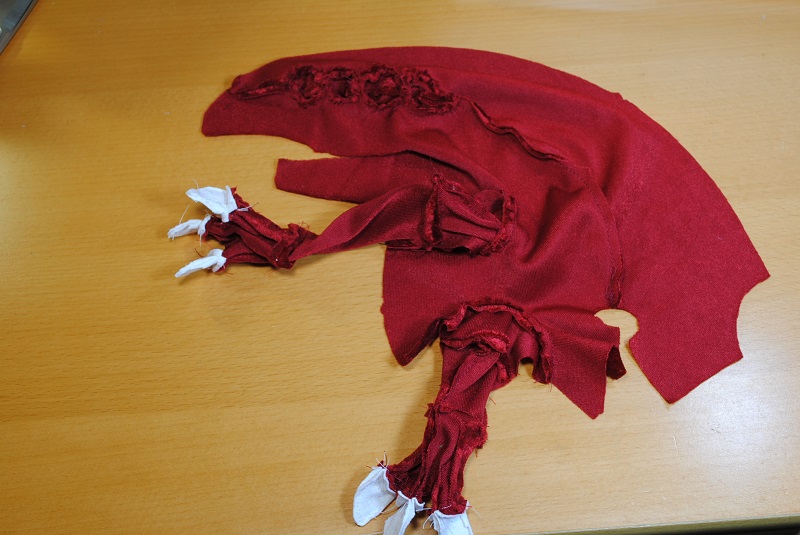
Finally, set the Upper Hind Leg into the hole between the Back and Side. Then sew the Back and Side together under the leg, sew the last edge of the Upper Hind Leg, and the remaining bit of the Lower Leg. You should be a natural at this by now!
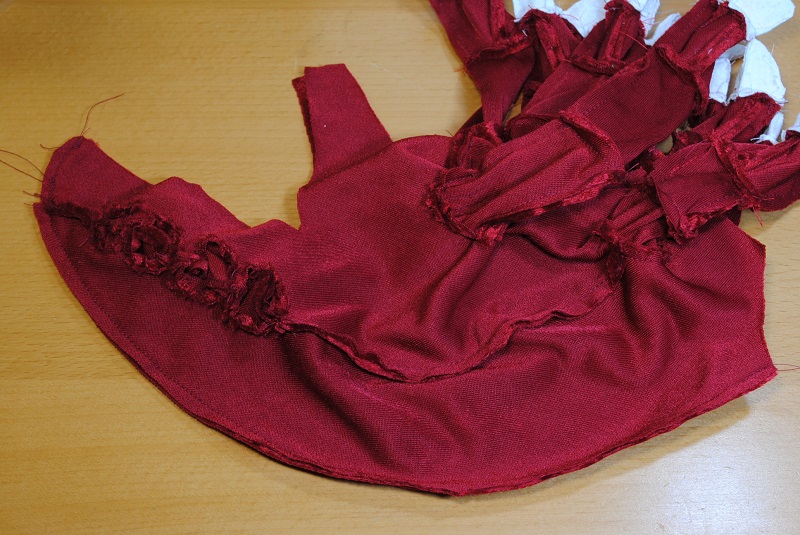
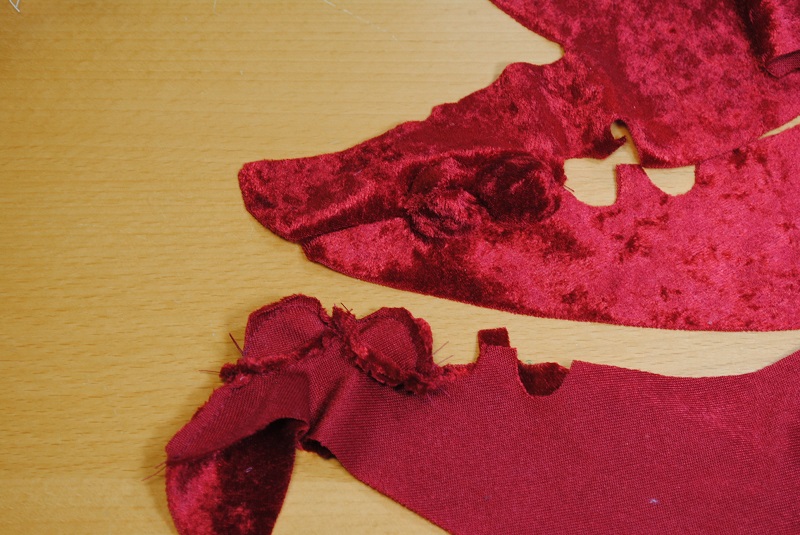
Position the two halves of Crocomire together and sew them all the way from the snout to the tailhole.
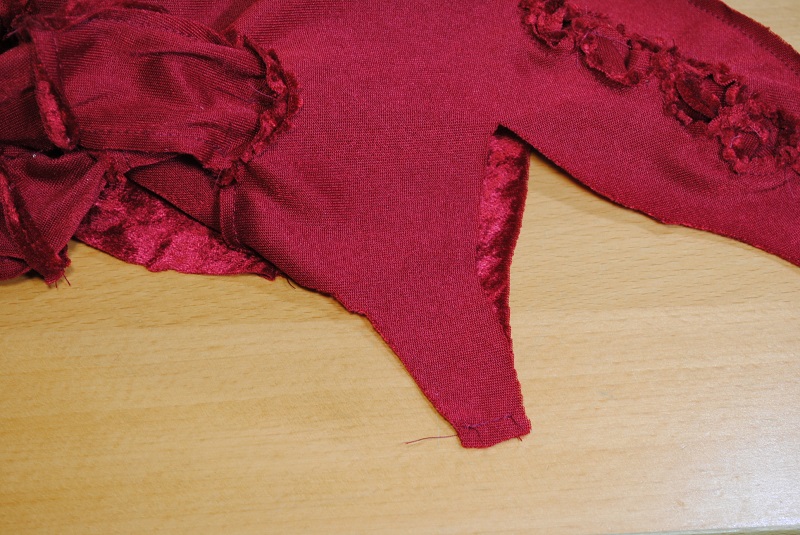
Sew the tip of the chin on the Side pieces.
Now for the mouth! Sew the Tongue Bottom to the center area of the Mouth piece as shown. As for the two Tongue Tops, sew them together just a little bit as shown.
Sew the base of the Tongue Tops to the upper curve at the center of the Mouth. That curve is very small, you'll need to clip a lot in order to pull it straight.
Sew both sides of the Tongue Bottom to the Tongue Tops. Take care to ensure the tip of the Tongue Bottom ends at the same spot on each side of the Tongue Tops, otherwise when you sew the Tongue Tops together, they will bulge unpleasantly and/or twist to the side.
Now sew the remainder of the Tongue Top.
Fold the Mouth at the middle and sew from the base of the Tongue to the sides of the Mouth. Note that the seam doesn't go all the way to the raw edge; you'll want to keep the seam allowance of the Mouth intact.
As indicated on the pattern in red, fold the Mouth and sew four curved seams, resulting in four tucks. Again, don't sew all the way to the raw edge.
Time to set the Mouth in the maw of Crocomire! Use the tabs on the Mouth and Sides to position the pieces as you pin them, and also try to center the tips of the Mouth with the central seams at the snout and chin. At the corner of Crocomire's winning smile, you will absolutely have to clip two or three times into the Side's seam allowance in order to pull it straight. It will also be helpful to clip a bit at the tips of the chin and snout. Sew along the Mouth.
