Ridley Plushie Bloggy Blog Part 4: Putting stuff together and Hands
Part 1: Research and Tail
Part 2: Lower Torso and Legs
Part 3: Upper Torso and Wings
Part 4: Putting stuff together and Hands
Part 5: Head and Closeups
Ridley Gallery
Jan 1, 2014
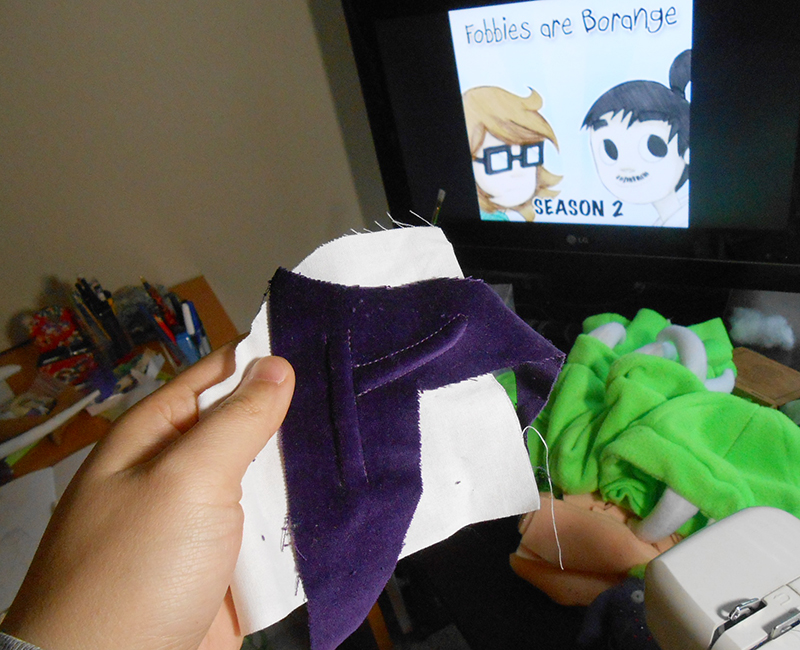
This is a sample of the trapunto technique on the velvet. What trapunto is, is to topstitch an enclosed shape onto two layers of fabric and to jam stuffing between those layers, resulting in a raised shape. I will be using trapunto to create Ridley's ribcage. I will be sewing right on the seams of the pinched chest which will hopefully obliterate the seams as well as any wrinkles.
Mm hm, I'm listening to Fobbies are Borange while working. I am bawsome.
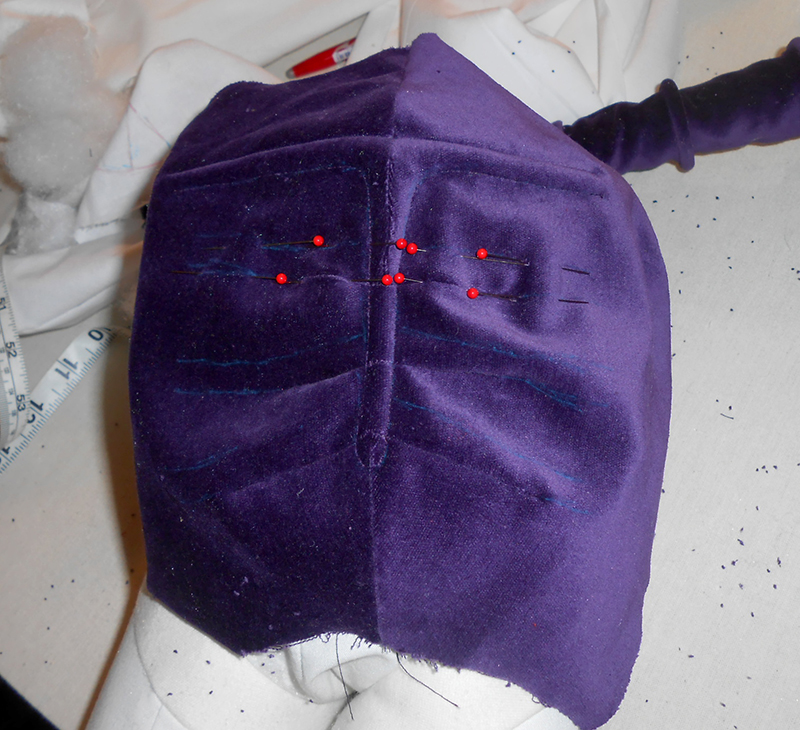
In order to make neat, symmetrical rib bones, I have to draw on the surface of the chest. I'm using Frixion pens, which are so helpful in sewing because they disappear when ironed. Mostly. It leaves a faint pale mark, which makes drawing on the center front of the plushie a bit nerve-wracking because mistakes will still show.
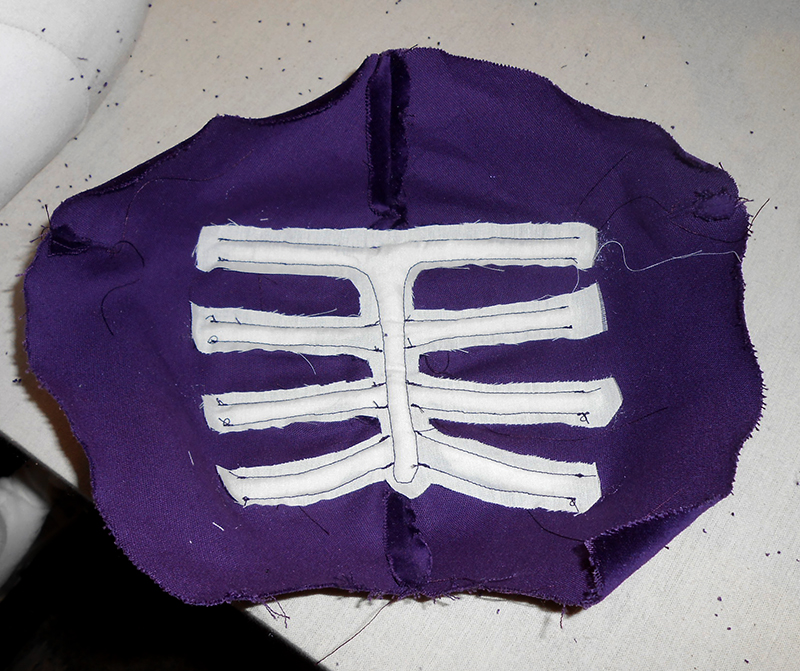
Here's the trapunto stitching from the inside. The excess muslin has been trimmed away.
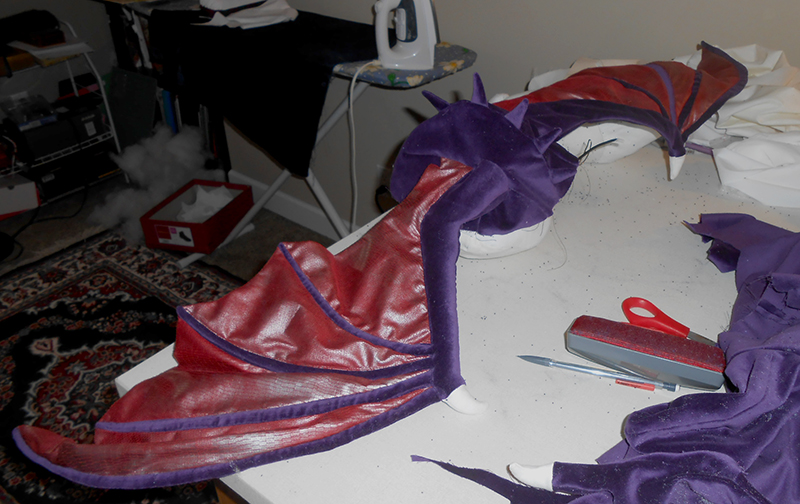
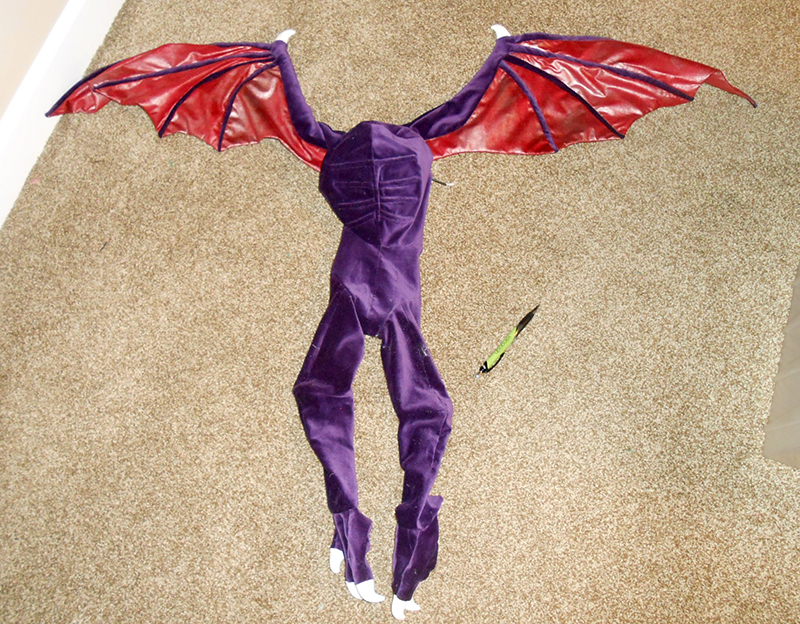
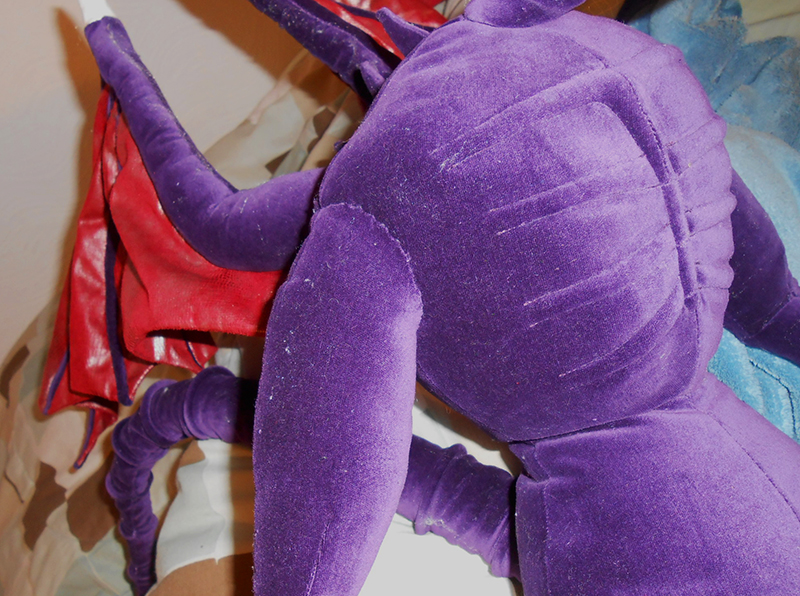
Check it out! The back is done, with wings attached and spikes coming out of the spine. Hmm. At this point, I actually wasn't very happy with the wings. I didn't like how the webbing, which is two layers of vinyl, would behave more like a bag than like a single layer of skin. I thought of sewing down the two layers, making the topstitching look like 'veins'. Maybe next time, I'll glue down the two layers first or something. But I'm running out of time, so I'll just have to be content with the way it is.
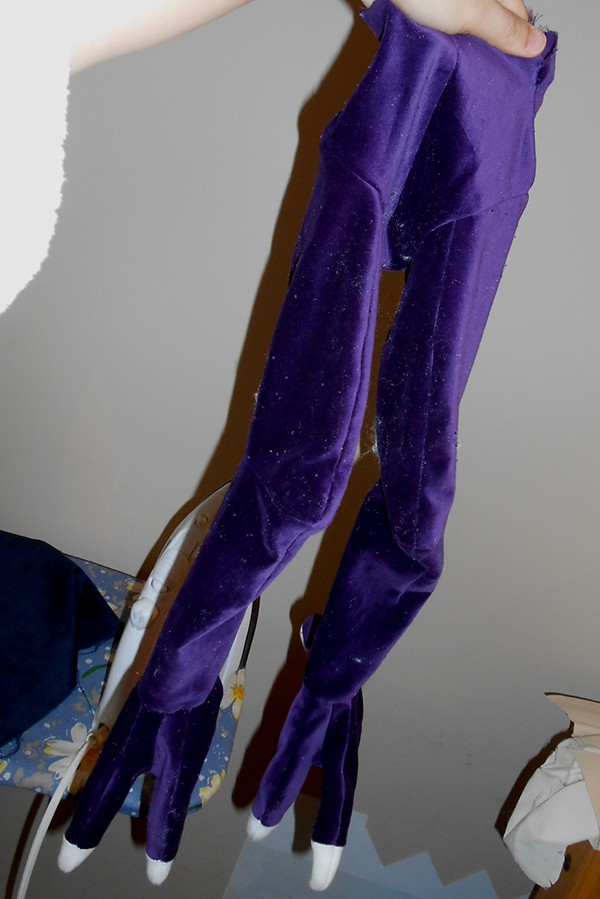
RIDLEY PANTS
RIDLEY JUMPSUIT
I left one side of Ridley's velvet body open so I can insert the stuffed muslin legs and hips in at this time.
Here's the tail being sewn on. First, the muslin layers only are attached with a thick thread and strong stitch. Then the velvet layers are attached. The velvet is kind of wrinkly and loose on the tail, but that's perfect since it won't cause excess tension when the tail moves. There's already been a bit of seam slippage on the joints of the tail, which I fixed. I had to remake the tip of the tail because I lost the original one I made. I had moved into a new place, so things are getting lost.
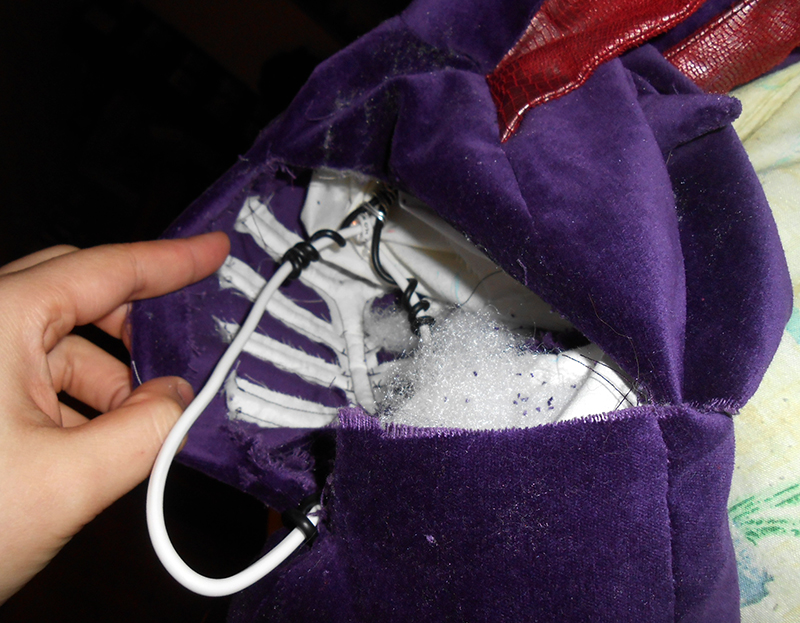
I bought some thicker wire, which is the white stuff, to use for Ridley's neck. The black stuff I had earlier couldn't even support the wings, so I need something really sturdy to hold up his neck and to be a core for all the other appendages to attach to. However, I didn't attach the wires from the lower torso properly to the white wire, resulting in a waist that hinges. This is bad because there will be so much tension around the midriff and it has to hold up so much weight, that bending at the waist can be damaging to the fabric. People will just have to be careful while handling him.
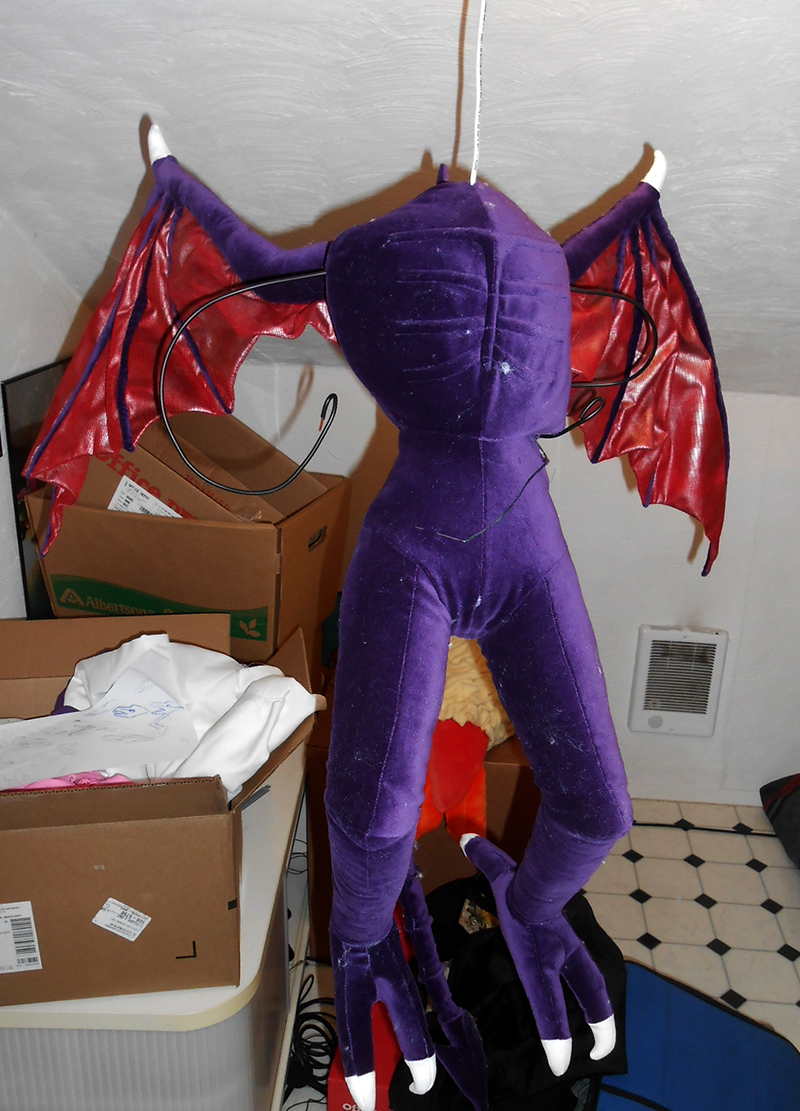
It took me the entire day to get Ridley stuffed and wired to this degree. Check out how strong that wire is; he's hanging from the ceiling! I'm running short on time, so I'm working on Ridley through Christmas day, on my vacation. Half my car was filled with sewing supplies. :p
Jan 2, 2014
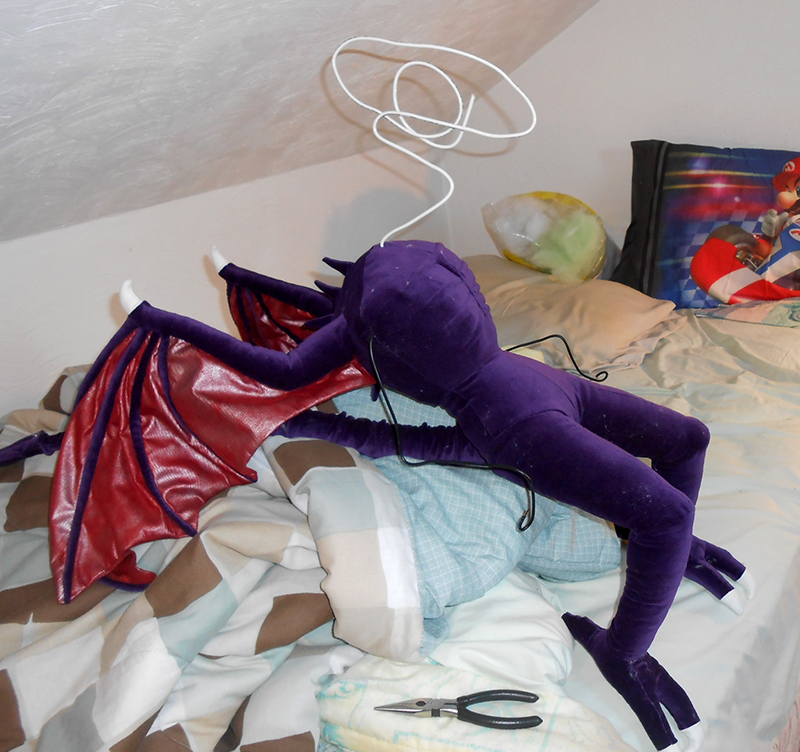
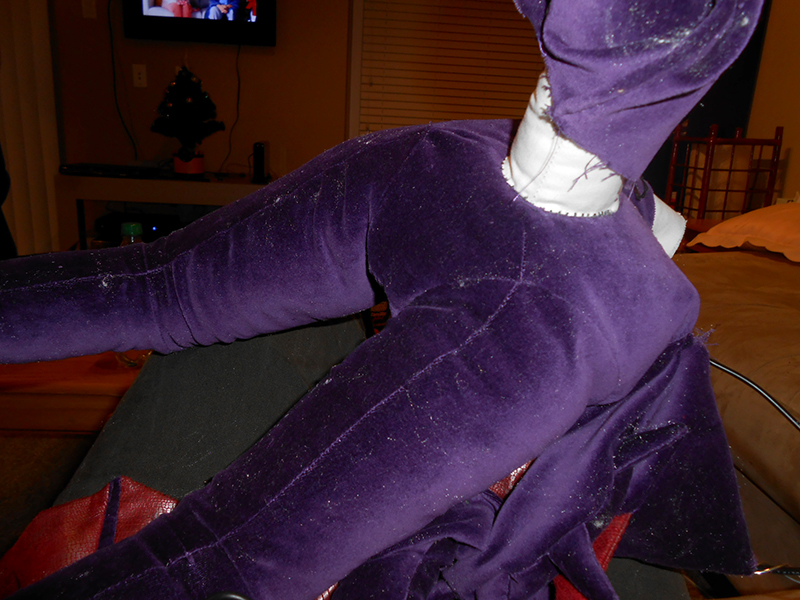
The wires here are handy for establishing the proportions of the head and arms.
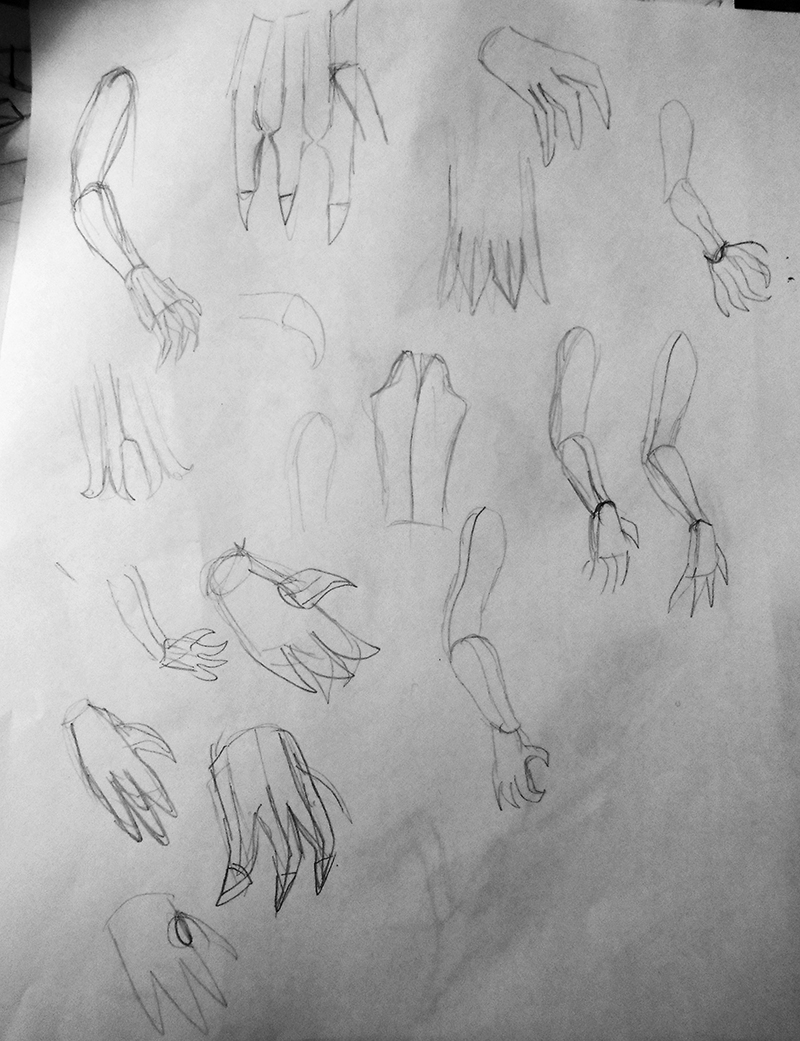
I considered some interesting hand patterns, but...
Did I mention that I'm running low on time? I had maybe 2 days before the deadline to submit prizes for AGDQ. So I decided that if I'm going to phone something in, it will be Ridley's hands. I could have given him hooked claws and fierce knuckles, but I went with a simple glove-like design with just a bit of treatment at his thumbs so they'll naturally shift towards the palm. I'm relying on the stuffing and wire to give the hands enough dimension that they won't look like flat hands of stupid.
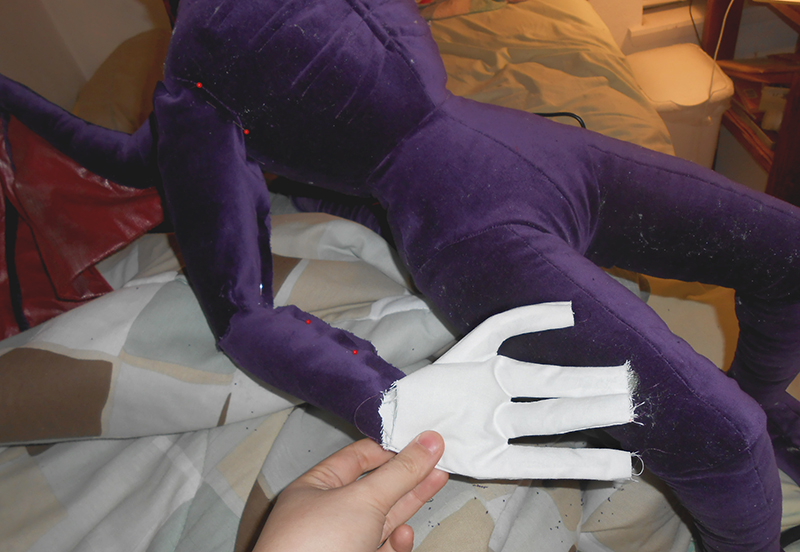
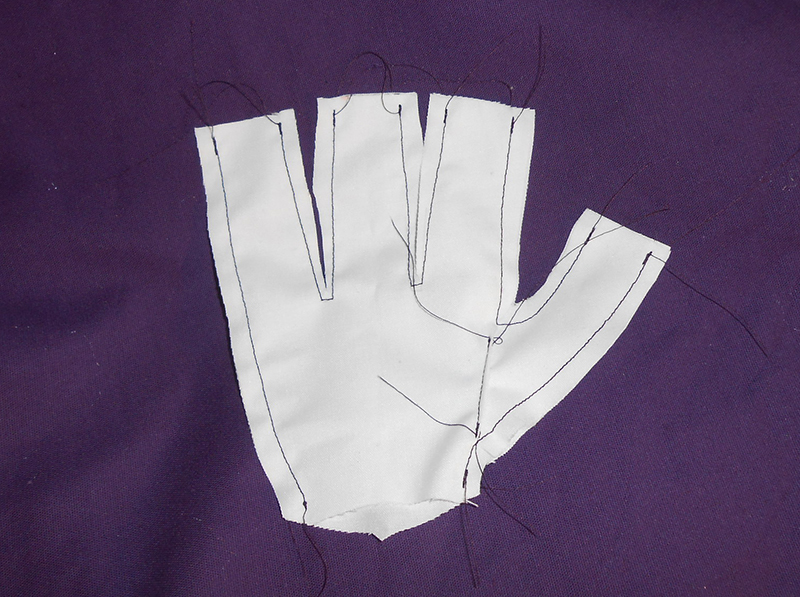
I still took the time to make a mockup of the hands. I can see that the thumb isn't thick enough or positioned correctly. I won't be making muslin layers for the inside of the head and arms though. It seems like that technique doesn't really do much for the non-stretchy velvet.
The arms are getting there. I'm doing a few weird things to the joints such that the elbows will bend foward, and the wrists will bend inwards.
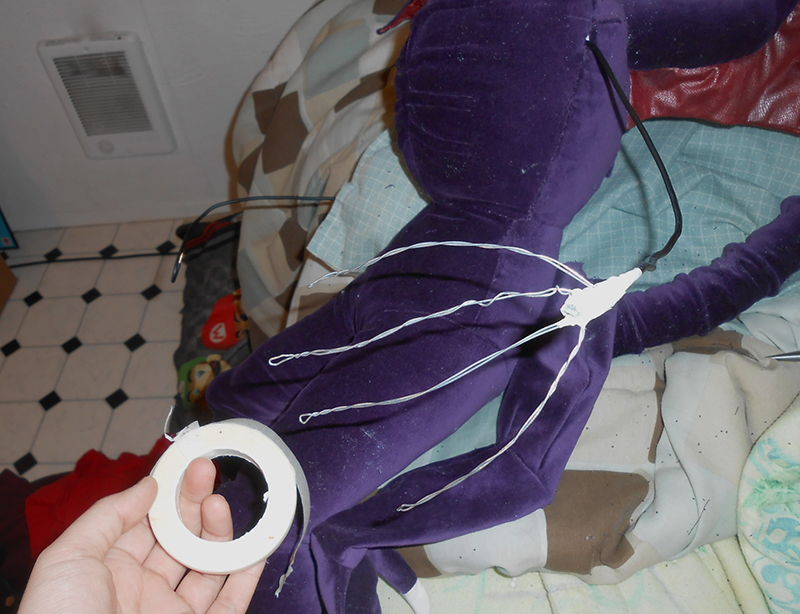
Wiring the hands. When it comes to wrapping up wires so that their sharp ends don't cut anything, I use this special tape called flower tape. It's made for wrapping the wires of fake flowers. It has only a slight stickyness, but it can stretch and bend, making it perfect for twisting around stalks of wire.
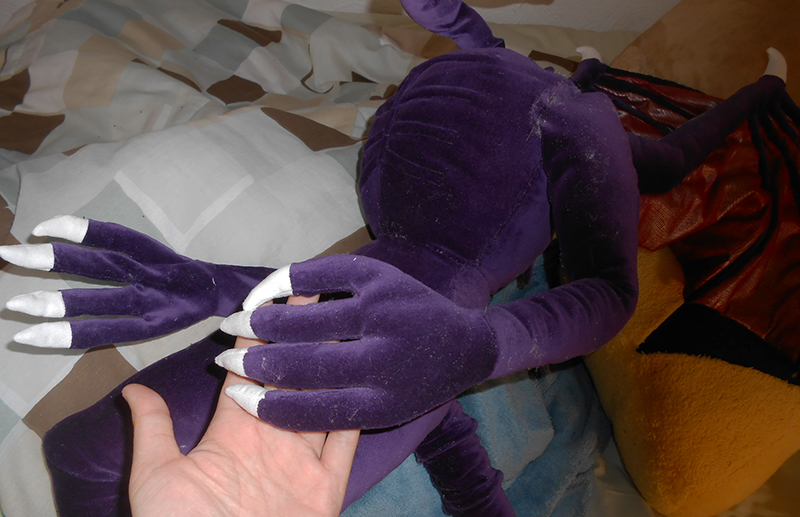
The hands and arms are joined and slipped over the wire parts. The hand in the foreground has been stuffed, while the one in the background is not. The stuffing makes quite a difference! I'm using a different suede for the hand claws and the teeth than I'm using for the toes. It is a softer suede that will have an easier time with smaller pattern pieces.
Now to simply handsew the arms to the shoulders. Ick. I would like to attach them by machine sewing, but I need the body to be stuffed to design the arms, and I can't attach the arms while the body is stuffed and wired. It takes too long to go that far backwards.
To Part 5: Head and Closeups
Back to Part 3: Upper Torso and Wings
